In the article “Injection Molding Defects,” we mention that product designers or buyers need to have a detailed understanding of injection molding defects. This is to facilitate their ability to conduct clear quality inspections of injection-molded parts after commissioning a factory to produce plastic products. Since each product design company has different product structures and appearances, buyers should establish their own injection molding quality standards or acceptance criteria for injection molded products.
FirstMold cannot discuss the injection molding quality standard for each specific product. However, we can offer constructive acceptance of standard suggestions for conventional injection molding components.
Measurement Surfaces: The Observed Surfaces
Class A Surfaces
Class A surfaces typically refer to the surfaces in product design that need to meet the highest aesthetic standards, and are easily visible under normal usage conditions.
In automotive manufacturing and industrial design, Class A surfaces are those that require the strictest appearance standards. They must be very smooth, flawless, and possess extremely high surface quality. To achieve these injection molding quality standards, Class A surfaces often undergo complex processing to ensure their surfaces are smooth and flawless.
Furthermore, the design of Class A surfaces not only focuses on visual effects but also considers factors such as structural strength, durability, and functionality.
Class B Surfaces
Class B surfaces refer to those areas on a product or item that are exposed but not prominently visible. Typically, these are surfaces that are not directly seen under normal usage conditions. For example, the back, side, or bottom of a color box can be defined as Class B surfaces. Although these areas are visible, they are not the main focus of sight.
Class C Surfaces
This is the bottom surfaces of assemblies, structures, or surfaces of parts that are in contact with each other during assembly.
Inspection Conditions
1. This standard is based on the premise that functionality is unaffected and is compared visually. Therefore, it is not superior to limit gauges and specific special injection molding standards.
2. Normally, visual inspection is done at 30cm for 3-5 seconds. If defects are found, the observer moves to 50cm and observes for 3-7 seconds. Defects that are difficult to see and not very obvious are considered OK.
3. The inspection light source is the fluorescent lights used in the production factory, with a vision acuity of 0.7 or above.
4. Observation angle: perpendicular to the observed surface and at a 45-degree angle from above or below.
Inspection Suggestions For Conventional Injection Molding Quality Standards
Flashing
There should be no flashing on any trumpet holes, buttonholes, switch holes, and all mating holes for moving parts. Hidden column positions and structural flashings should not affect assembly or functionality. External and potentially exposed areas that affect safety must be smooth to the touch and not cause scratching.
Deformation
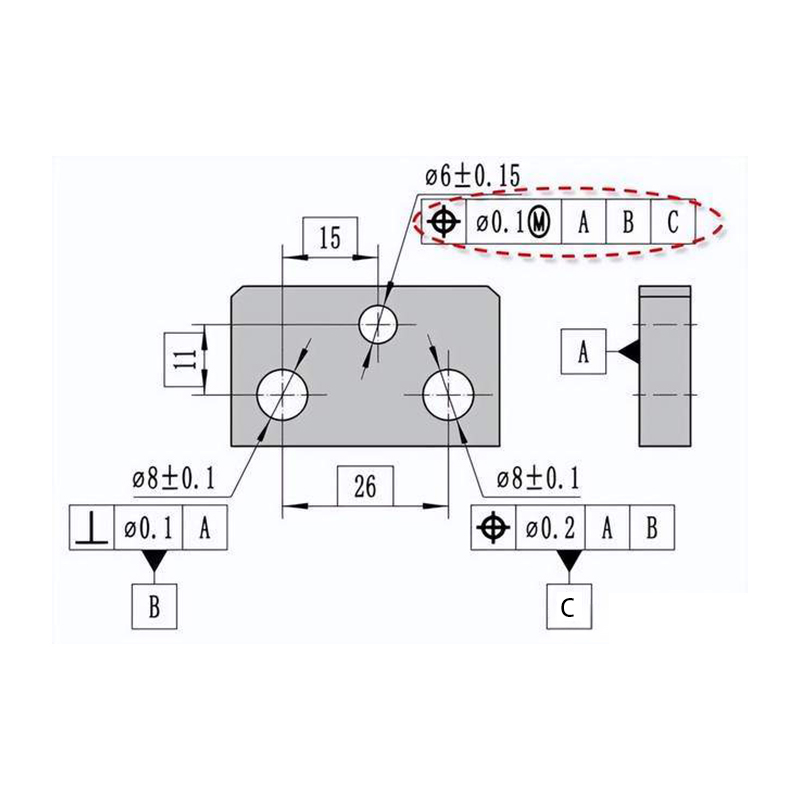
The deformation of the base shell supported on a platform should not exceed 0.3mm, and the deformation of the matching face shell also should not exceed 0.3mm. Deformations in other plastic parts are acceptable as long as they do not affect the assembly or functionality.
Dimensions
Dimensional requirements should refer to the table and control according to the following tolerances:
| Defect Type | Class A | Class B | Class C |
| Cracks | Not allowed | Not allowed | Allowed if no impact on appearance or functionality |
| Short Shot | Not allowed | Not allowed | Minor acceptable if no impact on appearance or function |
| Silver Streaks | Minimum standard as per engineering sample | Minimum standard as per engineering sample | Minimum standard as per engineering sample |
| Sink Mark | Minimum standard, no visible marks or tactile depressions from 45° to 90° | Minimum standard, no visible marks or tactile depressions from 45° to 90° | Minimum standard, no visible marks or tactile depressions from 45° to 90° |
| Dark Spots/Color Blends/Stains | No more than 2 positions, separation >100mm, each <0.4mm² | No more than 3 positions, separation >100mm, each <0.5mm² | No more than 4 positions, separation >100mm, each <0.9mm² |
| Scratches/Impacts | Each no longer than 8mm, no wider than 0.05mm | Each no longer than 10mm, no wider than 0.1mm | Each no longer than 2.5mm, no wider than 0.15mm |
| Ejected Marks | Not allowed | Not allowed | Acceptable if no visual impact, no functional protrusion |
Gate Vestiges
1. Exposed or potentially exposed areas (for example, battery doors) that can affect both appearance and safety standards should have flat gate positions and meet safety standards to ensure they do not cause scratching.
2. Gate vestiges that have assembly requirements but must not be exposed and do not affect assembly should be controlled within 0.5mm and must not impact functionality.
3. The Gate with no assembly requirements, not affecting functionality, and not exposed should be controlled within 1.5mm. The gate positions can have a free-form break shape.
| Dimension Range (mm) | Tolerance (mm) |
| 0 – 10 | ±0.05 |
| 10.1 – 50 | ±0.10 |
| 50.1 – 100 | ±0.15 |
| 100.1 – 200 | ±0.20 |
| Over 200 | ±0.25 |
In Conclusion
Under normal circumstances, the injection molded product quality acceptance standards for buyers are much more complex than the aforementioned suggestions. They may involve aspects such as the product’s packaging, labeling, surface treatment, appearance, structure, performance, usability, assembly functionality, and more. Therefore, you should create a detailed set of acceptance criteria based on your specific needs to ensure that your supplier’s finished products meet your injection molding quality standards.

