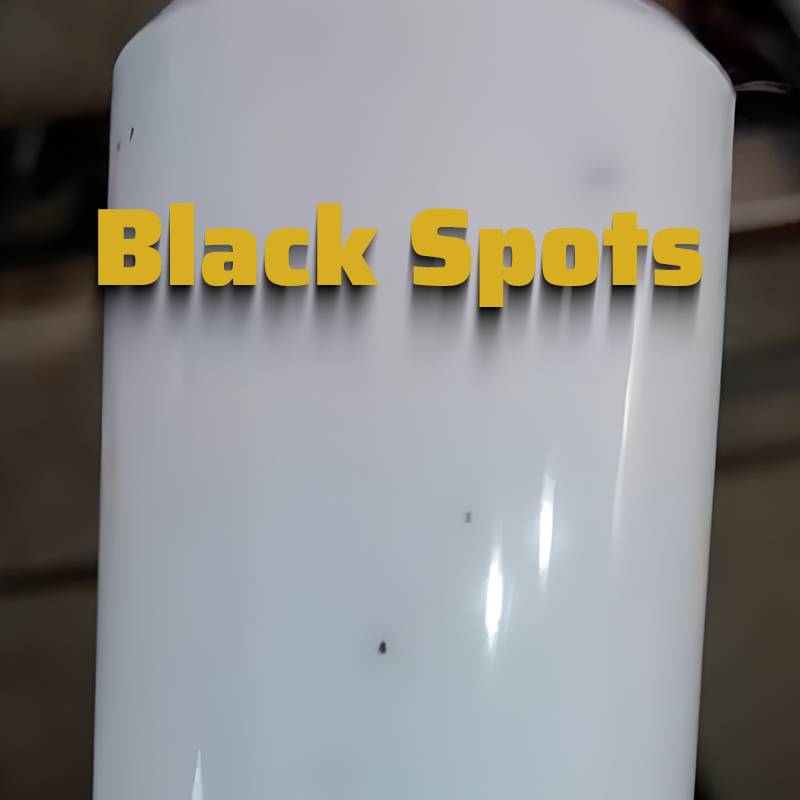
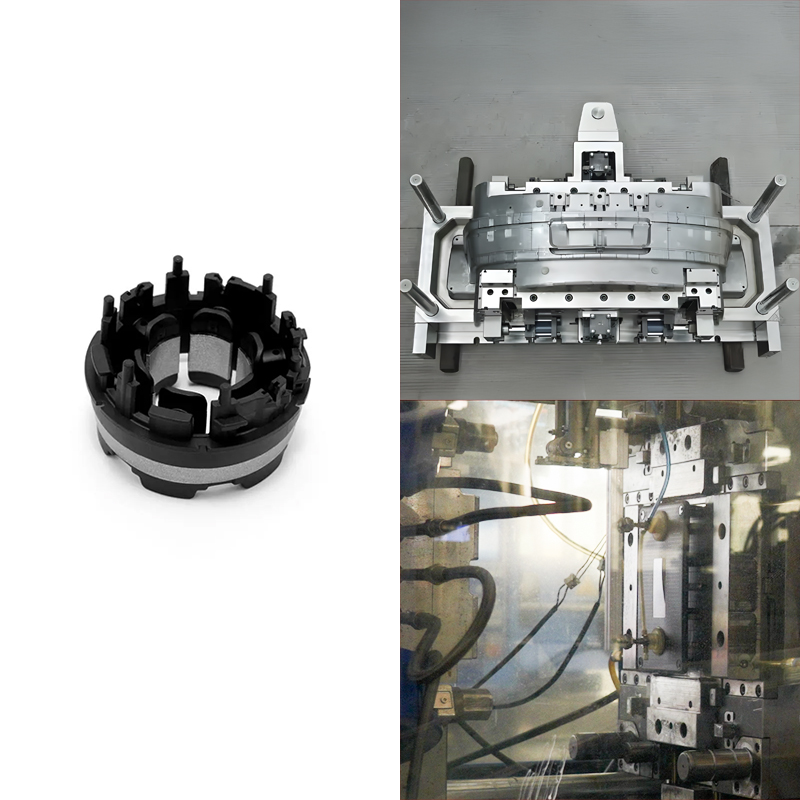
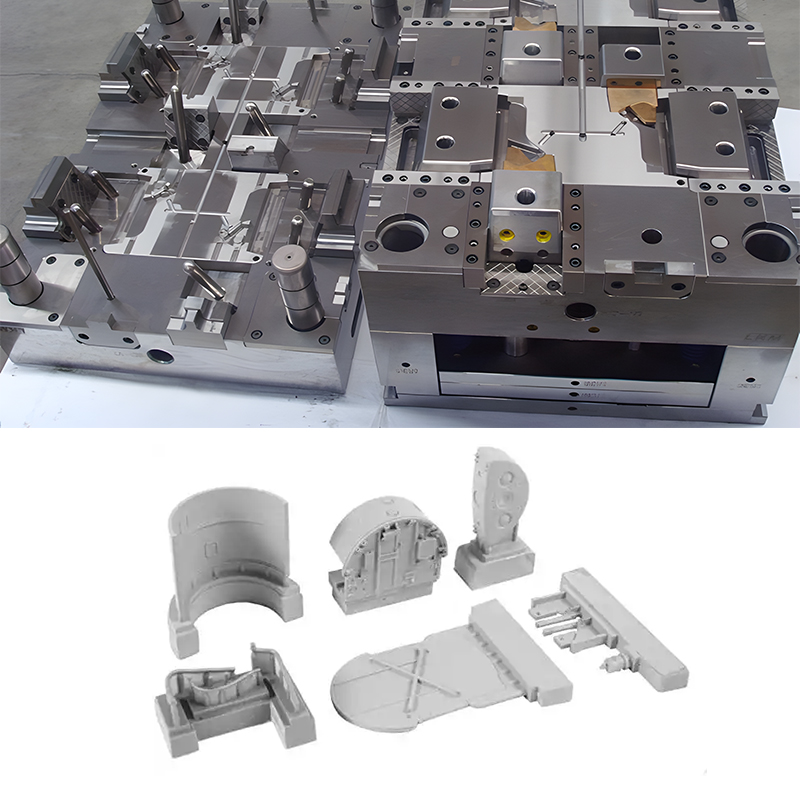
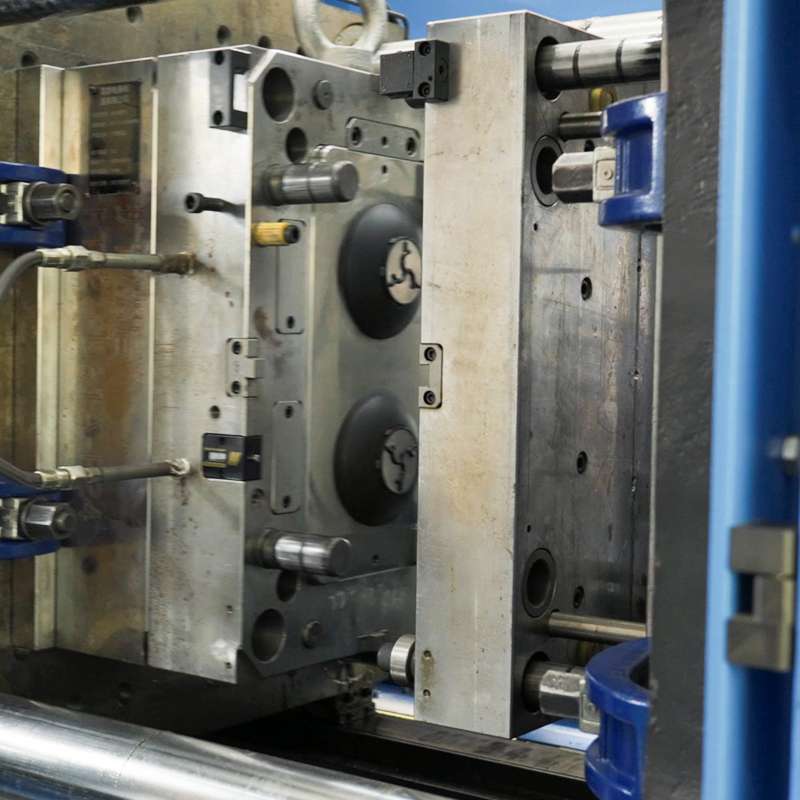
Today, I will continue to discuss common defects in injection molding—black spots and black specks. These defects appear frequently in most injection molding processes, and the higher the product requirements, the harder it is to control the proportion of black spots, which can lead to significant losses. Therefore, reducing the rate of black spot defects in production has become an important way for manufacturers to save costs!
The occurrence of black spots has no relation to product design, but industrial designers should learn how to identify them.
If you are interested in other defects in injection molding, you can click the link below to learn more.
| Understand Different Injection Molding Defects | ||||
|---|---|---|---|---|
| Flash | Short Shot | Sink Mark | Warpage/Deformation | Burn Mark |
| Splay Mark/Silver Streak | Dark Spot/Black Speck | Flow Mark | Bubble | Weld Line |
| Color Difference/Uneven Color | Ejector Pin Mark | |||
What are black spots and black specks in injection molding?
Black spots refer to localized charring phenomena that form along the plastic product’s weld lines, back ribs, protrusions, or near the corners at the end of the flow. Black spots can also appear irregularly at various locations. Sometimes, these black spots may even be distributed in lines, forming black lines.
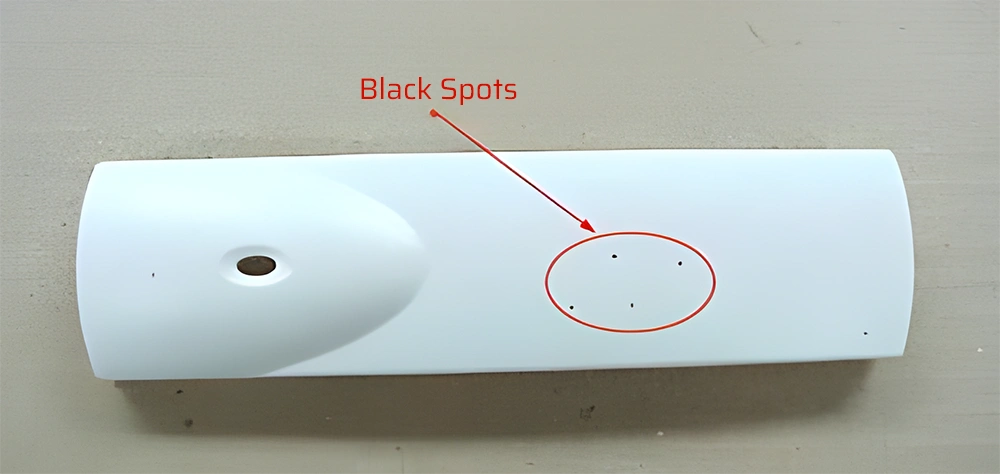
Distribution characteristics of black spots
Black spots and impurities are characterized by small particles that are black or brown, generally non-reflective, and when large, the impurities appear layered, brittle, easily breakable, and porous after breaking. There are two main characteristics of their distribution:
A. Some are distributed irregularly throughout, some are locally irregular, and sometimes only appear occasionally in a specific area.
B. These black spots and impurities sometimes appear only on the surface of the product, and sometimes throughout both the surface and deeper layers. However, internal black spots closer to the surface are lighter in color than those on the surface, and deeper black spots are not visible at all.
How to identify black spots?
Some might wonder: do black spots need to be identified? Aren’t black spots just points that differ in color from the product itself that we all call black spots? If you observe your product under a microscope magnified 200 times, it’s almost impossible to pick out a product that doesn’t have any different-colored points (completely one color). After magnification, you will see many different-colored black spots on the product’s surface… Therefore, there must be a standard for judging any product.
Standards for judging black spots
Where do the standards come from? For injection molding suppliers, it’s essential to be clear about two standards:
A. Black spot control standards provided by the supplier of the raw materials. B. The appearance inspection standards of the product’s corresponding customers (control standards for black spots).
If the raw material’s different-colored spot control standards are lower than the customer’s control standards for the product’s appearance, there can be a significant rate of defects in different-colored spots during production. Thus, injection molding suppliers need to ensure that the material’s control standards for different-colored spots are consistent with the product customers’ acceptance standards (preferably stricter than the customer’s standards).
For customer standards, you can click on “Injection Molded Part Acceptance Standards” to learn more.
Methods to identify black spots
The commonly observed shapes are different; most of what is seen with the naked eye is “circular,” while under magnification, shapes like flaky, multiple points clustered together, cloud-like, strip-shaped, etc., can be seen. So, we generally judge based on the area of the points. Does this mean we need to thoroughly inspect every part of the product surface for black spots? This can be very time-consuming. Typically, product-end customers will have a standard inspection method: under standard lighting, at a standard distance between the product and the eyes, products that do not show (different-colored spots) within a standard time are generally qualified products.
How to handle black-spotted injection-molded parts
All injection-molded parts found with black spots, black specks, or black lines are treated as defective products.
How are black spots formed?
The sources of black spots are generally two types: Material Carbonization—material degradation at high temperatures (or over long periods); Contamination—impurities.
Carbonization
Most high polymer materials need to be heated and sheared during processing. During this process, carbonization of the material is unavoidable (100%). For injection molding machines, there are many places that can increase the chance of carbonization:
(1) Wear on the screw surface
Wear on the screw surface can cause the melt to linger there, leading to carbonization over time;
(2) Residual molten plastic
At various connection points of the machine, such as the screw rocket head, nozzle, flange, etc., gaps can easily form where the melt can linger and produce carbonized black spots.
(3) Long production cycles
During production, long cycles, or large machines (small products), can cause the material to stay too long in the barrel, increasing the likelihood of carbonization.
(4) Adhesion
When cooled plastic is remelted, many engineering materials (such as PC, which adheres well to metal surfaces after cooling) can remain on the metal surface even when reheated. Over time (at high temperatures), a carbonized layer forms. This is a source of black spot defects for production. Therefore, it is necessary to insulate during short stoppages (<4H) to prevent the material in the screw from hardening and adhering, while a lower insulation temperature will not lead to carbonization. Thus, the recommended insulation temperature is generally about 20C-30C above the softening point (for example, the softening point of PC is about 147C, with a recommended insulation temperature of about 180C). During shutdowns, it is necessary to expel the material from the barrel and pass a material that is less prone to carbonization through the machine before directly turning off the power.
(5) Screw capacity
The product size and the screw size determine the dwelling time. Small products encountering large machines mean the material itself may stay too long in the barrel. Prolonged time can cause small molecules to degrade and carbonize easily. For most materials, a dwelling time of less than 5 minutes is ideal. The maximum time should not exceed 15 minutes. For longer durations, it is appropriate to lower the temperature at the rear end of the barrel to reduce the time at high temperatures. Dwelling time calculation formula: Maximum injection volume of the machine * melt density * cycle * coefficient (2.0-2.5) / product weight; or Maximum measuring length * cycle * coefficient / (solvent setting position – residual injection material)
(6) Connection dead angles
At the connection point between the screw and the rocket head, flange, nozzle, etc., inside the barrel, some “dead angles” can form where the melt is not easy to flow (stays), causing long dwell times and leading to degradation and discoloration (resulting in some yellow streaks, black spots, etc.). First, during assembly, ensure the completeness of the threads and precise assembly, and the contact end face should not be damaged. If severe, replacement is necessary!
(7) Surface wear
Uneven surfaces are more prone to wear on the screw surface, making it easier for the screw skin material to “linger,” which has a significant impact on black spot defects. Metal barrel screws, depending on the material, wear differently. Generally, PC or PMMA requires a hardened (plated) screw. For filled materials (glass fiber, mineral powder), an alloy screw is needed. And even with an alloy screw, it still needs to be replaced after a certain period!
(8) Chemical corrosion
Corrosive water, CO2, O2, halides of hydrogen—such as hydrochloric acid, acidic residues, electrolytes, and other impurities. During the processing process, corrosion on the surface of the screw or barrel can also cause the surface to “linger” and produce black spots. Similar to wear, for general materials, ordinary nitrided screws can meet the requirements, but for fireproof materials, a screw (barrel) with nitriding + plating level, or even thick plating treatment, is better for preventing chemical corrosion.
Contamination
Production environment: The colors of other substances in the external environment might differ, and their temperature resistance might be lower, making it easy to produce black spots. For light-colored materials, if produced in an open workshop environment using ordinary hot air drying equipment. There are at least two problems here:
A. Long-term drying, the air sucked in from the open environment and heated into the hopper, if it exceeds 16H, ordinary transparent materials can turn into light gray particles… meaning the defect rate can reach 100%. In normal production, the hopper cycle is 4-12H, but the proportion of air intake contamination is still very high.
B. During production, a common mold surface, just opened for a short while, will gather a lot of dust (the machine itself is an electric device, although it’s grounded, it can’t be “0 static”), and the production process is also a factor in “different-colored spots.” Therefore, for light-colored products, which require high standards for “different-colored spots,” it is recommended to produce in a clean room.
As mentioned before, material particles are mostly processed by machines, and they themselves have a certain proportion of black spots (hence the need to obtain the manufacturer’s standards). Additionally, the material’s ability to withstand high temperatures and high-temperature oxidation in these formulations, under conditions where the capacity is insufficient, processing can be quite painful, and it can be easy to encounter yellowing (streaks), blackening (streaks, spots), and other issues.
How to improve black spots?
Previously, we discussed short-term insulation and some precautions and procedures during direct shutdowns. But cleaning the barrel screw requires attention to the method:
1. Cleaning
(1) Generally, we can use relatively hard materials to clean the screw barrel, using the scraping principle to preliminarily clean out some of the surface residues, such as PMMA material (relatively high hardness)! For example: undried PS, PC (undried and not quickly melted, also a bit harder), etc.
(2) For cleaning-filled material types, PC+GF material can be used for cleaning. Because glass fiber (GF) is solid under normal processing temperature ranges (<=400C), we all understand that glass is very hard. Note, do not use this method on ordinary material screws as it will cause severe wear. Please note, during cleaning, remember to repeatedly raise (20C) and lower (20C) the temperature for cleaning. Principle: A, the change in viscosity; B, the change in internal pressure, both can take away more residues.
(3) In cases of severe black spots, directly disassemble the screw barrel for polishing.
2. Maintenance
During shutdowns: As previously discussed, it’s essential to clean off the production materials (engineering class materials), this step, in my understanding, is more of a management and maintenance process! Cleaning the residual materials in the barrel, here a relatively high-viscosity material is a good choice for cleaning.
Firstly, this kind of modified material needs to be close to the production material in temperature, secondly, it has good viscosity. We recommend using some special washing materials for cleaning, this kind of special cleaning material has very good viscosity. During the cleaning process, its exchangeability is outstanding and this cleaning material has good chemical activity (very good compatibility). This can continue the chemical reaction with some of the “lingering points”, dead-end positions of the materials inside the barrel during a shutdown. In the next startup, This can take away more residues (reduce the chance of black spots).
After cleaning the color (shooting a few times), finally shoot empty (recommended minimum dwell time of 15 minutes, give it some time for reaction compatibility). Of course, changing material production can also improve black spots. This kind of material’s color cleaning ability is much stronger than ordinary materials, this can save a lot of time very effectively. Its feature is that it can stay in the barrel for a relatively long time. At the same time, it is compatible with some of the dead-end materials inside, reducing subsequent black spot production.
Conclusion
It’s not hard to see, that the black spots have a certain relationship with the equipment and environment of the injection molding factory. Even more, they have a relationship with the management of the workshop by the injection molding factory. FirstMold has always emphasized the 6s management of workshop production. This era is the era of scientific injection molding, as well as the era of smart injection molding.
I am Lee Young from FirstMold, I am passionate about sharing experiences and knowledge related to injection molding and mold making. If you have any questions, feel free to contact me at [email protected].
