

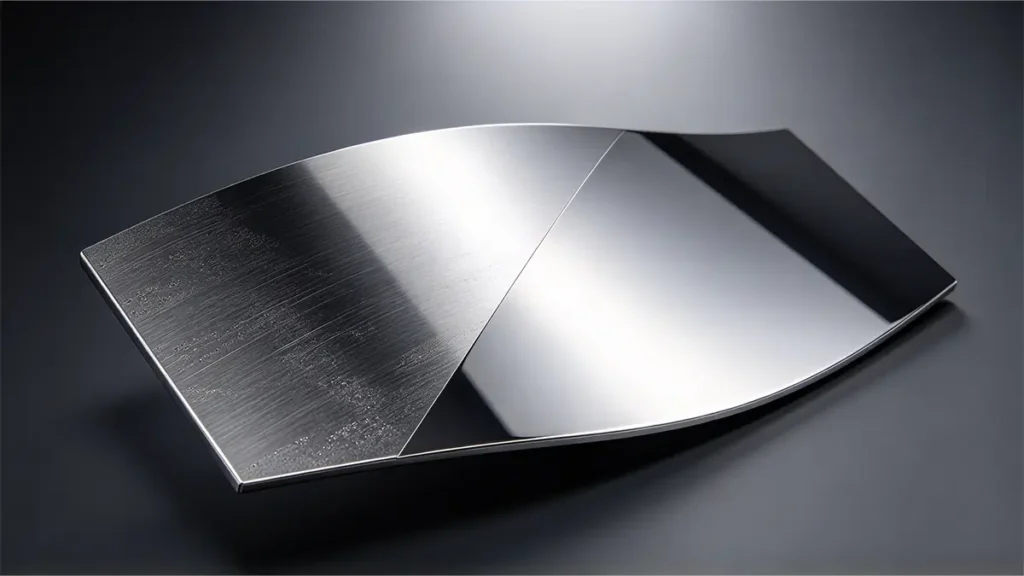
金属研磨とは、部品の表面から微細な材料を除去し、凹凸を取り除く工程です。この工程では、微細な研磨材を用いて表面を研磨し、強く一様な反射を生み出します。 金属研磨は、単なる単純な工程ではありません。経験豊富な担当者が制御しなければならない一連のパラメータが関わっています。材料除去のプロセスは反復的なものであり、製造業者が達成しようとする仕上げの精細度によって異なります。.
例えば、ステンレス製の自動車用排気管を考えてみましょう。製造現場を訪れると、表面は加工したばかりか、あるいはブラスト処理が施されたばかりで、工具の跡がはっきりと残っているように見えるかもしれません。しかし、研磨を施すと、表面は鏡のように明るく光り輝くようになります。.
本稿では、金属研磨工程において、鏡面仕上げを実現する方法について、その手順、研磨材の選定、および表面処理を含めて解説します。.
金属部品の「鏡面仕上げ」とは何ですか?
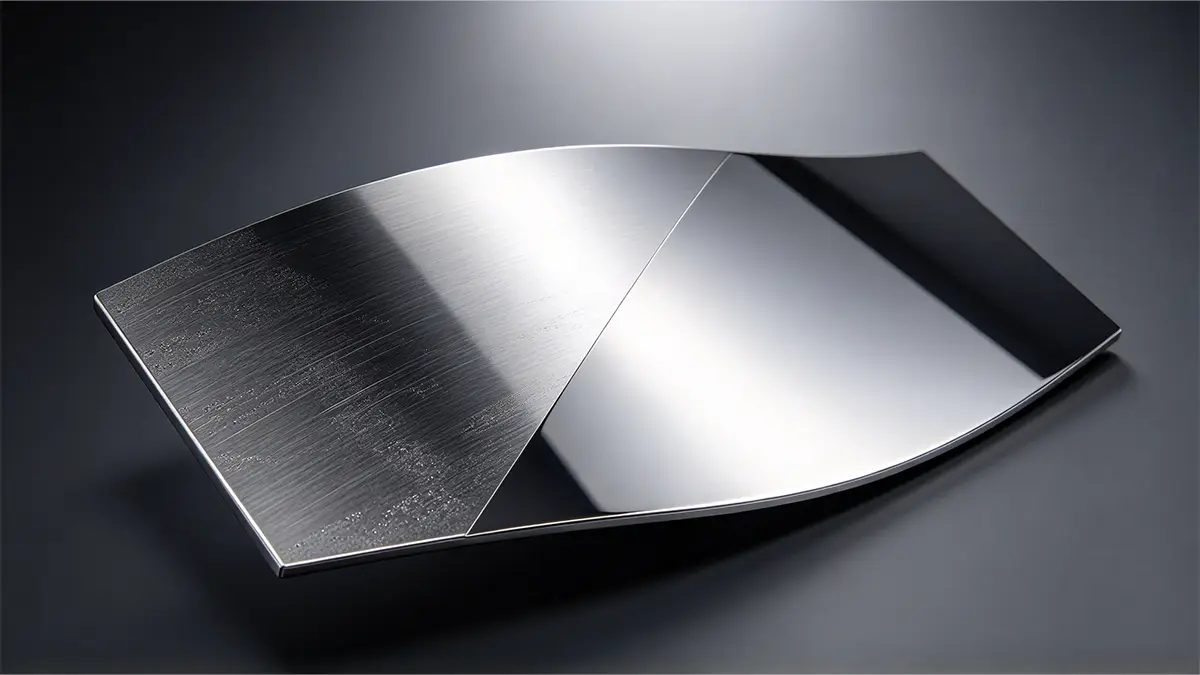
鏡面仕上げとは、反射率の高い金属表面のことです。これは機械的または電気化学的な方法で実現できます。研磨を行うことで、CNC加工跡、研削線、溶接による変色、酸化層などを除去し、視覚的な反射率と表面の質感を向上させることができます。 研磨された表面には、入射光を反射できるほど微細な方向性のある欠陥があります。ノートン社は、ステンレス鋼のミラー仕上げを、高度に研磨され、明るく、反射性の高い表面と説明しています。ノートン社によると、ステンレス鋼は非常に滑らかで、そのRa値は0.2 µm未満です。.
Ra値だけでは、鏡面の品質を完全に定義することはできません。例えば、2本の排気管が同じRa値であっても、見た目は異なる場合があります。部品の外観は、幾何学的歪み、うねり、付着した粒子、方向性のある傷など、他の要因によっても左右されます。.
金属研磨によって、どのように鏡面仕上げが得られるのでしょうか?
鏡面仕上げは、基本的に段階的な研磨による材料除去によって実現されます。まず、粗研磨工程で部品の表面から大きな欠陥を取り除きます。 次に、より細かい研磨工程により、粗研磨によって生じた傷を取り除きます。この材料除去工程は、すべての表面欠陥が十分に除去されるまで繰り返し行われます。この時点で、表面はより滑らかになり、その結果、反射率も高まります。以下に、鏡面仕上げに至る一連の工程をまとめます。.
機械加工面 → 粗研磨 → 中間研磨 → 細研磨 → バフ研磨/研磨剤 → 洗浄 → 検査
| ステージ | 主な目的 | 代表的な研磨スケール |
|---|---|---|
| 表面処理 | 汚染や重大な欠陥を取り除く | - |
| 粗研削 | 面取り加工の跡、溶接跡、深い傷 | ~36~120グリット |
| 中級仕上げ | 粗い研磨による傷を取り除く | ~120~320+番 |
| 精密仕上げ | 残りのスクラッチ模様を仕上げる | ~320~1000+ グリット |
| 微細仕上げ | 仕上げ加工が可能な表面を仕上げる | ミクロン級の研磨材 |
| 最終仕上げ | 反射率を高め、微細な欠陥を除去する | 微細化合物/ミクロン級研磨剤 |
| バッフィング | 高光沢な外観を実現する | 微細研磨剤 |
金属の研磨を行う前に、どのような表面処理が必要ですか?
金属研磨の効果は、表面の準備状態に左右されます。CNC加工または成形された部品を研磨する際の最初のステップは、欠陥の有無を確認することです。適切な検査を行うことで、工具痕、深い傷、酸化の可能性、および材料の除去を妨げる寸法上の特徴などを特定することができます。この検査は、製造業者がCNC部品の精度を維持するために不可欠です。 検査と粗研磨が完了したら、仕上げ研磨を行う前にバリを取り除く必要があります。バリの除去は、その後の研磨工程に向けた表面処理の一環です。バリは、後で除去するのが困難になる可能性のある欠陥の原因となります。.
深い傷や溶接跡などの欠陥の中には、効果的に除去するために強力な研磨処理が必要な場合があります。ただし、起こりうる副作用を避けるためには、研磨の状況を適切に監視する必要があります。 例えば、製造チームがステンレス鋼の鏡面仕上げを目指す場合、ノートンのガイドラインでは80グリットの研磨材を使用することが推奨されています。その他の表面処理要件が満たされた後、エンジニアは、より細かい研磨材による研磨を行う前に、滑らかな表面を実現しなければなりません。表面にまだ深い傷が残っている状態で、細かい研磨に進むことは推奨されません。.
一般的な金属研磨の工程とはどのようなものですか?
CNC加工部品の一般的な機械的研磨工程は、粗研磨から始まって、仕上げ研磨へと進みます。.
- 表面処理
研磨を始める前に、まず表面の前処理を行います。これには、ほこり、油分、グリース、指紋などを除去するための洗浄が含まれます。洗浄は表面前処理の一環であり、研磨の各工程で行われます。.
- 粗目研磨
粗研磨は、Ra値を最大3.2 µmから最小0.8 µmまで低減することを目的としています。粗研磨では、120~180グリットの研磨材を使用し、加工痕を取り除き、表面を平滑化するために、加工可能な外面に対して行われます。 この段階での材料除去量はかなり多く、表面あたり20~50 µm程度になることが多く、公差の厳しい部品では重要な要素となります。.
- ステップ3:中程度の研磨
これは240~320グリットの材料除去工程です。第1段階での傷をターゲットとし、より均一な表面粗さを実現します。この段階でのRa値は0.5 µm程度と、非常に低くなっています。この工程を終えると、表面は明らかに滑らかになります。ただし、斜光の下では依然として目に見える凹凸が残っています。.
- ステップ4:微細研磨
この400~600グリットの研磨工程では、サテン仕上げまたは予備研磨仕上げが得られます。この工程で得られるRa値は0.2~0.4 µmの範囲です。ステンレス鋼の場合、この工程では、多くの産業用途で最終仕上げとして指定されている、典型的なサテン仕上げまたはブラッシュ仕上げの金属表面が得られます。.
- ステップ5:微細仕上げとバフ掛け
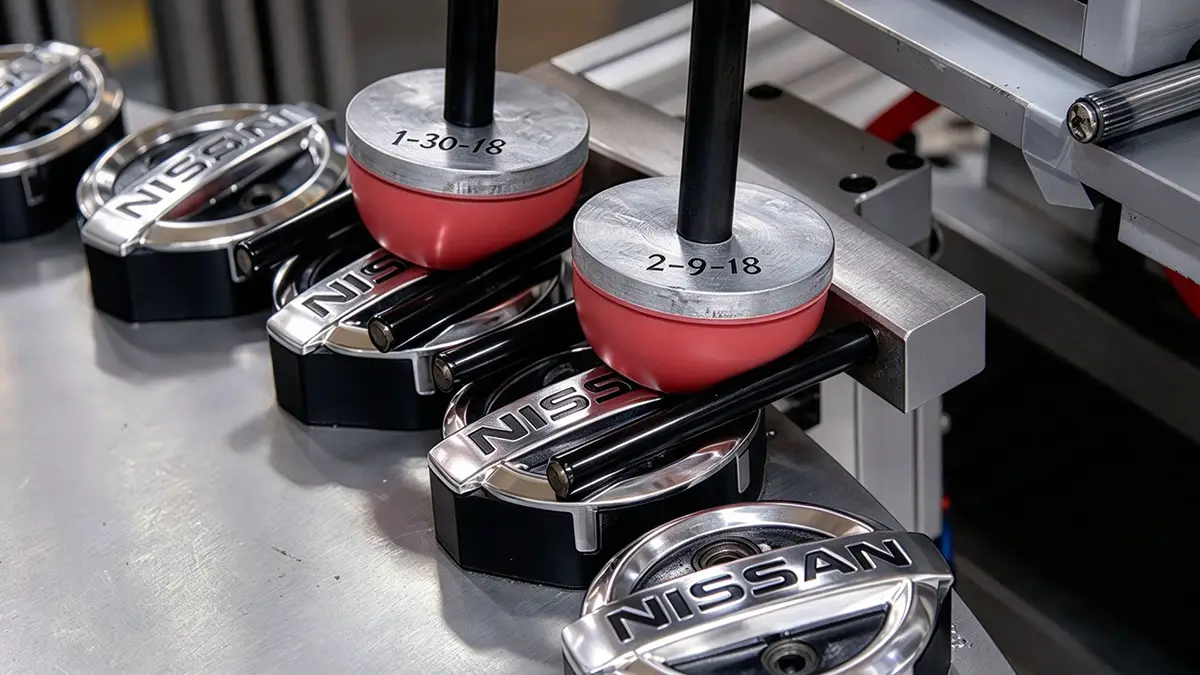
ステップ4で得られたサテン仕上げを真の鏡面仕上げに仕上げるには、部品をバフ研磨する必要があります。この工程では、柔らかい布またはコットンホイールと、超微細な研磨剤(ルージュや酸化アルミニウムペーストなど)を組み合わせて使用します。 バフホイールは高速で回転し、わずかな摩擦と熱を発生させます。これにより、前の研磨剤によって残された微細な突起が溶けて平らになります。この最終的な平滑化により、Ra値は0.2 µmを大幅に下回り、反射率が高く、光学的に透明で、欠点のない鏡面のような外観が得られます。.
- 最終清掃および点検
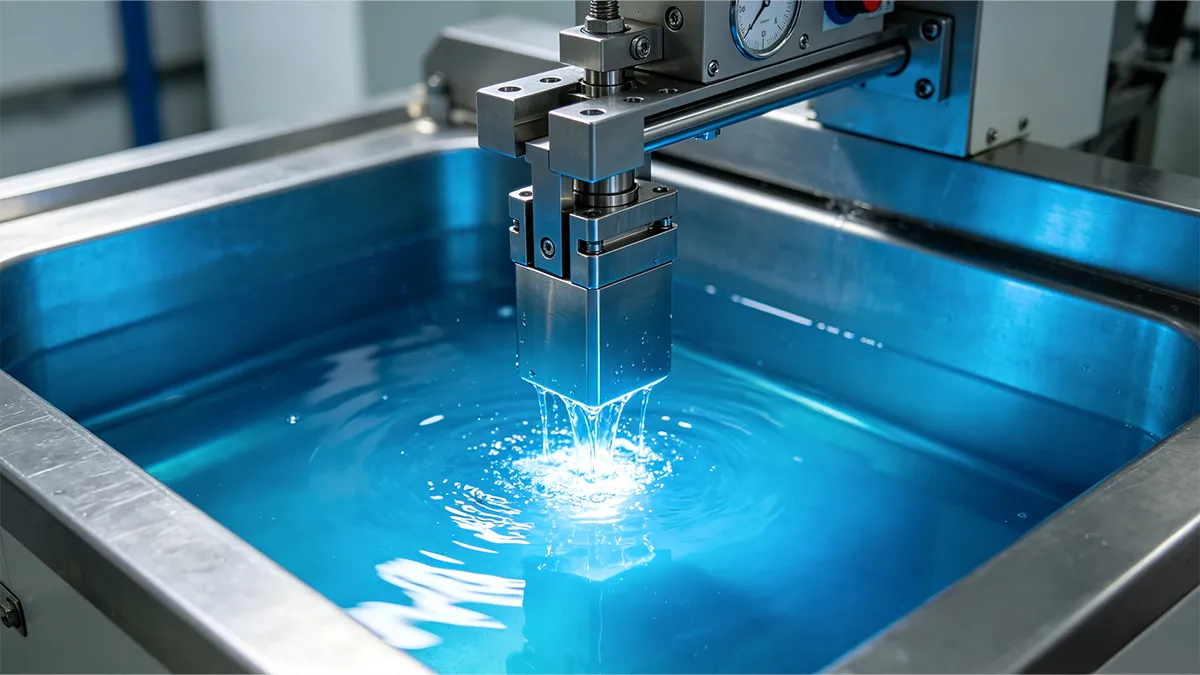
微細研磨の後、部品を洗浄して残留物を除去します。残留物を除去しないと、目視検査や表面粗さ評価に支障をきたす可能性があります。埋込み穴や凹部など、拭き取りが困難な箇所では、超音波洗浄がよく用いられます。鏡面研磨は反復的な工程です。 例えば、微細研磨を行う前に、Ra値が大幅に低下するまで中程度研磨を繰り返すことがあります。最終検査では、達成されたRa値が許容範囲内であることを確認します。これには、表面粗さ測定器の使用、研磨欠陥の有無を確認するための適切な照明下での目視検査、および金属研磨工程の影響を受けた可能性のある公差の厳しい部位の寸法検査が行われます。.
電気研磨の代わりに機械研磨をいつ使用すべきか?
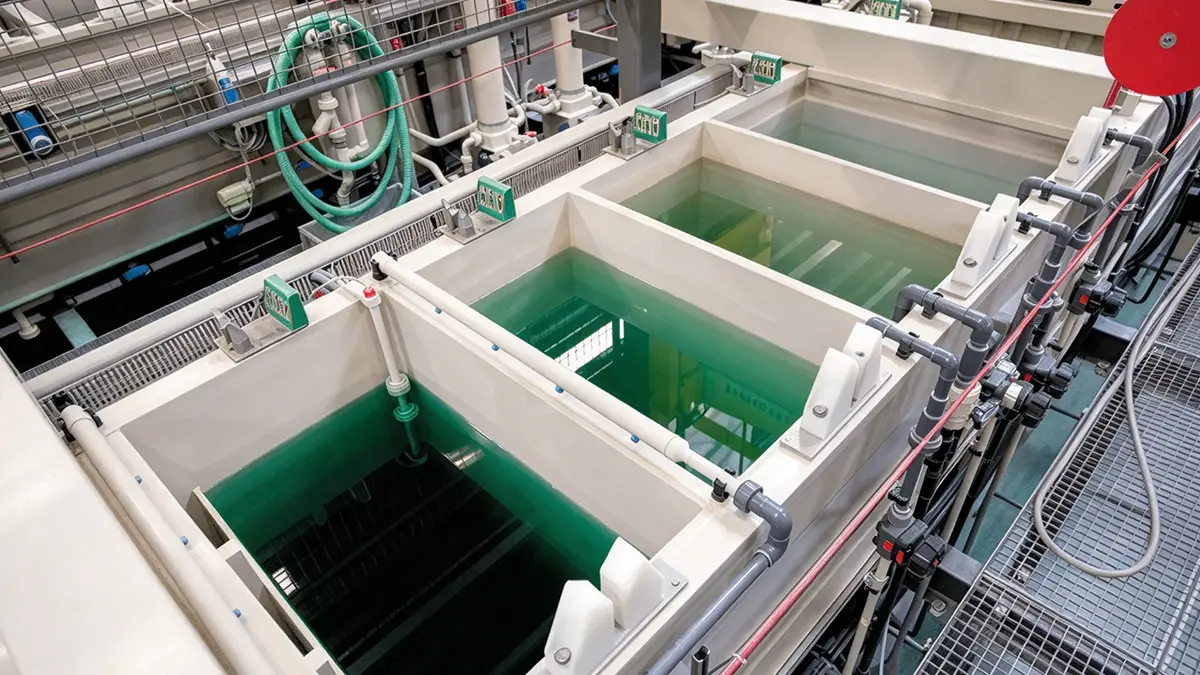
多くの場合、エンジニアは機械研磨と電解研磨のどちらを選ぶべきか悩んでいます。これは、ステンレス製の半導体製造装置や製薬用容器など、数多くの用途において当てはまります。機械研磨は電解研磨とは異なります。この2つのプロセスは競合するものではありません。これらは、仕上げ工程の異なる段階において、それぞれ異なる課題に対処するものです。 電気研磨は、電気化学的な溶解プロセスです。被加工物を酸性電解液(通常はリン酸と硫酸の混合液)に浸漬し、直流回路の陽極として接続します。これは、ASTM B912などの標準的な不動態化および電気研磨の仕様に準拠しています。 [1]. 表面の物質は、凹凸部分(ピーク部で電流密度が高い)で優先的に溶解し、原子レベルで表面が平坦化される。研磨的な接触は生じない。.
以下の表は、エンジニアが機械研磨と電解研磨のどちらを選択すべきか判断すべき場合をまとめたものです。.
予算に制約があり、腐食のリスクは低い
- 表面には深刻な損傷が見られます:深い凹み、溶接跡、傷、鋳皮
- 用途は重要度が低い:乾燥製品用容器、構造部材
- 電解研磨の前処理工程として
- 携帯用機器を用いた現場での修理が必要となります
- 非衛生用途における目標仕上げは、#4~#7です。
電気研磨をいつ行うか
粒子およびアウトガスに関する要件により、機械的仕上げのみでは不十分である
- バイオ医薬品、半導体用化学薬品供給、または超高純度ガスシステム
- 本アプリケーションでは、ASME BPE SF4~SF6への準拠が求められます
- 耐食性と実証済みの洗浄性は極めて重要である
- 規制関連文書では、Cr:Feの表面比の検証が求められている
- 複雑な内部形状(タンク、配管の内径など)には、均一な仕上げが求められます
金属研磨において最もよく見られる欠陥にはどのようなものがありますか?
金属の研磨においては、たとえ完璧な表面仕上げを目指して最善の努力を尽くしたとしても、欠陥が生じることがよくあります。これらの欠陥を理解することは、その防止策を講じるための基礎となるため、重要です。.
ピッティング
これらは、金属表面に生じる、局所的な小さな腐食や損傷です。研磨時の汚染や、不適切な研磨材の使用など、不適切な作業方法によって生じます。 ピッティングは、金属の構造的完全性に影響を及ぼし、局所的な破損を加速させる可能性があるため、危険な構造強度上の欠陥です。このメカニズムは、FAA AC 43-4Bなどの航空宇宙分野の腐食管理ガイドラインにおいて厳重に監視されています。 [2].
仕上がりのムラ
金属表面の特定の部分が他の部分よりも強く研磨され、仕上げにムラが生じることがあります。これは、研磨時の圧力のばらつき、研磨材の品質のばらつき、あるいは研磨機自体の不具合などが原因で起こります。仕上げのムラは、部品の外観や機能性に影響を及ぼします。.
微細な傷
微細な傷とは、研磨中に表面に生じることがある小さな傷のことです。多くの場合、肉眼では確認できません。微細な傷は、通常、研磨粒子、摩耗した研磨パッド、または不適切な機械の設定によって生じます。 マイクロスクラッチは、より大きな問題を引き起こす可能性があります。金属に弱点を生じさせ、ひび割れや腐食、あるいは摩耗の増加につながる恐れがあります。SAEの表面粗さ規格によれば、表面の凹凸は応力集中点として知られており、疲労寿命を著しく低下させるからです。 [3].
結論
結局のところ、完璧な鏡面仕上げを実現するには、部品の重要寸法を変えずに表面の凹凸を平滑化するため、段階的な研磨工程を厳密に順守する必要があります。.
参考文献
[1] ASTM International. (2018). ASTM B912-02(2018) 電気研磨を用いたステンレス鋼の不動態化に関する標準仕様書. ASTM規格データベース。出典: https://www.astm.org/b0912-02r18.html
[2] 連邦航空局(FAA)。(2018年)。. アドバイザリー・サーキュラー 43-4B:航空機の腐食防止対策. FAA文書ライブラリ。出典: https://www.faa.gov/documentLibrary/media/Advisory_Circular/AC_43-4B.pdf
[3] SAE International. (発行年不明). J448_196306: 表面の質感. SAE規格。出典: https://www.sae.org/standards/content/j448_196306/





 JA
JA  EN
EN  ES
ES  FR
FR  DE
DE  IT
IT  PT
PT  NL
NL  PL
PL  AR
AR  KO
KO  ZH
ZH