

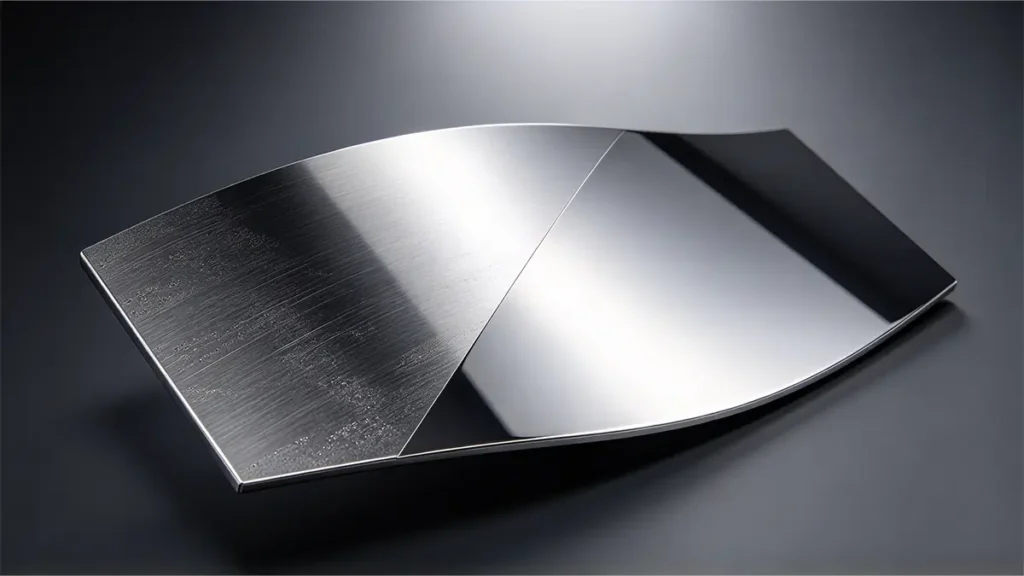
La lucidatura dei metalli consiste nella rimozione di materiale in quantità minime dalla superficie di un componente per eliminare le irregolarità. Il processo prevede l’utilizzo di abrasivi fini che agiscono sulla superficie per produrre un riflesso intenso e omogeneo. La lucidatura dei metalli non è un processo semplice. Comporta una serie di parametri che devono essere controllati da personale esperto. Il processo di asportazione del materiale è iterativo e dipende dal livello di finezza che il produttore intende ottenere.
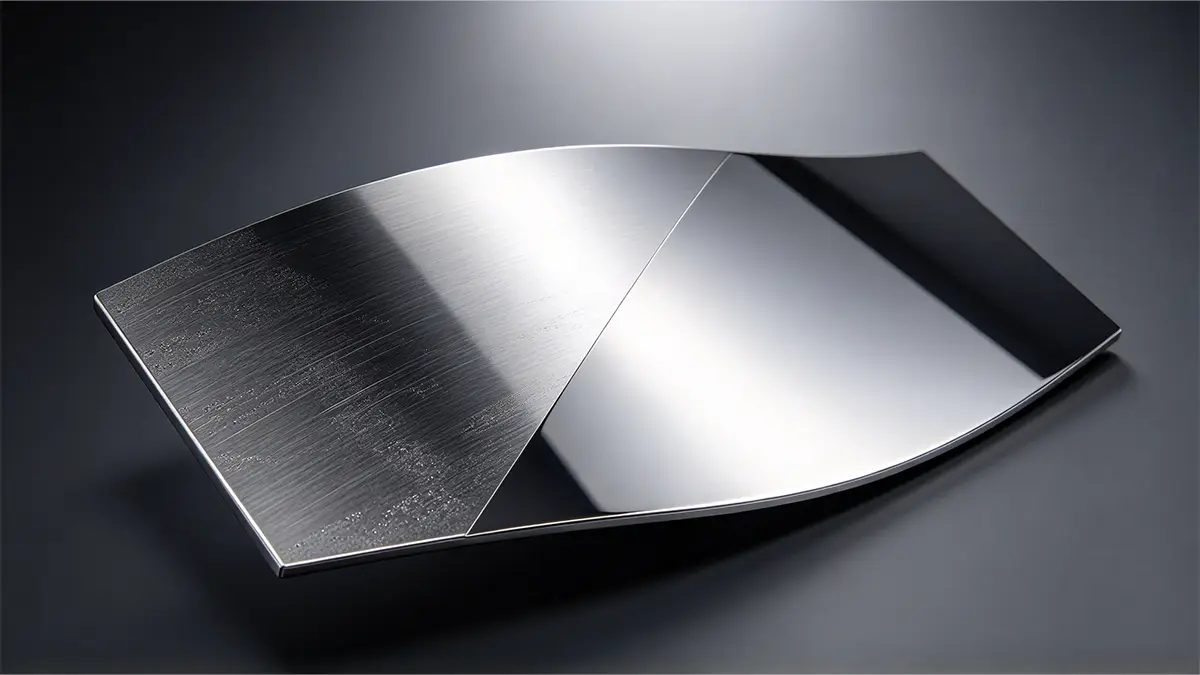
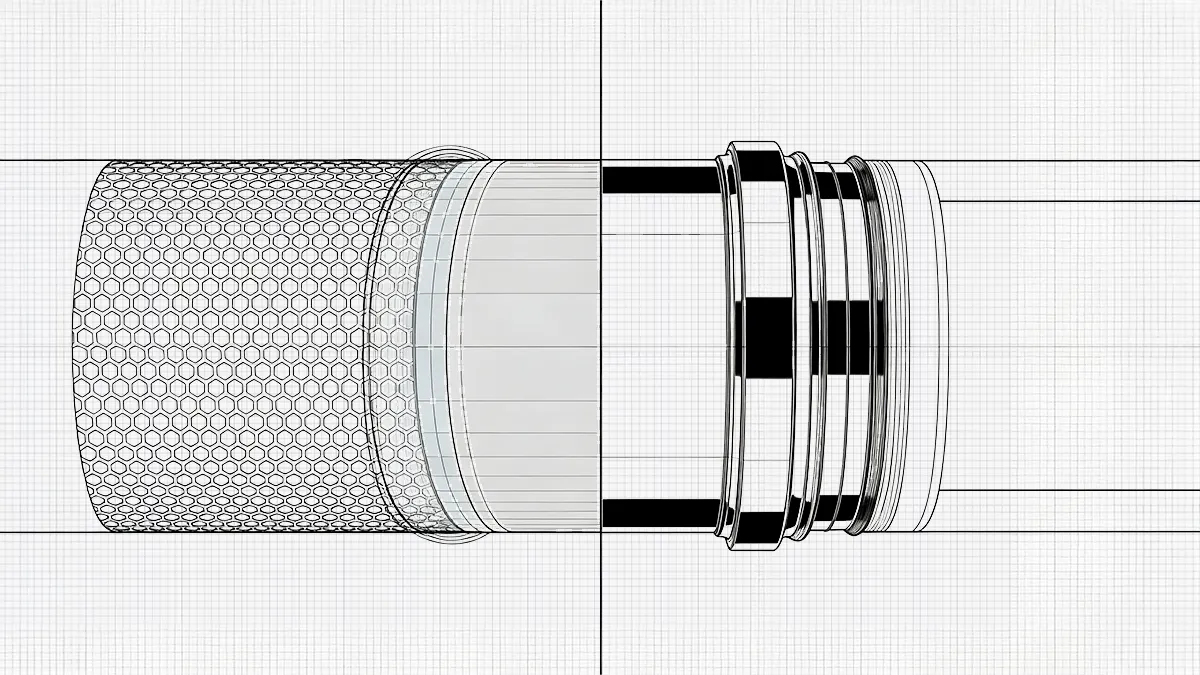
Si consideri, ad esempio, un tubo di scarico automobilistico in acciaio inossidabile. Quando si visita un’officina di lavorazione, la superficie può apparire appena lavorata o spazzolata, con segni visibili lasciati dagli utensili. Tuttavia, dopo la lucidatura, la superficie diventa brillante e riflettente, come uno specchio.
In questa trattazione viene spiegato come il processo di lucidatura dei metalli consenta di ottenere una finitura a specchio, illustrando le fasi da seguire, la scelta degli abrasivi e la preparazione della superficie.
Che cos’è la finitura a specchio su un componente metallico?
Una finitura a specchio è una superficie metallica altamente riflettente. È possibile ottenerla con procedimenti meccanici o elettrochimici. La lucidatura migliora la riflettività visiva e la struttura superficiale riducendo i segni di lavorazione CNC, le linee di rettifica, lo scolorimento dovuto alle saldature e gli strati di ossido. Una superficie lucidata presenta difetti direzionali sufficientemente piccoli da riflettere la luce incidente. Norton descrive una finitura a specchio per l’acciaio inossidabile come una superficie altamente lucidata, brillante e riflettente. Secondo Norton, l’acciaio inossidabile è talmente liscio che il suo valore Ra è inferiore a 0,2 µm.
I valori Ra non definiscono interamente la qualità visiva dello specchio. Ad esempio, due tubi di scarico possono avere gli stessi valori Ra ma apparire comunque diversi. L’aspetto dei componenti è determinato da altri fattori, quali la distorsione geometrica, l’ondulazione, la presenza di particelle incastrate e i graffi direzionali.
In che modo la lucidatura dei metalli consente di ottenere una finitura a specchio?
Una finitura a specchio si ottiene fondamentalmente tramite una progressiva asportazione di materiale mediante abrasione. Innanzitutto, il processo di abrasione grossolana rimuove i difetti superficiali più evidenti dalla superficie del componente. Successivamente, un processo abrasivo più fine elimina i graffi causati dall’abrasione grossolana. Questo processo di asportazione del materiale prosegue in modo iterativo fino a quando tutti i difetti superficiali non vengono sufficientemente eliminati. A questo punto, la superficie risulta più liscia e quindi più riflettente. Di seguito è riportato un riepilogo delle fasi che portano alla finitura a specchio.
Superficie lavorata → levigatura grossolana → levigatura intermedia → levigatura fine → pasta per lucidatura → pulizia → controllo
| Palcoscenico | Obiettivo principale | Scala abrasiva tipica |
|---|---|---|
| Preparazione della superficie | Eliminare le impurità e i difetti più evidenti | - |
| Macinatura grossolana | Segni di lavorazione, saldature, graffi profondi | grana ~36–120 |
| Finitura intermedia | Eliminare i graffi causati da abrasivi a grana grossa | grana ~120–320+ |
| Finitura di precisione | Perfezionare il motivo a graffi rimanente | grana ~320–1000+ |
| Microlavorazione | Realizzare una superficie pronta per la lucidatura | Abrasivi di grado micrometrico |
| Lucidatura finale | Aumentare la riflettività ed eliminare i difetti più sottili | Composti fini / abrasivi micronici |
| Lucidatura | Conferire un aspetto molto lucido | Pasta per lucidatura fine |
Quale preparazione della superficie è necessaria prima della lucidatura del metallo?
L’efficacia della lucidatura dei metalli dipende dalla preparazione della superficie. Il primo passo nella lucidatura di un componente lavorato a CNC o stampato consiste nell’identificare eventuali difetti. Un’ispezione adeguata consente di individuare segni lasciati dagli utensili, graffi profondi, possibile ossidazione e caratteristiche dimensionali che impediscono la rimozione del materiale. Questa ispezione è essenziale perché aiuta i produttori a mantenere la precisione dei pezzi lavorati a CNC. Una volta completate l’ispezione e la lucidatura grossolana, è necessario rimuovere le bave prima di procedere alla lucidatura fine. La rimozione delle bave costituisce una fase di preparazione della superficie in vista delle successive fasi di lucidatura. Le bave creano difetti che potrebbero risultare difficili da rimuovere in seguito.
Alcuni difetti, come graffi profondi e saldature, richiedono un approccio abrasivo aggressivo per essere eliminati in modo efficace. Tuttavia, la natura dell’abrasione deve essere monitorata attentamente per evitare possibili effetti collaterali. Ad esempio, se un team di produzione punta a ottenere una finitura a specchio sull’acciaio inossidabile, le linee guida di Norton suggeriscono di utilizzare un abrasivo a grana 80. Una volta soddisfatti gli altri requisiti di preparazione della superficie, gli ingegneri devono ottenere una superficie liscia prima di procedere con una lucidatura abrasiva più fine. Non è consigliabile passare all’abrasione fine quando la superficie presenta ancora graffi profondi.
Qual è il processo tipico di lucidatura dei metalli?
Un tipico processo di levigatura meccanica per i pezzi lavorati con macchine CNC prevede di passare dalla levigatura grossolana a quella fine.
- Preparazione della superficie
Prima di iniziare la lucidatura, la superficie viene preparata. Ciò comprende la pulizia per rimuovere polvere, oli, grasso, impronte digitali ecc. La pulizia fa parte della preparazione della superficie e viene effettuata in ogni fase della lucidatura.
- Abrasione grossolana
La levigatura grossolana ha lo scopo di ridurre i valori Ra da un massimo di 3,2 µm a un minimo di 0,8 µm. La levigatura grossolana viene eseguita con grana 120-180 sulle superfici esterne accessibili per rimuovere i segni di lavorazione e livellare la superficie. La rimozione di materiale in questa fase può essere significativa, spesso dell’ordine di 20-50 µm per superficie, il che è importante per le caratteristiche con tolleranze strette.
- Fase 3: Abrasione media
Si tratta di una fase di asportazione di materiale con grana da 240 a 320. Ha lo scopo di eliminare i graffi della prima fase e di ottenere una texture superficiale più uniforme. I valori Ra in questa fase sono notevolmente bassi, circa 0,5 µm. Al termine di questa fase, la superficie appare chiaramente più liscia. Tuttavia, sotto luce obliqua è ancora visibile una certa texture.
- Fase 4: Levigatura fine
Questa fase di lucidatura con grana 400-600 produce una finitura satinata o di pre-lucidatura. I valori Ra ottenuti in questa fase sono compresi tra 0,2 e 0,4 µm. Sull’acciaio inossidabile, questa fase produce una tipica finitura satinata o spazzolata che molte applicazioni industriali specificano come condizione finale.
- Fase 5: Microfinitura e lucidatura
Per trasformare la finitura satinata ottenuta nella Fase 4 in una vera finitura a specchio, il componente deve essere sottoposto a lucidatura. In questa fase si utilizzano panni morbidi o dischi di cotone abbinati a composti lucidanti ultrafini (come il rouge o le paste a base di ossido di alluminio). Il disco di lucidatura opera ad alta velocità, generando un leggero attrito e calore che sciolgono e livellano le microscopiche irregolarità lasciate dagli abrasivi precedenti. Questo livellamento finale porta il valore Ra ben al di sotto di 0,2 µm, ottenendo un aspetto a specchio altamente riflettente, otticamente trasparente e privo di imperfezioni.
- Pulizia finale e ispezione
Dopo la levigatura fine, pulire i pezzi per rimuovere i residui di composto. Se non vengono rimossi, questi residui possono interferire con la valutazione visiva o della rugosità. La pulizia ad ultrasuoni viene spesso utilizzata quando i fori ciechi o le superfici incassate sono difficili da pulire con un panno. La lucidatura a specchio è un processo iterativo. Ad esempio, prima di procedere con l’abrasione fine, è possibile ripetere l’abrasione media fino a quando il valore Ra non risulta significativamente ridotto. L’ispezione finale garantisce che il valore Ra ottenuto sia accettabile. Ciò si ottiene utilizzando un profilometro di superficie, un’ispezione visiva in condizioni di illuminazione adeguate per individuare eventuali difetti di lucidatura e controlli dimensionali su eventuali elementi con tolleranze strette che potrebbero essere stati influenzati dal processo di lucidatura del metallo.
Quando è opportuno ricorrere alla lucidatura meccanica anziché all’elettrolucidatura?
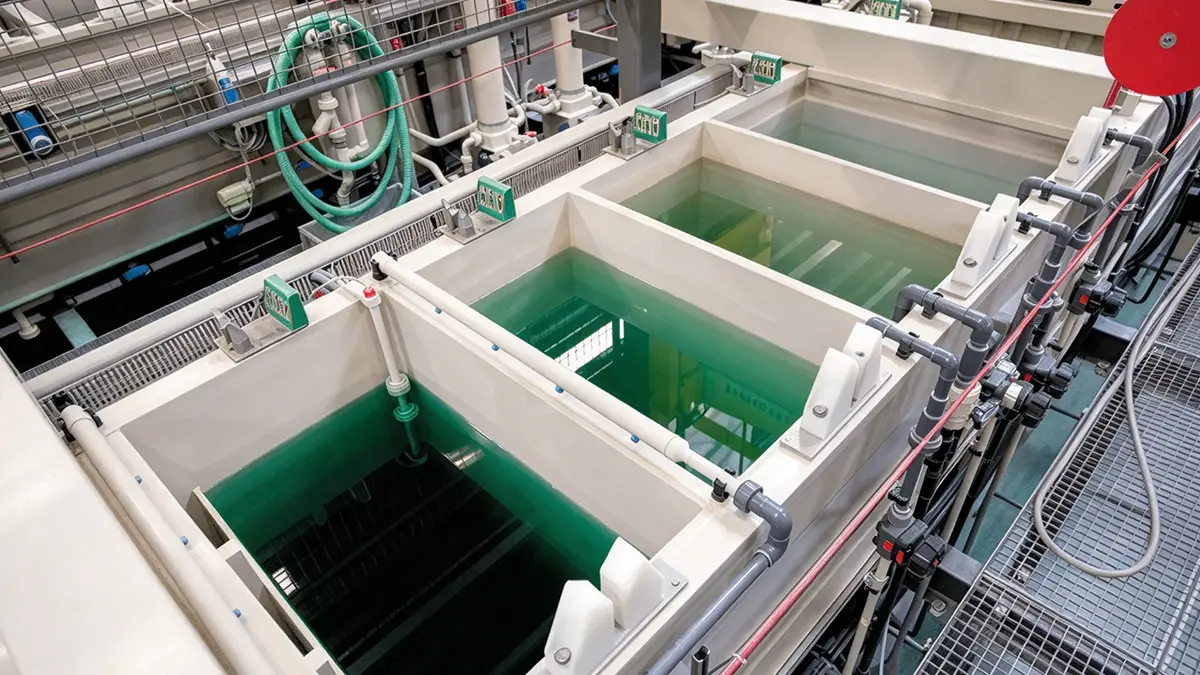
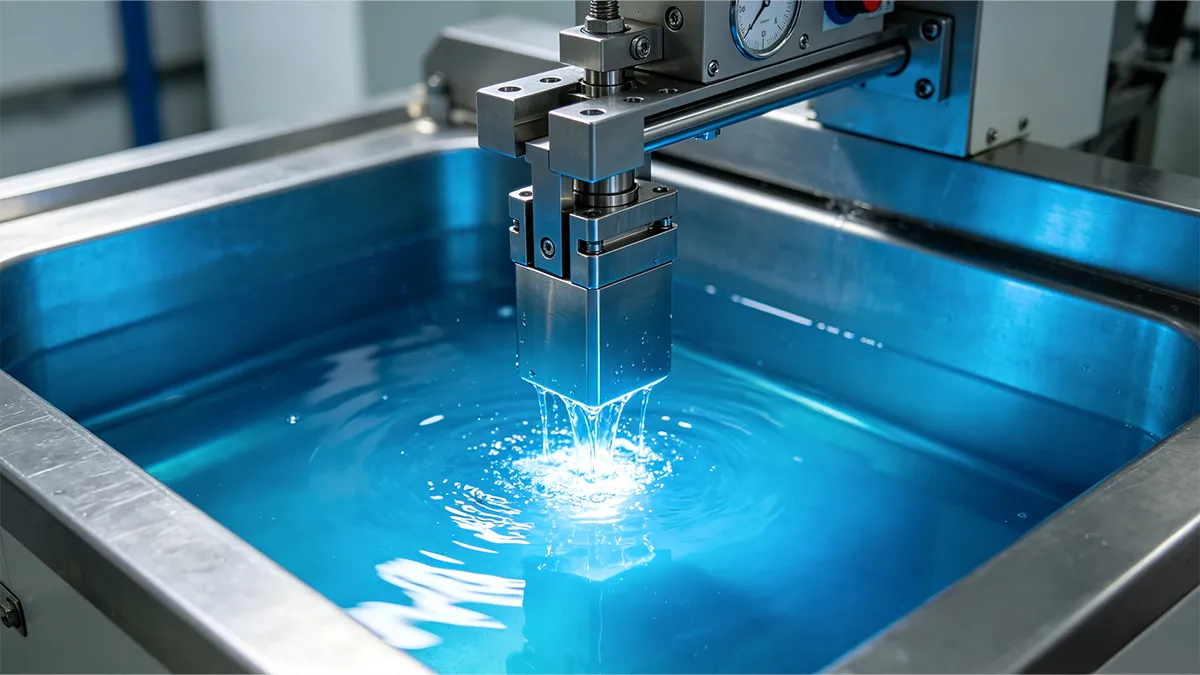
In molti casi, gli ingegneri hanno difficoltà a scegliere tra la lucidatura meccanica e l’elettrolucidatura. Ciò vale per numerose applicazioni, come le apparecchiature per la lavorazione dei semiconduttori in acciaio inossidabile o i serbatoi farmaceutici. La lucidatura meccanica non è la stessa cosa dell’elettrolucidatura. I due processi non sono in concorrenza tra loro. Affrontano problemi diversi in fasi diverse del flusso di lavoro di finitura. L’elettrolucidatura è un processo di dissoluzione elettrochimica. Il pezzo da lavorare viene immerso in un elettrolita acido (in genere una miscela di acido fosforico e solforico) e collegato come anodo in un circuito a corrente continua, in conformità con le specifiche standard di passivazione ed elettrolucidatura, quali la norma ASTM B912. [1]. Il materiale superficiale si dissolve preferenzialmente in corrispondenza delle asperità (maggiore densità di corrente sui picchi), livellando la superficie su scala atomica. Non si verifica alcun contatto abrasivo.
La tabella seguente riassume i casi in cui gli ingegneri devono scegliere tra lucidatura meccanica ed elettrolucidatura.
Il budget è limitato e il rischio di corrosione è basso
- La superficie presenta danni significativi: cavità profonde, segni di saldatura, graffi, scaglie di laminazione
- L'applicazione non è critica: serbatoi per prodotti secchi, componenti strutturali
- Come fase di pretrattamento prima dell'elettrolucidatura
- È necessario effettuare riparazioni in loco con attrezzature portatili
- Il grado di finitura previsto va da #4 a #7 per applicazioni non sanitarie
Quando ricorrere all'elettrolucidatura
I requisiti relativi alle particelle e al degassamento non consentono di ricorrere esclusivamente alla finitura meccanica
- Sistemi biofarmaceutici, sistemi di erogazione di sostanze chimiche per semiconduttori o sistemi a gas UHP
- L'applicazione richiede la conformità alle norme ASME BPE SF4–SF6
- La resistenza alla corrosione e la pulibilità comprovata sono fondamentali
- La documentazione normativa richiede la verifica del rapporto Cr:Fe sulla superficie
- Una geometria interna complessa (serbatoi, fori dei tubi) richiede una finitura uniforme
Quali sono i difetti più comuni nella lucidatura dei metalli?
Nella lucidatura dei metalli è frequente che si verifichino difetti, anche quando ci si impegna al massimo per ottenere una superficie impeccabile. Comprendere questi difetti è importante perché costituisce la base per prevenirli.
Corrosione puntiforme
Si tratta di piccole aree localizzate di corrosione o danneggiamento sulla superficie metallica. Sono causate dalla contaminazione durante la lucidatura o dall’uso di tecniche inadeguate, come l’impiego di abrasivi non idonei. La corrosione puntiforme è un pericoloso difetto di resistenza strutturale, poiché può compromettere l’integrità strutturale del metallo e accelerare il cedimento localizzato, un meccanismo oggetto di attento monitoraggio nelle linee guida aerospaziali sul controllo della corrosione, come la FAA AC 43-4B [2].
Finiture irregolari
A volte, alcune zone della superficie metallica possono risultare più lucide di altre, determinando una finitura irregolare. Ciò è dovuto a una pressione non uniforme durante la lucidatura, a variazioni nella qualità dell’abrasivo o a problemi legati alla macchina lucidatrice stessa. Una finitura irregolare compromette l’aspetto e la funzionalità del componente.
Micrograffi
I micrograffi sono piccoli graffi che possono formarsi sulla superficie durante la lucidatura. Spesso sono invisibili a occhio nudo. I micrograffi derivano in genere da particelle abrasive, tamponi di lucidatura usurati o impostazioni errate della macchina. I micrograffi possono causare problemi più gravi. Possono creare punti deboli nel metallo, portando a potenziali fratture, corrosione o maggiore usura, poiché le irregolarità superficiali sono note per essere concentratori di sollecitazioni che riducono significativamente la resistenza alla fatica, secondo gli standard SAE relativi alla struttura superficiale. [3].
Conclusione
In definitiva, per ottenere una finitura a specchio impeccabile è necessario seguire rigorosamente la sequenza abrasiva progressiva, al fine di livellare le irregolarità superficiali senza alterare le dimensioni critiche del componente.
Riferimenti
[1] ASTM International. (2018). ASTM B912-02(2018) Specifiche standard per la passivazione degli acciai inossidabili mediante elettrolucidatura. Banca dati delle norme ASTM. Estratto da https://www.astm.org/b0912-02r18.html
[2] Federal Aviation Administration (FAA). (2018). Circolare consultiva 43-4B: Controllo della corrosione degli aeromobili. Archivio documenti della FAA. Estratto da https://www.faa.gov/documentLibrary/media/Advisory_Circular/AC_43-4B.pdf
[3] SAE International. (s.d.). J448_196306: Struttura superficiale. Norme SAE. Estratto da https://www.sae.org/standards/content/j448_196306/




 IT
IT  EN
EN  ES
ES  FR
FR  DE
DE  PT
PT  NL
NL  PL
PL  AR
AR  JA
JA  KO
KO  ZH
ZH