

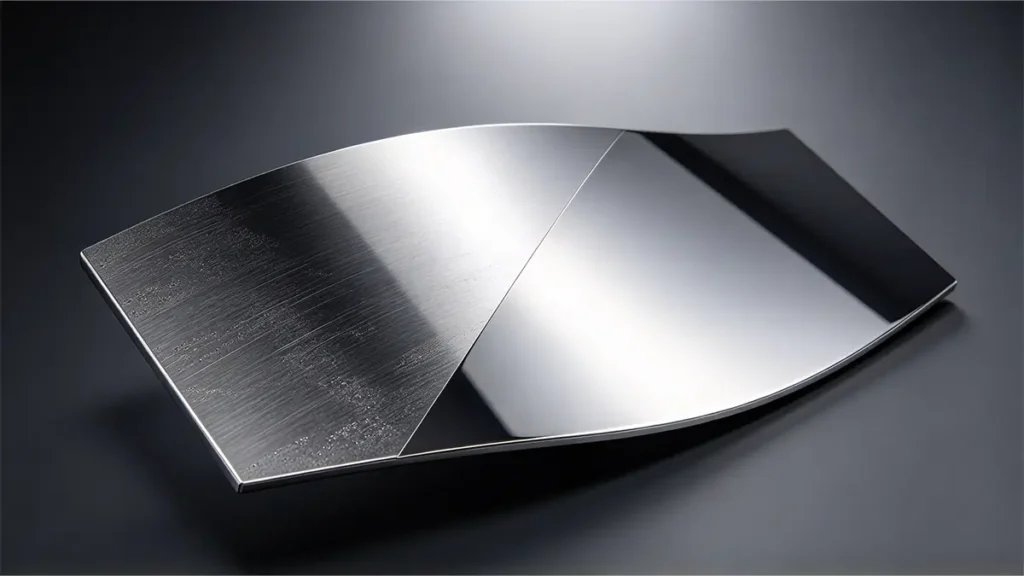
Metal polishing removes fine material from a component surface to eliminate irregularities. The process uses fine abrasives to strike the surface to produce a strong, coherent reflection. Metal polishing is not just a straightforward process. It involves a series of parameters that experienced personnel must control. The material removal process is iterative, and it depends on the level of fineness the manufacturer intends to achieve.
Consider, for instance, a stainless steel automotive exhaust. When you visit a fabrication workshop, the surface may appear freshly machined or brushed, with visible tool marks. However, after polishing, the surface becomes bright and reflective, like a mirror.
This discussion explains how the metal polishing process achieves a mirror finish, including the steps followed, the choice of abrasives, and surface preparation.
What Is a Mirror Finish on a Metal Part?
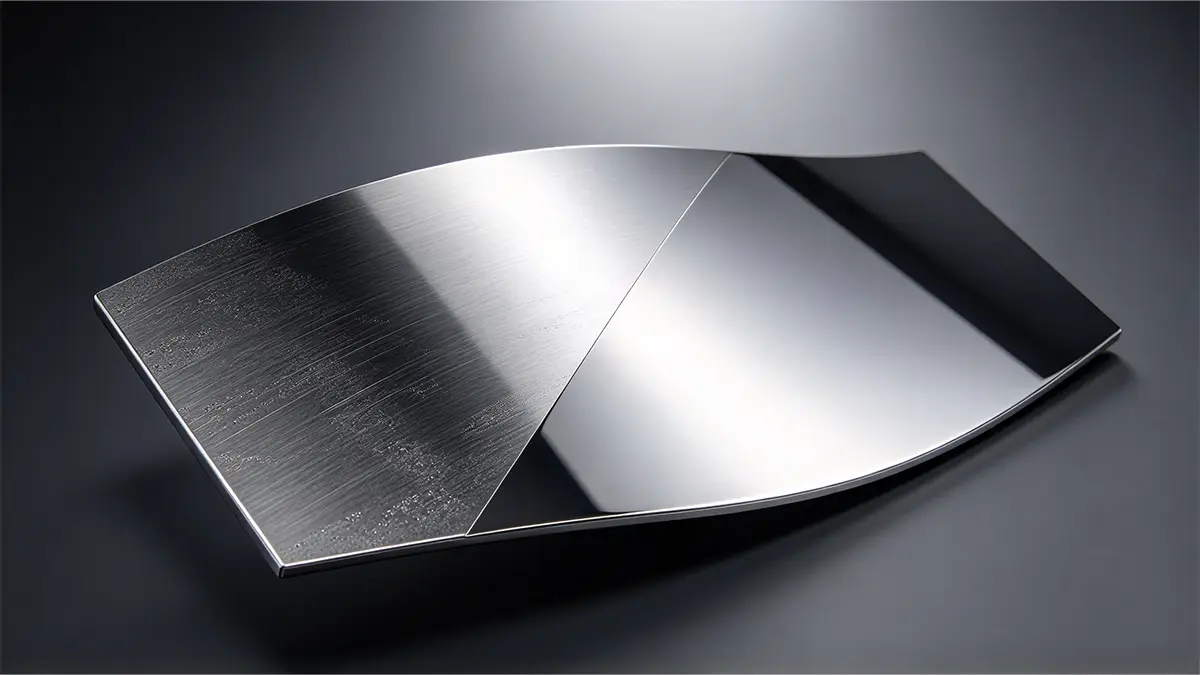
A mirror finish is a highly reflective metal surface. You can achieve it mechanically or electrochemically. Polishing improves visual reflectivity and surface texture by reducing CNC machining marks, grinding lines, weld discoloration, and oxide layers. A polished surface has directional defects small enough to reflect incident light. Norton describes a mirror finish for stainless steel as a highly polished, bright, and reflective surface. According to Norton, stainless steel is so smooth that its Ra is below 0.2 µm.
The Ra values do not entirely define visual mirror quality. For instance, two exhaust pipes can have the same Ra values yet look different. Other factors determine component appearance, such as geometric distortion, waviness, embedded particles, and directional scratches.
How Does Metal Polishing Produce a Mirror Finish?
A mirror finish is basically achieved by progressive abrasive removal. First, the coarse abrasive process removes large surface defects from the component surface. A finer abrasive process then removes scratches caused by the coarse abrasion. This material-removal process continues iteratively until all surface defects are sufficiently removed. At this point, the surface is smoother and therefore more reflective. The following summarizes the events leading to a mirror finish.
Machined surface → coarse abrasion → intermediate refinement → fine abrasion → buffing/polishing compound → cleaning → inspection
| Etap | Główny cel | Typical abrasive scale |
|---|---|---|
| Przygotowanie powierzchni | Remove contamination and major defects | - |
| Coarse grinding | Level machining marks, welds, deep scratches | ~36–120 grit |
| Intermediate finishing | Remove coarse abrasive scratches | ~120–320+ grit |
| Fine finishing | Refine remaining scratch pattern | ~320–1000+ grit |
| Micro finishing | Produce a polish-ready surface | Micron-grade abrasives |
| Final polishing | Increase reflectivity and remove fine defects | Fine compounds / micron abrasives |
| Polerowanie | Produce high-gloss appearance | Fine polishing compound |
What Surface Preparation Is Required Before Metal Polishing?
The effectiveness of metal polishing depends on the surface preparedness. The first step in polishing a CNC-machined or formed component is to identify any defects. Proper inspection can identify tool marks, deep scratches, possible oxidation, and dimensional features that prevent material removal. This inspection is essential because it helps manufacturers maintain CNC part precision. Once inspection and coarse polishing are done, burrs should be removed before executing fine polishing. Removing burrs is a form of surface preparation for subsequent polishing stages. Burrs create defects that may be difficult to remove later.
Some defects, such as deep scratches and welds, require an aggressive abrasive approach to eliminate them effectively. However, the nature of abrasion must be effectively monitored to avoid possible side effects. For instance, if a manufacturing team aims for a stainless steel mirror finish, Norton’s guidance suggests using 80-grit abrasion. Once other surface-preparation requirements are met, engineers must achieve a smooth surface before applying finer abrasive polishing. It is not advisable to advance to fine abrasion when the surface still has deep scratches.
What Is the Typical Metal Polishing Process?
A typical mechanical abrasion process for CNC-machined parts starts from coarse polishing to fine polishing.
- Przygotowanie powierzchni
Przed rozpoczęciem polerowania należy najpierw przygotować powierzchnię. Obejmuje to czyszczenie w celu usunięcia kurzu, olejów, smarów, odcisków palców itp. Czyszczenie stanowi część przygotowania powierzchni i odbywa się na każdym etapie polerowania.
- Szorstkie ścieranie
Celem szorstkiego szlifowania jest zmniejszenie wartości Ra z poziomu nawet 3,2 µm do poziomu zaledwie 0,8 µm. Szorstki szlifowanie odbywa się przy użyciu papieru ściernego o ziarnistości 120–180 i jest stosowane na dostępnych powierzchniach zewnętrznych w celu usunięcia śladów obróbki skrawaniem oraz wyrównania powierzchni. Usunięcie materiału na tym etapie może być znaczne, często rzędu 20–50 µm na powierzchnię, co ma znaczenie w przypadku elementów o wąskich tolerancjach.
- Krok 3: Średnia ścieralność
Jest to etap usuwania materiału przy użyciu papieru ściernego o ziarnistości od 240 do 320. Ma on na celu wygładzenie rys powstałych w pierwszym etapie i uzyskanie bardziej jednolitej tekstury powierzchni. Wartości Ra na tym etapie są znacznie niskie i wynoszą około 0,5 µm. Po zakończeniu tego etapu powierzchnia wygląda na wyraźnie gładsza. Jednak w świetle padającym pod kątem nadal widoczna jest jej tekstura.
- Krok 4: Drobne szlifowanie
Ten etap polerowania o ziarnistości 400–600 pozwala uzyskać wykończenie satynowe lub wstępnie wypolerowane. Wartości Ra uzyskane na tym etapie mieszczą się w przedziale 0,2–0,4 µm. W przypadku stali nierdzewnej etap ten zapewnia typowe satynowe lub szczotkowane wykończenie metalu, które w wielu zastosowaniach przemysłowych jest określane jako stan końcowy.
- Krok 5: Mikro wykańczanie i polerowanie
Aby przekształcić satynowe wykończenie uzyskane w kroku 4 w prawdziwe wykończenie lustrzane, element musi zostać poddany polerowaniu. Na tym etapie stosuje się miękką szmatkę lub tarcze bawełniane w połączeniu z ultradrobnymi środkami polerskimi (takimi jak pasta „rouge” lub pasty z tlenku glinu). Tarcza polerska pracuje z dużą prędkością, wytwarzając niewielkie tarcie i ciepło, które topią i wygładzają mikroskopijne nierówności pozostawione przez poprzednie materiały ścierne. To końcowe wyrównanie obniża wartość Ra znacznie poniżej 0,2 µm, co daje w rezultacie wysoce odblaskowy, optycznie przejrzysty i nieskazitelny wygląd lustrzany.
- Ostateczne sprzątanie i kontrola
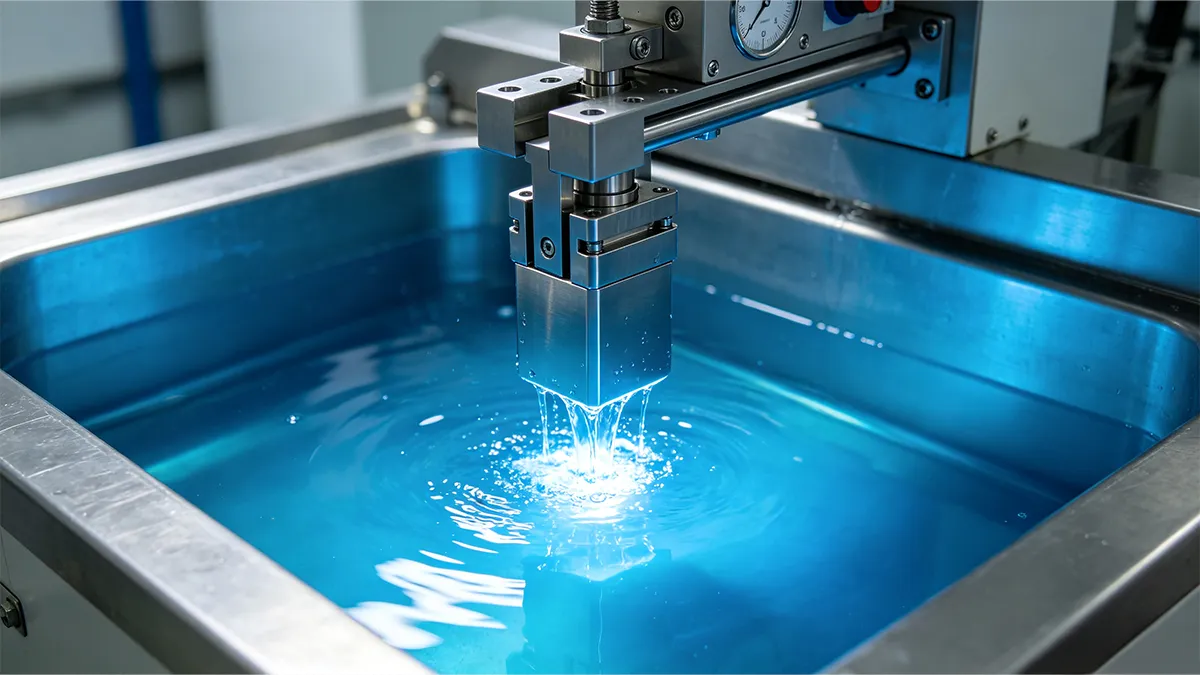
Po szlifowaniu drobnoziarnistym należy oczyścić elementy w celu usunięcia pozostałości środków szlifierskich. Jeśli nie zostaną one usunięte, mogą one zakłócać ocenę wizualną lub pomiar chropowatości. Czyszczenie ultradźwiękowe stosuje się często w przypadkach, gdy trudno jest wytrzeć do czysta otwory nieprzelotowe lub elementy zagłębione. Polerowanie lustrzane jest procesem iteracyjnym. Na przykład przed przystąpieniem do szlifowania drobnoziarnistego można powtarzać szlifowanie średnioziarniste, aż wartość Ra ulegnie znacznemu zmniejszeniu. Kontrola końcowa gwarantuje, że uzyskana wartość Ra jest dopuszczalna. Odbywa się to za pomocą profilometru powierzchniowego, kontroli wzrokowej w odpowiednim oświetleniu pod kątem wad polerowania oraz kontroli wymiarowej wszelkich elementów o wąskich tolerancjach, na które mógł wpłynąć proces polerowania metalu.
When Should Mechanical Polishing Be Used Instead of Electropolishing?
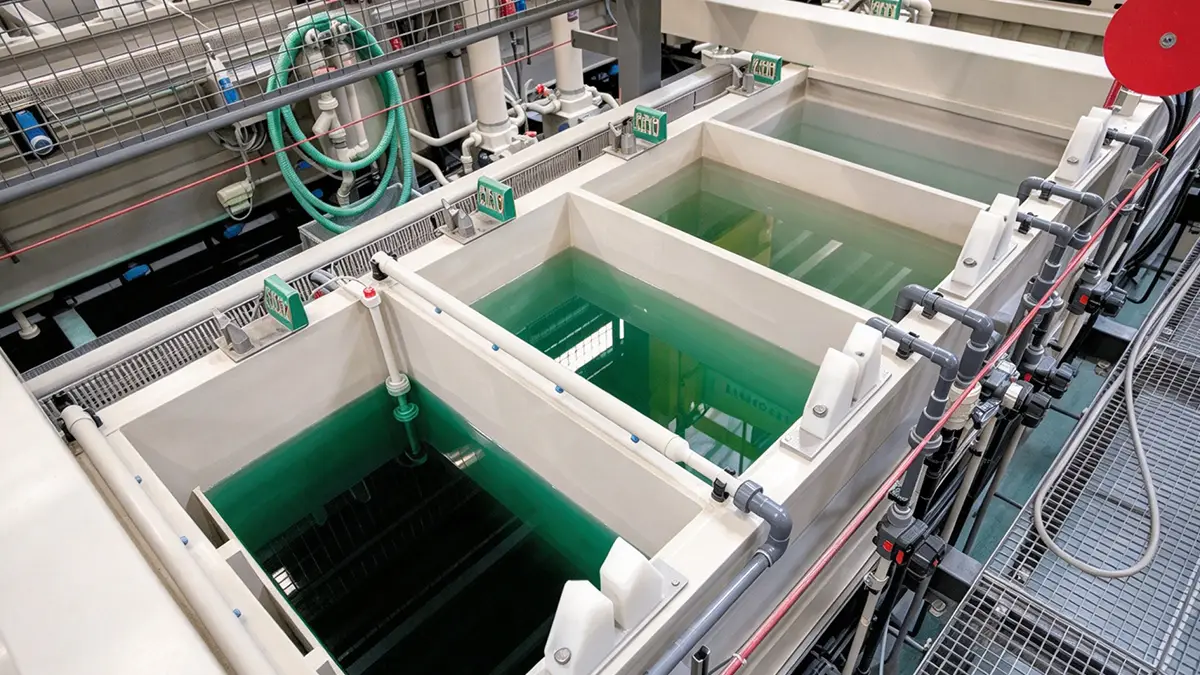
In many cases, engineers struggle to choose between mechanical polishing and electropolishing. This is true in numerous applications, such as stainless steel semiconductor process equipment or pharmaceutical vessels. Mechanical polishing is not the same as electropolishing. The two processes are not competing. They address different problems at different stages of the finishing workflow. Electropolishing is an electrochemical dissolution process. The workpiece is submerged in an acidic electrolyte (typically a phosphoric/sulfuric acid blend) and connected as the anode in a DC circuit, aligning with standard passivation and electropolishing specifications such as ASTM B912 [1]. Surface material dissolves preferentially at asperities (higher current density at peaks), levelling the surface at the atomic scale. No abrasive contact occurs.
The following table summarises instances where engineers should choose between mechanical polishing and electropolishing.
Budget is constrained and corrosion risk is low
- Surface has significant damage: deep pits, weld marks, scratches, mill scale
- Application is non-critical: dry product vessels, structural components
- Acting as a pre-treatment step before electropolishing
- On-site field repair is required with portable equipment
- Target finish is #4 to #7 for non-sanitary applications
When to use electropolishing
Particle and outgassing requirements preclude mechanical finishing alone
- Biopharmaceutical, semiconductor chemical delivery, or UHP gas system
- Application demands ASME BPE SF4–SF6 compliance
- Corrosion resistance and validated cleanability are critical
- Regulatory documentation requires Cr:Fe surface ratio verification
- Complex internal geometry (tanks, tubing bores) requires uniform finish
What Are the Most Common Metal Polishing Defects?
Defects are common in metal polishing, even with the best efforts to achieve a flawless surface. Understanding these defects is important because it forms the basis for preventing them.
Pitting
These are small, localized areas of corrosion or damage on the metal surface. It results from contamination during polishing or improper techniques, such as using the wrong abrasives. Pitting is a dangerous structural strength defect, as it can affect the structural integrity of the metal and accelerate localized failure, a mechanism heavily monitored in aerospace corrosion control guidelines such as FAA AC 43-4B [2].
Uneven Finishes
Sometimes, certain areas of a metal surface may be polished more than others, resulting in uneven finishing. This results from inconsistent pressure during polishing, variations in abrasive quality, or issues with the polishing machine itself. An uneven finish affects the component’s appearance and functionality.
Micro-Scratches
Micro-scratches are small scratches that can form on the surface during polishing. They are often invisible to the naked eye. Micro-scratches typically result from abrasive particles, worn-out polishing pads, or improper machine settings. Micro-scratches can lead to bigger problems. They can create weak spots in the metal, leading to potential fractures, corrosion, or increased wear and tear, as surface irregularities are known stress concentrators that significantly reduce fatigue life according to SAE surface texture standards [3].
Wnioski
Ultimately, creating a flawless mirror finish requires strictly following the progressive abrasive sequence to level surface peaks without altering the component’s critical dimensions.
Referencje
[1] ASTM International. (2018). ASTM B912-02(2018) Standard Specification for Passivation of Stainless Steels Using Electropolishing. ASTM Standards Database. Retrieved from https://www.astm.org/b0912-02r18.html
[2] Federal Aviation Administration (FAA). (2018). Advisory Circular 43-4B: Corrosion Control for Aircraft. Biblioteka dokumentów FAA. Pobrano z https://www.faa.gov/documentLibrary/media/Advisory_Circular/AC_43-4B.pdf
[3] SAE International. (n.d.). J448_196306: Surface Texture. SAE Standards. Retrieved from https://www.sae.org/standards/content/j448_196306/



 PL
 EN
 ES
 FR
 DE
 IT
 PT
 NL
 AR
 JA
 KO
 ZH