The quality of molds often directly impacts the quality and production efficiency of workpieces. In the mold processing workflow, after the shape processing steps, there are smooth processing and mirror processing, collectively known as surface grinding and polishing of parts. The quality of polishing affects the quality and lifespan of the mold, which in turn determines the quality of the products.
Understanding the principles and processes of polishing and selecting appropriate polishing methods and products can improve mold quality and lifespan, thereby enhancing product quality and processing efficiency.

Common Mold Polishing Methods
1. Physical Polishing

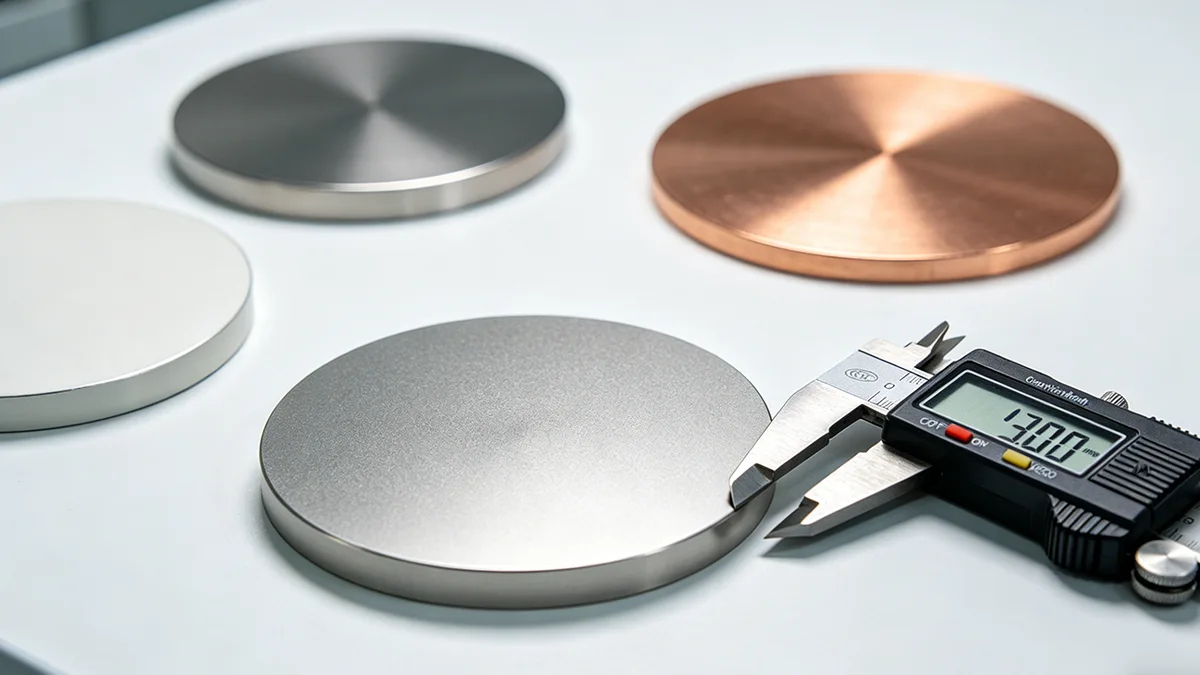
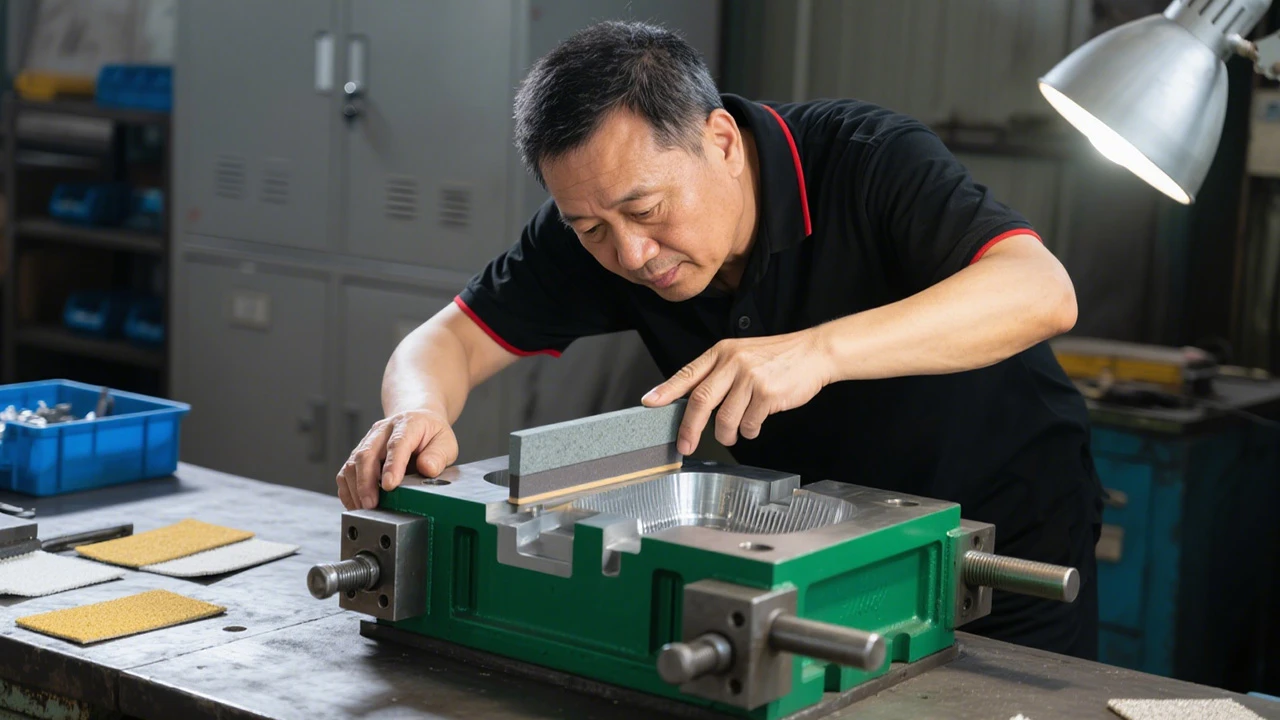
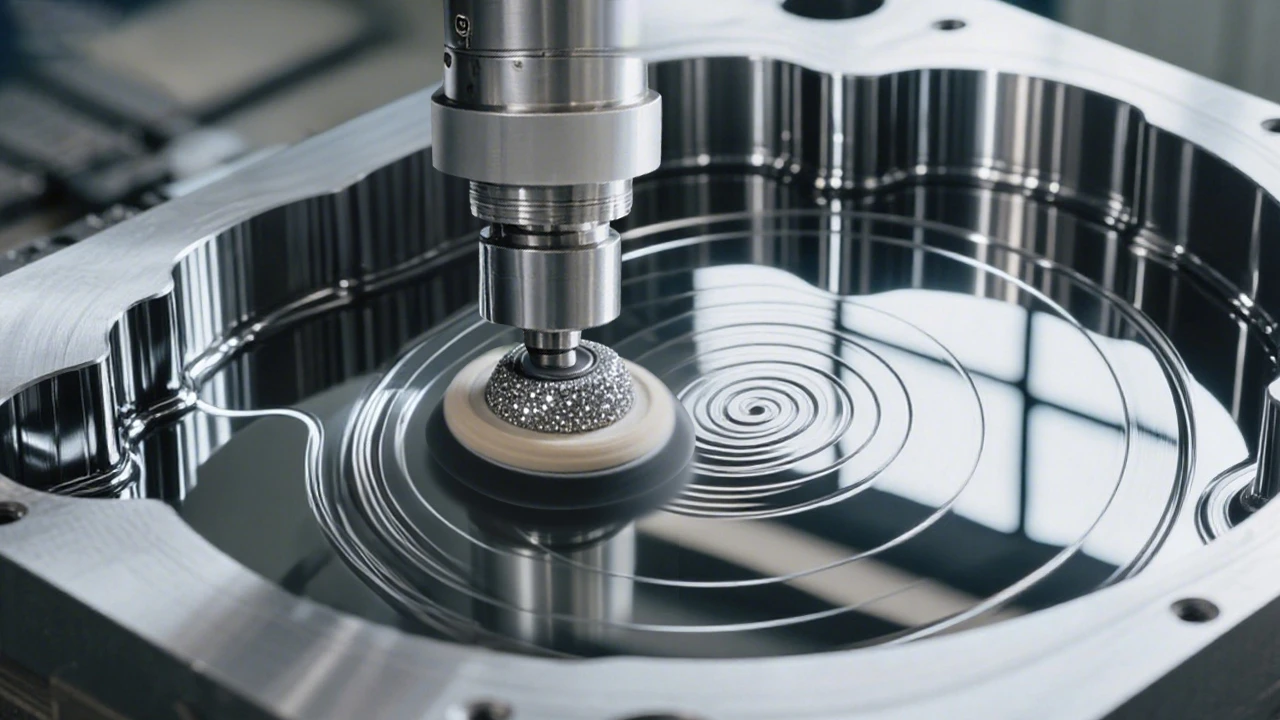
Physical polishing of molds typically involves using tools like oil stones, wool wheels, and sandpaper to induce plastic deformation on the material surface, removing protrusions and achieving a smooth finish. This process is generally performed manually. For surfaces with high-quality requirements, we can use ultra-fine polishing methods. Ultra-fine polishing employs special grinding tools in a slurry containing abrasives, which are pressed against the workpiece surface and rotated at high speeds. This method can achieve a surface roughness of Ra0.008 μm.
Physical polishing of molds is currently the most widely used polishing method among mold manufacturers.
1). Common Tools and Specifications for Mold Polishing
- Commonly used tools for mold polishing include sandpaper, oil stones, wool felt wheels, polishing paste, alloy files, diamond grinding needles, bamboo pieces, fiber oil stones, and rotary polishing machines.
- Sandpaper: 150#, 180#, 320#, 400#, 600#, 800#, 1000#, 1200#, 1500#
- Oil Stones: 120#, 220#, 400#, 600#
- Wool Felt Wheels: Cylindrical, conical, rectangular with pointed tips
- Polishing Paste: 1# (white), 3# (yellow), 6# (orange), 9# (green), 15# (blue), 25# (brown), 35# (red), 60# (purple)
- Files: Square, round, flat, triangular, and other shapes
- Diamond Grinding Needles: Generally with 3/32 or 1/8 shank, available in a round wave, cylindrical, long straight cylinder, and long conical shapes
- Bamboo Pieces: Various shapes suitable for operators and mold shapes, used to press sandpaper during grinding to achieve the desired surface roughness
- Fiber Oil Stones: 200# (black), 400# (blue), 600# (white), 800# (red)
2). Polishing Process
01. Rough Polishing
After processes like fine milling, EDM, and grinding, we can polish the surfaces using a rotary polishing machine with a speed of 35,000-40,000 r/min. Then, manual oil stone grinding follows, using kerosene as a lubricant or coolant. The sequence of use is 180# → 240# → 320# → 400# → 600# → 800# → 1000#.
02. Semi-Finishing Polishing
Semi-finishing polishing primarily uses sandpaper and kerosene. The sequence of sandpaper use is 400# → 600# → 800# → 1000# → 1200# → 1500#. Note that #1500 sandpaper is only suitable for hardened mold steel (above 52HRC) and not for pre-hardened steel, as it may damage the surface, preventing the desired polishing effect.
03. Fine Polishing
Fine polishing primarily uses diamond polishing paste. If a polishing cloth wheel mixed with diamond grinding powder or paste is used, the typical polishing sequence is 9μm (1800#) → 6μm (3000#) → 3μm (8000#). The 9μm diamond polishing paste and polishing cloth wheel can remove hairline scratches left by 1200# and 1500# sandpaper. Then, polishing is continued using felt and diamond polishing paste in the order: 1μm (14000#) → 1/2μm (60000#) → 1/4μm (100000#).
04. Polishing Environment
The polishing process should be completed in two separate areas: one for rough grinding and one for fine polishing. It is important to clean the workpiece thoroughly between stages to remove any abrasive particles from the previous step. After completing rough polishing with oil stones up to 1200# sandpaper, the workpiece should be moved to a dust-free room for polishing to ensure no dust particles adhere to the mold surface. Finish the polishing processes requiring precision above 1μm (including 1μm) in a clean polishing room. For even more precise polishing, an absolutely clean environment is necessary, as dust, smoke, dandruff, and saliva can ruin the high-precision polished surface.
After completing the polishing process, we should protect the workpiece surface from dust. When polishing stops, all polishing agents and lubricants should be carefully removed to ensure the surface is clean, and a layer of mold rust-preventative coating should be sprayed on the workpiece surface.
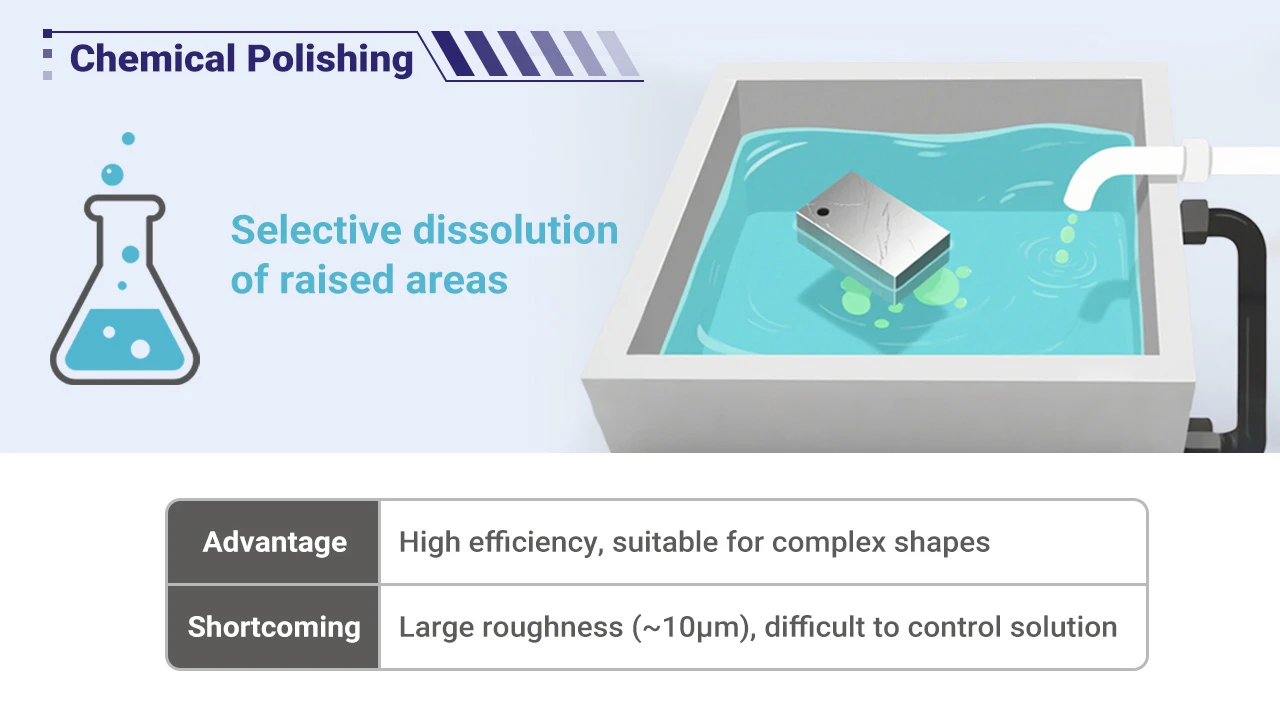
2. Chemical Polishing
Chemical polishing involves immersing the material in a chemical medium where the microscopic protrusions on the surface dissolve preferentially over the recessed areas, resulting in a smooth surface. The primary advantages of this method are that it does not require complex equipment, can polish workpieces with complex shapes, and can polish many workpieces simultaneously, offering high efficiency. The core challenge of chemical polishing lies in the preparation of the polishing solution. The surface roughness achieved through chemical polishing is generally in the range of several tens of micrometers.
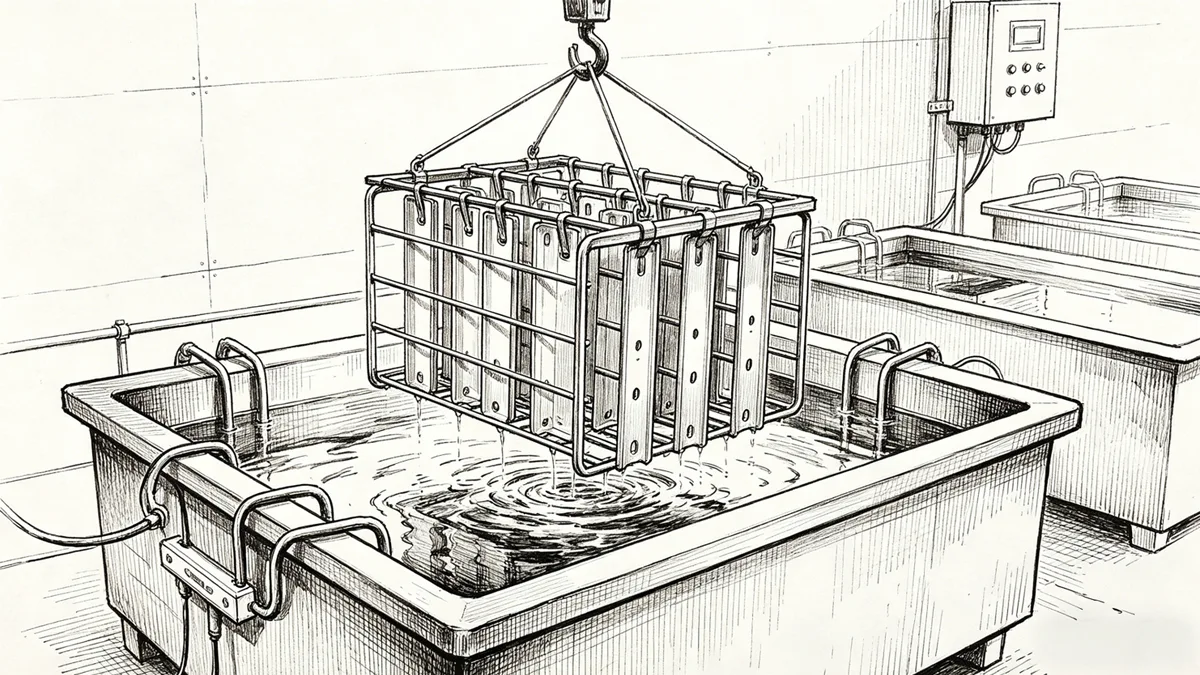
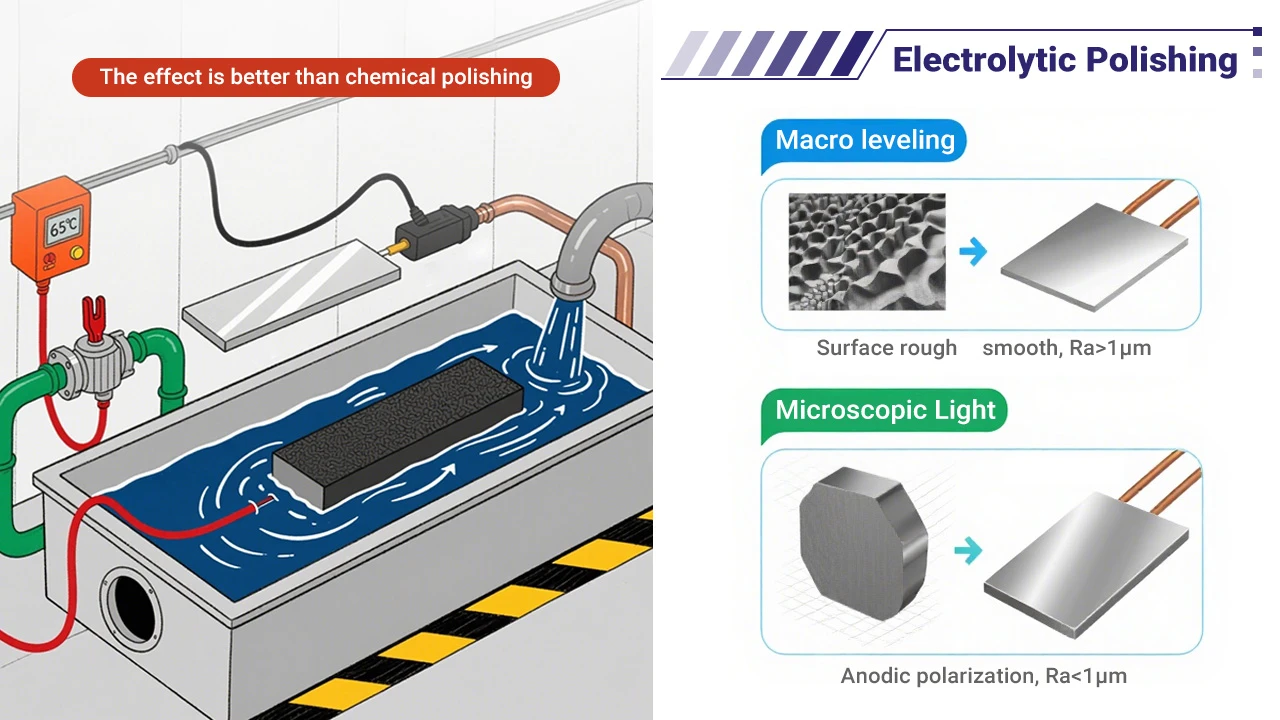
3. Electrolytic Polishing
The basic principle of electrolytic polishing is similar to that of chemical polishing, where the microscopic protrusions on the material’s surface dissolve selectively, resulting in a smooth surface. Compared to chemical polishing, it can eliminate the effects of cathodic reactions, offering better results. The electrolytic polishing process involves two steps:
- Macroscopic leveling: The dissolution products diffuse into the electrolyte, reducing the geometric roughness of the material’s surface, Ra > 1μm.
- Micro-leveling: Anodic polarization increases surface brightness, Ra < 1μm.
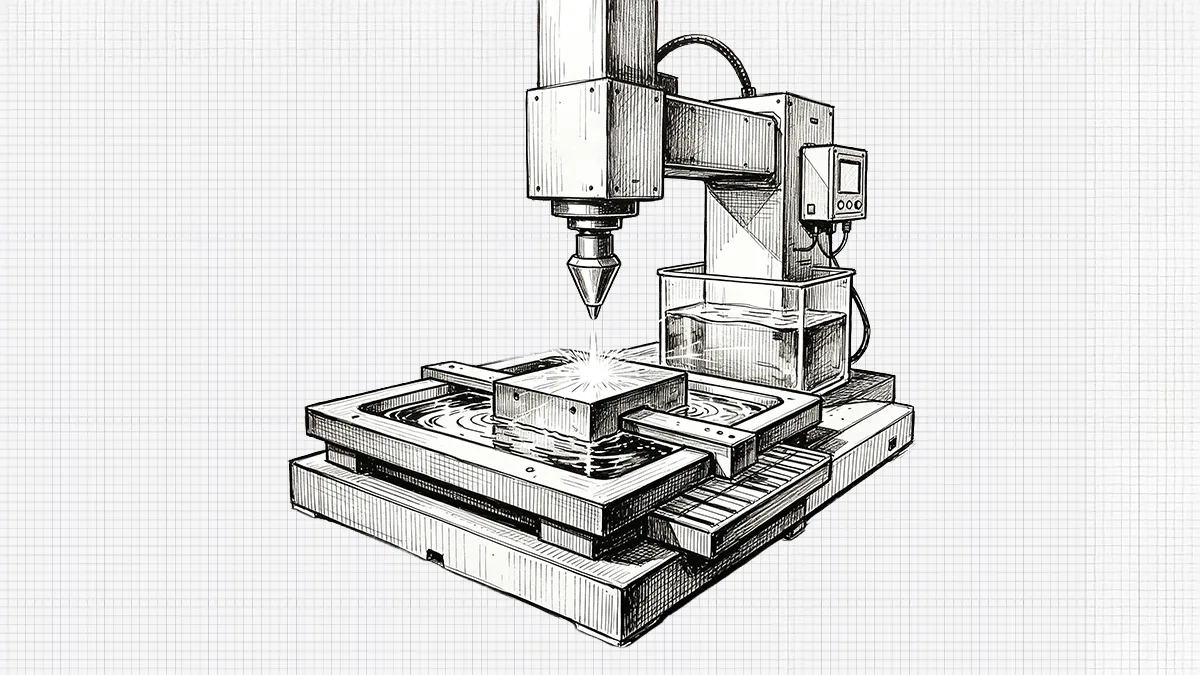
4. Ultrasonic Polishing
In ultrasonic polishing, we placed the workpiece in an abrasive suspension and subjected it to an ultrasonic field. The ultrasonic vibrations cause the abrasive to polish the workpiece surface. Ultrasonic processing generates minimal macroscopic force, preventing workpiece deformation, but the tooling and setup can be challenging. Ultrasonic processing can be combined with chemical or electrochemical methods. By applying ultrasonic vibrations to stir the solution, the dissolution products on the workpiece surface are removed, ensuring uniform corrosion or electrolysis near the surface. The cavitation effect of ultrasound in the liquid also inhibits the corrosion process, contributing to surface brightening.

5. Fluid Polishing
Fluid polishing uses high-speed flowing liquid-carrying abrasives to polish the workpiece surface. Common methods include abrasive jet machining, liquid jet machining, and fluid dynamic grinding. In fluid dynamic grinding, a hydraulically driven medium containing abrasive particles flows rapidly back and forth over the workpiece surface. The medium typically consists of special compounds (polymer-like substances) mixed with abrasives, such as silicon carbide powder.
Precautions for Different Types of Polishing
1. Precautions for Sandpaper and Oil Stone Grinding of Molds
- For high-hardness mold surfaces, only clean and soft oil stone grinding tools should be used.
- When changing sandpaper grit levels during grinding, both the workpiece and the operator’s hands must be cleaned to avoid carrying coarse grit to the next finer grinding stage.
- During each grinding process, sandpaper should be used at different 45° angles until the scratches from the previous grit are eliminated. After removing the previous grit’s scratches, extend the grinding time by 25% before switching to the next finer grit.
- Changing grinding directions helps avoid creating wavy or uneven surfaces on the workpiece.
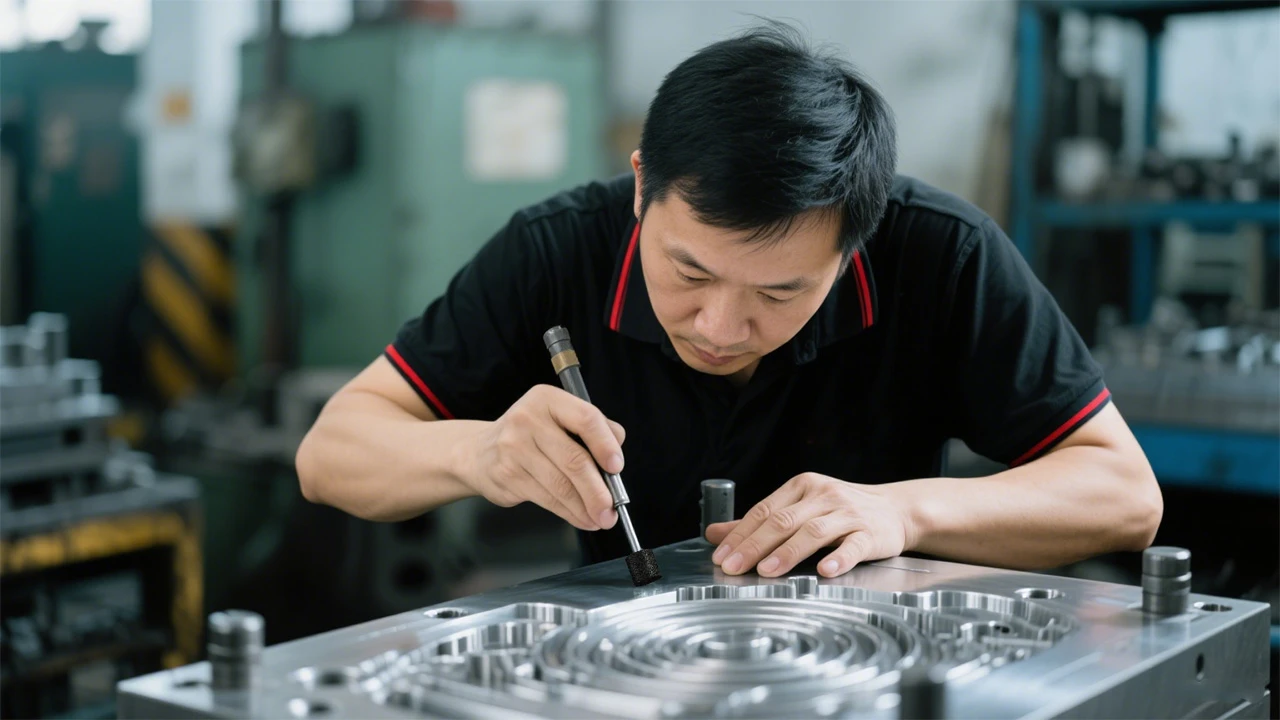
2. Precautions for Diamond Polishing
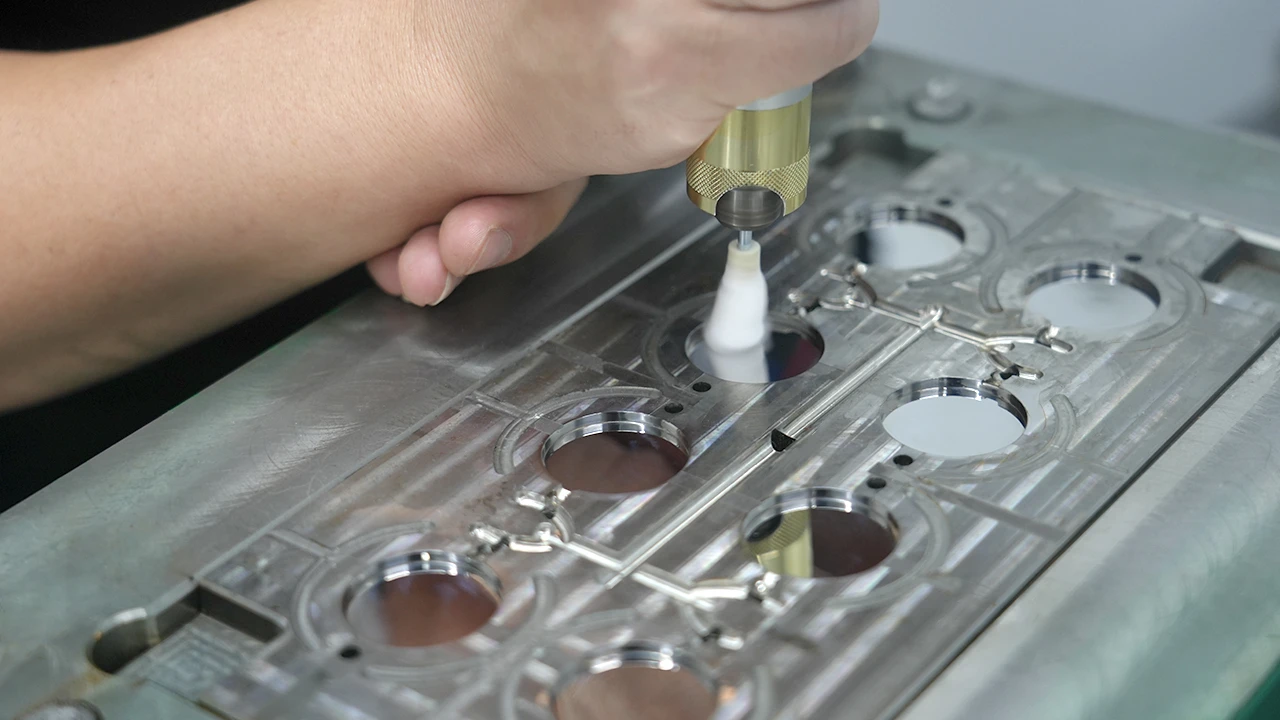
Diamond polishing must be performed with as light pressure as possible, especially when polishing pre-hardened steel and using fine polishing paste. When using 8000# polishing paste, the usual load is 100-200g/cm², but maintaining this load precisely is difficult. To facilitate this, a thin and narrow handle can be made on a wooden strip, or part of a bamboo strip can be cut to make it more flexible. This helps control the polishing pressure, ensuring the mold surface pressure is not too high. When using diamond polishing, not only must the work surface be clean, but the worker’s hands must also be very clean.
3. Precautions for Polishing Plastic Molds
Polishing plastic molds is quite different from the surface polishing required in other industries. Strictly speaking, polishing plastic molds should be referred to as mirror finishing. It requires high standards not only for polishing but also for surface flatness, smoothness, and geometric accuracy.
The standards for mirror polishing are divided into four levels:
- A0 = Ra0.008μm
- A1 = Ra0.016μm
- A3 = Ra0.032μm
- A4 = Ra0.063μm
Methods like electrolytic polishing and fluid polishing struggle to precisely control the geometric accuracy of parts, while the surface quality achieved by chemical polishing, ultrasonic polishing, and magnetic grinding polishing does not meet the requirements. Therefore, mechanical polishing remains the primary method for mirror finishing of precision molds.
4. Precautions during Polishing:
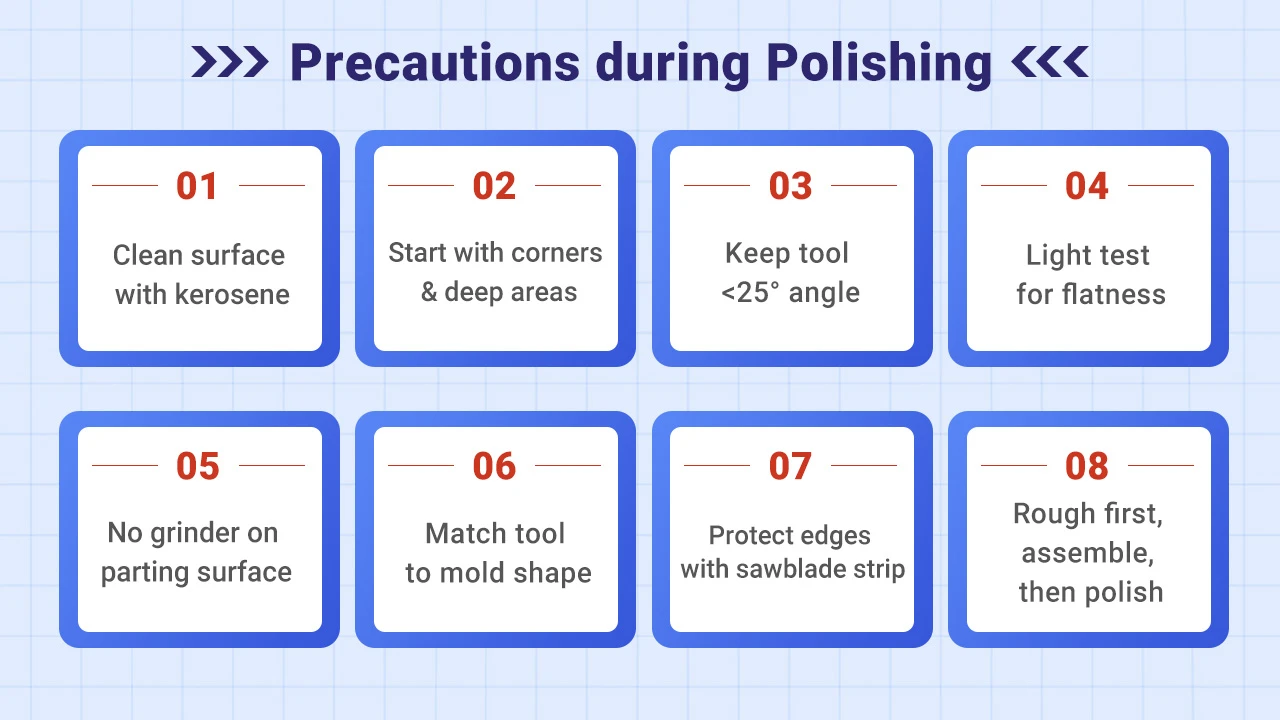
1). When starting to process a new mold cavity, first check the workpiece surface and clean it with kerosene to ensure the oil stone surface does not get contaminated, causing it to lose its cutting function.
2). When grinding rough textures, proceed from difficult to easy areas, especially focusing on hard-to-reach corners and deeper areas first, followed by the sides and large flat surfaces.
3). If we need to polish several parts together, grind the rough textures or EDM marks on individual parts first, then assemble all parts and polish to a smooth finish.
4). For large flat or side surfaces, after removing rough textures with an oil stone, use a flat steel plate to conduct light transmission tests to check for unevenness or negative draft defects. Negative drafts can make demolding difficult or cause part scratches.
5). To prevent grinding out negative drafts or protect some mating surfaces, attach saw blades or sandpaper to the edges for protection, achieving ideal results.
6). When grinding the mold’s flat surfaces, move the oil stone handle back and forth, keeping the handle as flat as possible, not exceeding 25°; a greater angle may forcefully cause coarse scratches on the workpiece.
7). If using a copper or bamboo piece to press the sandpaper for polishing the workpiece surface, ensure the sandpaper size does not exceed the tool area to avoid grinding unintended areas.
8). Avoid using a grinding machine to repair the parting surface, as the grinding wheel head leaves a rough and wavy surface. If necessary, the grinding wheel head must be adjusted for concentric balance.
9). The shape of the grinding tools should closely match the surface shape of the mold to ensure the workpiece does not get deformed during grinding.
How to Solve Common Problems in Polishing

1. Over-Polishing
The biggest issue encountered in daily polishing is “over-polishing,” where the longer the polishing time, the worse the surface quality of the mold. Over-polishing manifests in two phenomena: “orange peel” and “pitting.” Over-polishing commonly occurs during mechanical polishing.
2. Causes of “Orange Peel” on Workpieces
Irregularly rough surfaces are referred to as “orange peel.” There are many causes of orange peel, with the most common being mold surface overheating or excessive carburization. Excessive polishing pressure and prolonged polishing time are the main reasons for orange peel. For example, polishing wheels can generate heat that easily causes orange peel. Harder steels can withstand more polishing pressure, while relatively softer steels are prone to over-polishing. Research has shown that the time for over-polishing varies with the hardness of the steel.
3. Measures to Eliminate “Orange Peel” on Workpieces
When poor surface quality is detected, many people increase the polishing pressure and extend the polishing time, which often worsens the surface quality.
The following methods can be used for remedy:
- Remove the defective surface with a slightly coarser abrasive than previously used, then re-polish with lighter pressure than before.
- Perform stress relief at a temperature 25°C below the tempering temperature. Before polishing, use the finest grit for grinding until you achieve the desired effect, and then polish with lighter pressure.
4. Causes of “Pitting” on Workpiece Surfaces
Non-metallic impurities in the steel, usually hard and brittle oxides, are pulled out from the steel surface during polishing, forming micro-pits or pitting. The main factors causing pitting are:
1) Excessive polishing pressure and prolonged polishing time.
2) Insufficient purity of the steel, high content of hard impurities.
3) Rust on the mold surface.
4) Black skin material not removed.
5. Measures to Eliminate Pitting on Workpieces
- Carefully re-grind the surface with a slightly coarser abrasive than previously used. Use soft and sharp oil stones for the final grinding step before proceeding with the polishing process.
- Avoid using the softest polishing tools when the abrasive grain size is less than 1mm.
- Use the shortest polishing time and the lightest polishing pressure possible.
Conclusion
Polishing the cavity in mold manufacturing is a crucial step. It affects the quality and lifespan of the mold and determines the quality of the final products. Understanding the principles and processes of polishing and selecting appropriate polishing methods can improve mold quality and lifespan, thereby enhancing product quality.