Rubber plays important roles in our everyday life, from household products like bottle caps that prevent liquid spills to automobile parts like rubber bushings that absorb vibrations or tires. One of the ways manufacturers transform this elastic material from its raw, unusable form into valuable products is through rubber injection molding.
This technique is versatile and useful in the production of a wide variety of rubber parts. Today, most manufacturers of rubber products pick injection molding with rubber as their primary technique, especially in high-volume production. The global market of the rubber injection molding industry in 2025 stands at $304.4 billion. However, the market is expected to exceed $481.6 billion by 2035. The Asian-Pacific region is seeing an explosion of vehicle production, which is partly responsible for this growth.
Although making rubber products with injection molding has been widely embraced, it comes with unique challenges, specifically in material selection and properly controlling the molding process to totally eliminate defects like warping or reduce them to the minimum possible. This beginner’s guide for designers and engineers will tell you everything you need to know about the process and address the frequently reported pain points.
What is Rubber Injection Molding?
Injection molding using rubber is a manufacturing technique that creates products by injecting heated rubber into a mold—usually made of steel or aluminum—under high pressure. This manufacturing process is fast, with cycle times ranging from 10 seconds to 2 or more minutes, depending on product geometry complexity and size. Selecting the right material (rubber and mold types) is crucial to the success of the entire operation.
For example, there are two types of molding machines: vertical and horizontal. While they perform the same function, how the rubber is injected into their cavities differs. This difference also affects how you can use them. For example, vertical machines are preferable for larger products like electrical insulators or engine mounts, often with modifications in the form of specialized inserts. Horizontal machines are best for smaller products like children’s toys.
Advantages of Rubber Injection Molding Over Other Methods
Transfer molding and compression molding are two other techniques used to shape rubber into desired products. All the different techniques have their strengths and weaknesses. For example, compression molding is better suited for high-consistency rubber (HCR). The material is placed in an open mold. The mold is covered and compressed under high heat and pressure. While users of this material tend to save more money in tooling costs, it is not recommended for precision products with complex geometries. Also, the cycle time is reasonably elongated compared to injection molded rubber.
Transfer molding is a more rugged rubber molding technique where the raw material is placed in a chamber—often called a pot—and forced into the mold cavity with the help of a plunger. Virtually any rubber material can be used with this procedure. The biggest drawback with its use is that it leaves a larger pile of material waste.
Also, although its cycle time is better than compression molding, it is slower when placed side-by-side with injection molding. The reason injection and transfer molding have faster production cycles than compression is that the material is preheated before molding, unlike in compression, where the heating and molding are done simultaneously.
Key Differences Between Injection, Compression, And Transfer Molding
| Factor | Injection | Compression | Transfer |
|---|---|---|---|
| Tooling | An injection mold takes 8 to 10 weeks to design and create | Takes 6 to 8 weeks, depending on complexity and number of cavities | Usually takes 6 to 8 weeks to design and create |
| Material | Best with flowable rubber compound, e.g., liquid silicone rubber (LSR) | Various types of rubber, including HCR and materials that are difficult to flow | Works with a wide range of rubber |
| Production capacity | High volume | Low to Medium volume | Medium volume |
| Product geometry | Creates complex shapes | Simpler shapes | Complex shapes |
| Cycle time | 2 seconds to 2 minutes | 30 seconds to over 5 minutes | 60 seconds to 5 minutes |
| Precision | High precision | Low precision | Medium precision |
| Costs | High initial tooling costs | Lower initial tooling costs | Lower initial tooling costs |
| Labor | Can be automated | Manual-labor intensive | Semi-automated. Initial loading of material is done manually |
| Waste | Minimal waste | Minimal waste | More wasteful |
Rubber Injection Molding Workflow
Technological evolution is driving the transformation in how manufacturers approach injection molded rubber. The entire process can be divided into three broad parts, namely pre-injection, molding, and ejection.
Pre-injection
Manufacturers who want to ace the competition are using computer-aided design (CAD) models to optimize their processes. The following steps happen in the pre-injection stage of injection molding with rubber.
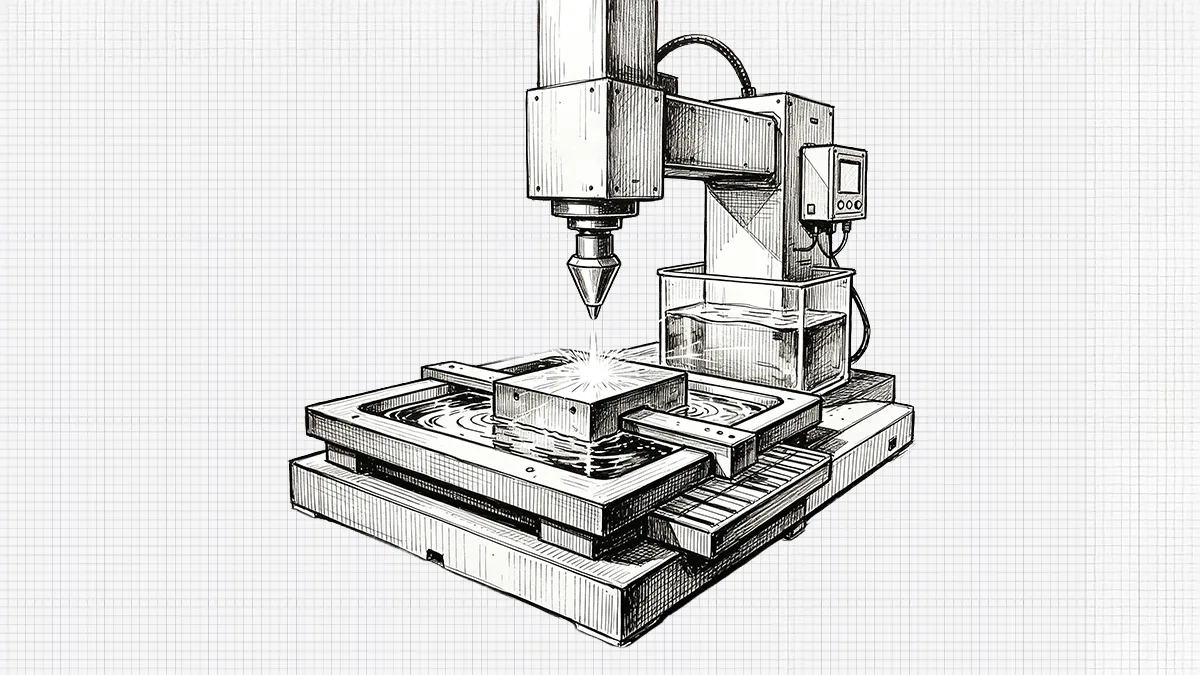
- Part design and visualization: Manufacturers design a precise 3D model of the rubber part that captures the complex dimensions and geometries using CAD software. This helps in visualizing the final product and identifying potential flaws. Detailed CAD models help manufacturers ensure the finished product precisely meets the desired specification and tolerance.
- Rubber material preparation: The rubber compound containing fillers and other desired additives (including accelerators and curing agents) formulated specifically for the product is fed into the rubber injection mold machine screw.
- Heating: The rubber material is pulled into the injector and heated at a temperature between 158°F and 230°F to make it flowable.
Molding
It starts with sealing the mold halves, ensuring they are properly aligned, before securing with clamps. In some cases, you may need special supplies for proper sealing to prevent loss of pressure or material, which affects product integrity. It is essential to clean the halves before closing because any debris or contaminant left behind from the previous cycle may cause defects in the new product.
- Injection: The liquidized rubber is injected into the sealed mold cavity under high pressure via the runner and gate.
- Curing: The liquified rubber material is allowed to solidify in the mold cavity under controlled pressure and temperature. Cooling may be used to enhance curing and shorten cycle time.
Ejection
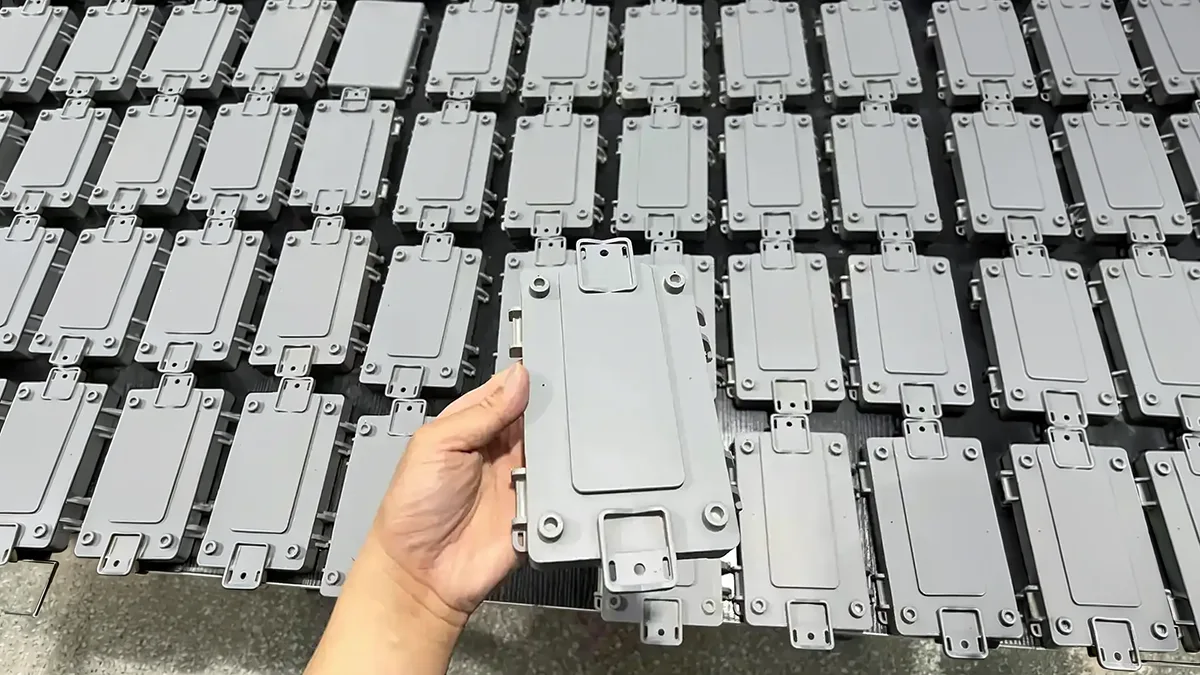
Once the injection molded rubber part has cured, the mold opens, and the finished part is removed, often with the help of ejector pins. Post-processing follows, which may include the trimming out of excess material (deflashing) and quality control inspection to ensure the product meets the desired specification.
Rubber Injection Molding Vs Silicone Injection Molding
Some beginner designers and engineers are usually confused about when to use rubber or silicone injection molding. If you have ever found yourself in this situation, you are not alone. Both rely on a similar molding technique. The major difference between them is usually in the material used for the process and the properties of the product.
The material for rubber injection molding can be ethylene propylene diene monomer (EPDM) or synthetic rubber, natural rubber, neoprene, or nitrile. On the other hand, silicone injection molding relies on liquid silicone rubber (LSR) as the primary material. They are excellent for medical-grade products that need to be temperature-resistant. For the best experience, always choose specialists in silicone injection molding.
Differences Between Rubber And Silicone Injection Molding
| Factors | Rubber | Silicone |
|---|---|---|
| Material | Natural rubber, neoprene, EPDM, and nitrile | Liquid silicone rubber |
| Temperature resistance | Natural rubber begins degrading above 220°F (104°C) and should not be used continuously above 180°F (82°C) | Superior temperature resistance. Some products can withstand up to 572°F |
| Application | Used in making different automobile parts. Best for products that require strong bonding with metal or other materials | Best for medical devices and food-grade products where temperature resistance and flexibility are of high essence |
| Costs | More affordable | Higher upfront cost |
| Durability | Durable in regular conditions | More durable in extreme conditions |
Rubber Molding DFM Rules For Every Product Designer
Every designer delights in creating new products, a sort of legacy that lives on years after they are gone. Design for Manufacturing (DFM) is a set of rules that guide designers in creating new products with production efficiency and cost-effectiveness in mind. In other words, the product must be strategically designed to optimize production cost without watering down the performance or reliability. When it comes to injection molded rubber, here are the key aspects that product designers must account for.
Critical DFM Rules for Rubber Injection Molding
1. Minimize the number of parts
The fewer molds it will require to make the product, the fewer the number of mold fabrications that must be accounted for. Also, a larger number of parts can increase the error margin and the material costs. Reducing the number of parts makes assembly faster.
2. Design for modularity
Modular injection molded rubber products have easily interchangeable parts, which makes them easy to assemble or disassemble, and by extension, cheaper to repair or maintain. Designing for modularity often accounts for factors like clear assembly instructions and snap-fit designs. The best example of a manufacturer that has perfected modular design in its products is LEGO.
3. Design multi-functional and multi-use parts
When a part is multi-functional, it means that it can serve different purposes. One of the best examples is how the motherboard of most handheld electronic devices handles processing and memory. This design choice helps to cut down the cost of having separate parts. A multi-use part, on the other hand, can fit into different products. A good example is how Tesla’s EV battery cell is designed to fit into different EV models.
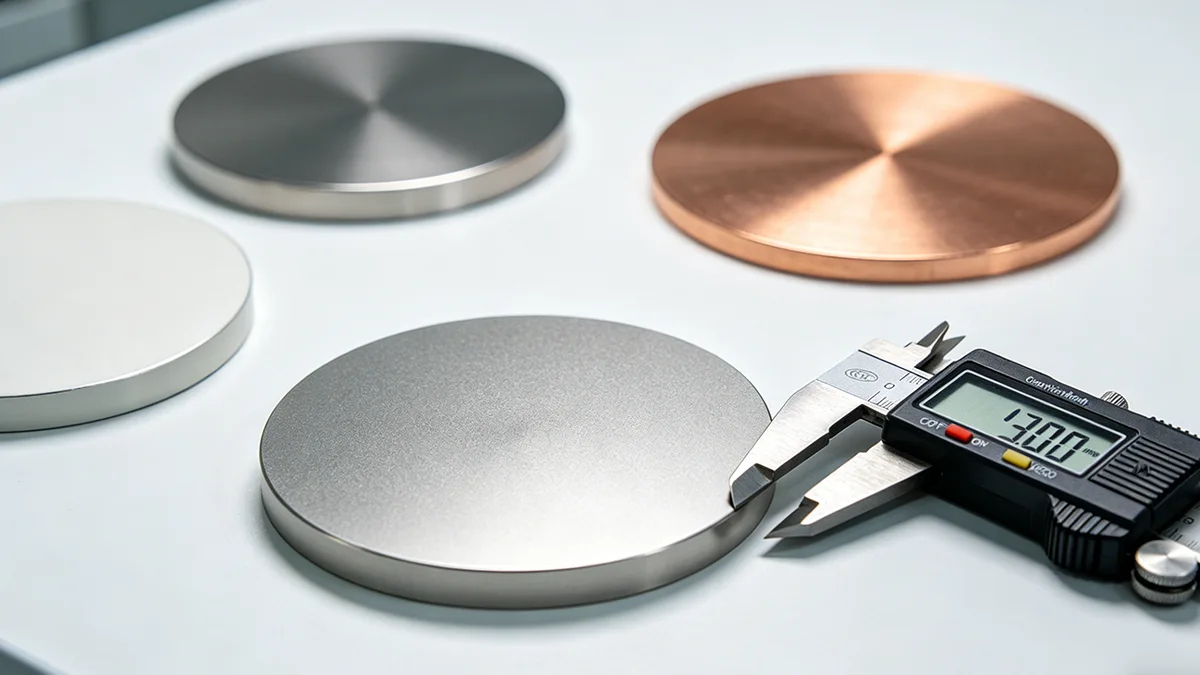
4. Material selection
Material selection is a delicate step because of its impact on the end product’s properties and cost. A classic example is silicone rubber, although more expensive, is better suited for medical products than natural rubber, because it is better at withstanding extreme temperatures and pressure.
5. Environmental consciousness
Those involved in rubber injection molding must factor in the environment where users will use the product. Chemical exposure and temperature are factors that must be considered. For example, if designing for a hospital, material with higher resistance to wear must be considered.
Critical Design Parameters
An error in key rubber injection molding steps can invalidate the integrity, performance, and quality of the product. The critical design parameters for injection molding include:
- Selecting the right rubber depending on the application.
- The rubber material melting temperature must be precise, as too low may impact flowability, and too high can degrade the material.
- The mold temperature directly affects curing and cycle time.
- Injection pressure must be precise to avoid incomplete filling or excess material (flash).
- Holding pressure prevents shrinkage during curing.
- Inaccurate injection speed will affect the flow pattern and can lead to defects like flow lines.
- The cooling time must be adequate to avoid warping.
Material Selection Guide for Beginners (Material-Design Compatibility Matrix)
Material-design compatibility matrix is a chart that tells you what materials work best for different design elements. The intent is to ensure the end product hits performance requirements and eliminates part failure or incompatibility of material.
| Type of rubber | Properties |
|---|---|
| Natural rubber | Highly elastic and resistant to wear. Best for general-purpose products |
| Neoprene | Resistant to heat and oil. Best for hoses and seals |
| Styrene butadiene rubber | Resistant to wear. Used for tires and products in a high-wear environment |
| Fluorine rubber | High resistance to temperature and chemicals. Best for sealing products |
| Ethylene propylene diene monomer | Withstands continuous temps up to 302°F (150°C); ozone/weather resistant |
| Silicone rubber | Continuous use up to 428°F (220°C); short-term peaks to 572°F (300°C) |
When selecting material for rubber injection molding, engineers and designers must follow the steps below in material selection for the best manufacturing outcome.
- Identify the intended application, including temperature, chemical exposure, and mechanical demands on the product.
- Make a list of materials that can withstand the properties.
- Compare the costs of the different shortlisted materials.
- Build prototypes using the shortlisted materials.
- Test the prototypes in real-world conditions and choose the product that balances cost, availability, and performance.
Cost Optimization Tactics for Designers & Engineers
Rubber injection molding projects can only be sustainable when the production costs have been optimized. No matter how great your product may be, if consumers don’t choose it over your more affordable competitor, it is only a matter of time before your business goes bankrupt. Engineers and designers can optimize cost in injection molded rubber projects by:
- Optimizing design for cost-effective manufacturing
- Simplifying the product design to reduce the cost of tooling
- Choosing modular designs that can be assembled quickly to lower labor costs
- Removing features that don’t add to the product’s functionality
- Thinning the product’s wall, where applicable, to reduce cycle time and material use
- Exploring alternative materials and constantly looking for more suppliers with competitive pricing
- Choosing readily available materials
- Reducing waste by reusing parts where applicable
- Outsourcing non-essential activities to lower overhead costs
Troubleshooting Common Defects
It is always challenging when injection molded rubber parts emerge from the mold looking different from what was intended. Common defects include warping, flash, and short shots. Since one flaw may cause multiple defects, solving the problem may require some form of troubleshooting to determine the exact cause. The table below shows how to troubleshoot common defects.
| Defect | Troubleshooting |
|---|---|
| Flash (excess material): usually from poor mold closure or too much injection pressure | 1. Repair the mold parting surface damage. 2. Verify clamp force is within design specsLower injection pressure. |
| Short shot (inadequate mold filling: usually caused by interrupted flow, low injection pressure, or low mold temperature. | 1. Increase injection speed and pressure. 2. Adjust the mold temperature to the optimum. 3. Check for obstructions in the injection pump. |
| Warping: distortion in product shape due to uneven cooling. | 1. Lengthen the cycle time. 2. Optimize cooling channel layout for uniform heat extraction. 3. Increase the mold temperature to reduce the thermal gradient. 4. Adjust holding pressure/time. |
| Sink Marks: depression mostly in the thicker sections | 1. Raise the injection pressure and lower the speed. 2. Increase hold time. 3. Optimize mold temperature. |
| Flow lines: lines on the product surface due to uneven material flow | 1. Optimize injection speed. 2. Adjust venting. 3. Improve gate design. |
| Burn Marks: discoloration of product, especially close to the gate area | 1. Optimize the venting of the mold. 2. Lower injection speed. 3. Reduce the material melting temperature. |
| Void: caused by air pockets in the product | 1. Raise the injection pressure. 2. Optimize venting. |
When it comes to rubber injection molding, optimizing design to ensure scalability at the best possible cost is the key to long-term success. However, we must never sacrifice performance, quality, and durability to achieve this aim.