

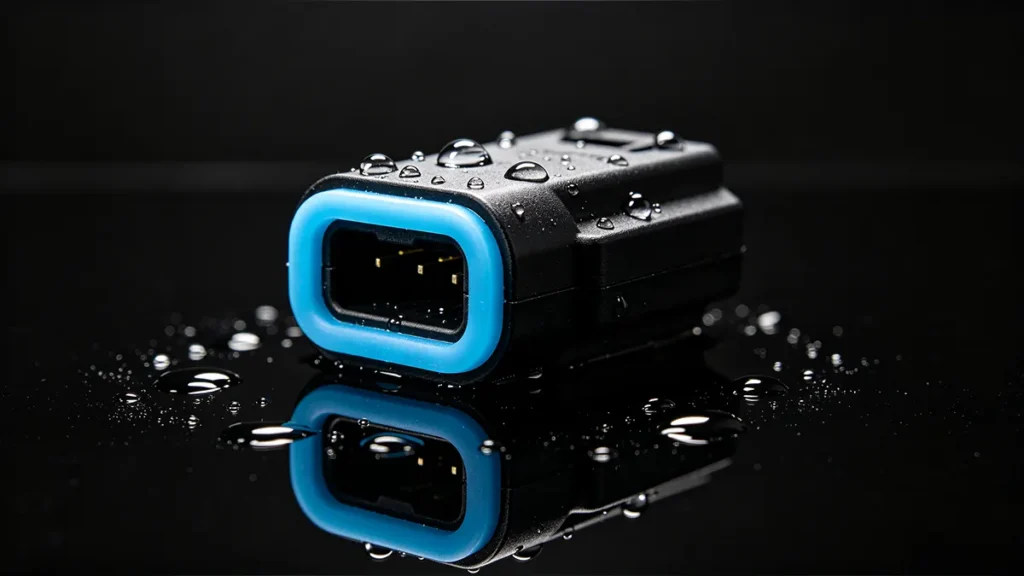
El sobremoldeado de plástico se utiliza ampliamente en la industria del moldeo por inyección para mejorar el acabado de los componentes. Ayuda a los fabricantes a garantizar la seguridad, la comodidad y la eficacia de los productos. Por ejemplo, los utensilios y las herramientas manuales se diseñan de tal forma que mejoren el agarre. Los ingenieros aplican el sobremoldeado de plástico para añadir patrones específicos a los mangos y evitar que se resbalen al utilizar las herramientas. El sobremoldeado es similar al moldeo con inserto, ya que ambos utilizan el proceso de moldeo por inyección. Sin embargo, mientras que el moldeo por inserción tradicional suele consistir en fijar plástico o caucho alrededor de una superficie metálica, el sobremoldeo en la fabricación a medida no estandarizada es una categoría más amplia. Incluye tanto el moldeo por inyección de dos fases como los métodos de «pick-and-place» para fijar un material flexible sobre un sustrato de plástico rígido premoldeado.
Hay quien considera que el sobremoldeo es un proceso de acabado superficial, simplemente porque puede modificar el aspecto de un producto. Sin embargo, esa visión no es correcta. El sobremoldeado es, en realidad, un proceso de moldeo por inyección multimaterial. Si bien la capa de sobremoldeado aporta ventajas de estanqueidad y estéticas, constituye un paso fundamental en la fabricación de la pieza, y no un “toque final” opcional que se aplica una vez fabricado el cuerpo principal.
Esta guía analiza el proceso de sobremoldeado y describe los pasos que conlleva.
¿Qué importancia tiene el sobremoldeado?
En el proceso de sobremoldeo, un sustrato se recubre parcialmente o se envuelve en un material secundario. En la mayoría de los casos, el sustrato utilizado en el sobremoldeo es caucho o termoplásticos, lo que da lugar a un único producto integrado. Existen numerosas aplicaciones del sobremoldeo en el sector manufacturero.
Ergonomía y estética
Muchos productos de plástico a medida se fabrican a partir de termoplásticos técnicos rígidos, como el nailon, el ABS o el PC, para garantizar la integridad estructural. Sin embargo, estas superficies duras pueden resultar incómodas para el usuario y ofrecer un agarre insuficiente cuando se manipulan durante periodos prolongados. Mediante el sobremoldeado, se añade una capa de elastómero a estos productos, lo que distribuye la presión de manera uniforme en las manos del usuario durante su uso. El sobremoldeado crea ranuras en los mangos de los dispositivos para evitar que se resbalen de la mano del usuario. Se trata de una consideración de seguridad muy importante para los martillos en los talleres.
En el caso del uso de herramientas eléctricas, el sobremoldeado de plástico ayuda a amortiguar los golpes y las vibraciones, lo que contribuye a la seguridad ergonómica. Algunos de los materiales utilizados en el sobremoldeado, como los elastómeros blandos, absorben las vibraciones generadas durante el funcionamiento. En comparación con los plásticos rígidos, los sobremoldeados elastoméricos especializados pueden reducir las vibraciones de alta frecuencia entre un 20 % y un 30%, un efecto amortiguador significativo que resulta fundamental para minimizar el riesgo de síndrome de vibración mano-brazo (HAVS) para los operarios en entornos industriales. [1].
La función del sobremoldeo va más allá de la seguridad, ya que aporta un valor estético a los productos moldeados. En este proceso, se pueden aplicar diferentes capas de color al molde. Posteriormente, estas capas de color se transfieren al producto resultante. Por ejemplo, unos alicates con dimensiones similares pueden estar disponibles en diferentes colores. Estas diferencias de color pueden marcar la diferencia en la comercialización de los productos moldeados de plástico fabricados.
Para impermeabilización y sellado
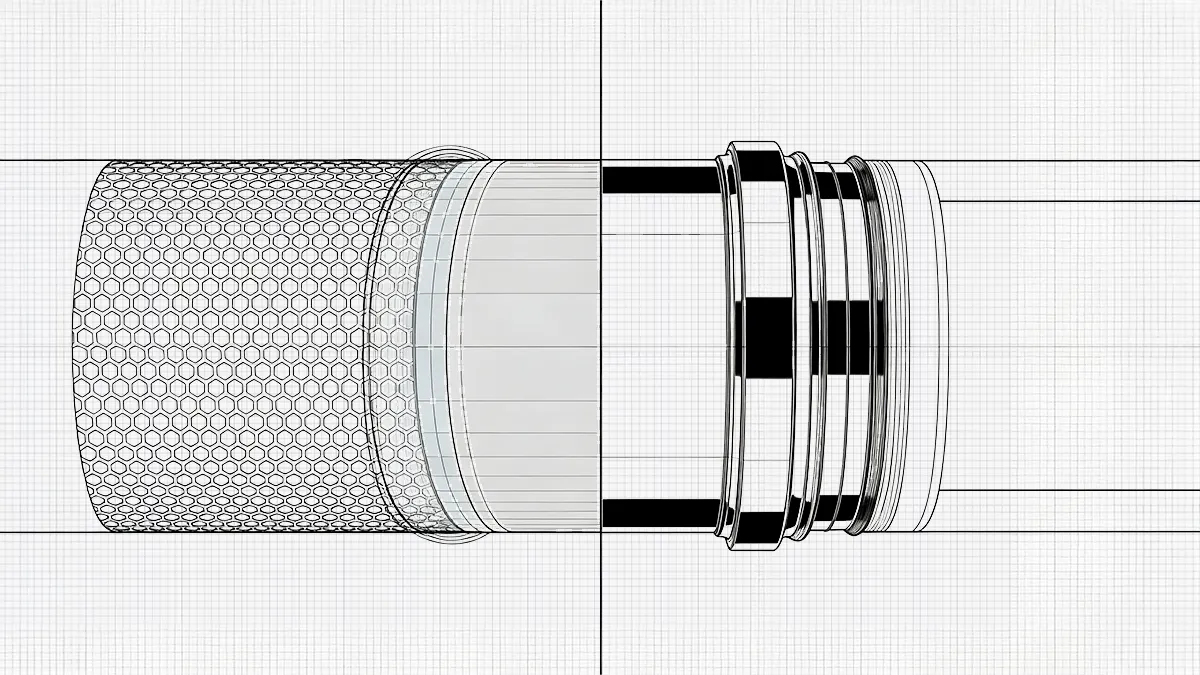
El sobremoldeado ayuda a proporcionar un sellado hermético alrededor de los componentes electrónicos, los interruptores, las interfaces de la carcasa y los conectores. El proceso une de forma permanente los elastómeros al sustrato, lo que da lugar a una barrera continua que se adapta a todas las geometrías complejas. Esta ventaja del sellado continuo resuelve los problemas de las juntas y juntas tóricas convencionales, que requieren un montaje adicional. El sobremoldeo contribuye a la fiabilidad del producto, especialmente en el caso de los productos expuestos a la lluvia, la humedad y los productos químicos de limpieza. Como fabricantes a medida, First Mold utiliza el sobremoldeado como un método fiable para alcanzar índices de protección contra la entrada de agua y polvo (IP) más elevados (como IP67 o IP68) que cumplen con la estricta norma IEC 60529 sobre resistencia al agua y al polvo, lo que garantiza una fiabilidad a largo plazo en entornos hostiles. [2].
La tabla siguiente resume las principales aplicaciones del sobremoldeado para resolver problemas de estanqueidad:
| Aplicación | El reto del sellado | Solución de sobremoldeo |
|---|---|---|
| Sensores para el sector de la automoción | Exposición al agua, al barro y a la sal de carretera | El sobremoldeado de TPE o silicona crea un sellado hermético permanente |
| Productos sanitarios | Limpieza y esterilización frecuentes | Elimina las grietas en las que se pueden acumular líquidos |
| Electrónica para exteriores | La lluvia y la exposición a los rayos UV | Sellado continuo alrededor de las uniones de la carcasa |
| Conectores industriales | Entornos con polvo y en los que se realizan lavados con agua a presión | Encapsula la transición entre el cable y el conector |
| Dispositivos portátiles para el consumidor | Sudor e inmersión accidental | Barrera impermeable flexible alrededor de los componentes electrónicos |
Costes laborales
La mayoría de las empresas de ingeniería especializadas en moldeo por inyección buscan optimizar su proceso de fabricación como estrategia para alinearse con los principios de la Industria 4.0. Una de las estrategias para alcanzar este objetivo consiste en sustituir el montaje tradicional por el sobremoldeo. La integración de numerosos componentes y funciones en una única pieza moldeada reduce significativamente el trabajo manual. De este modo, los fabricantes consiguen una producción homogénea y una elevada eficacia global de los equipos (OEE).
Aunque el sobremoldeado conlleva unos costes de utillaje relativamente más elevados en comparación con métodos tradicionales como el montaje, los costes operativos son relativamente más bajos. Tomemos, por ejemplo, la fabricación de una herramienta eléctrica. Cuando se utiliza la fabricación convencional, se requiere una serie de operaciones de fabricación para producir una herramienta eléctrica sencilla, lo que podría simplificarse mediante el sobremoldeado.
En el montaje tradicional de un taladro inalámbrico, se necesitaría una carcasa moldeada por inyección por separado, un mango de goma independiente, la aplicación de adhesivo, el posicionamiento manual, el tiempo de curado y la inspección. Todas estas operaciones requieren más tiempo y suponen un mayor coste de mano de obra.
Gracias al sobremoldeado, hemos logrado reducir estas operaciones, lo que se traduce en un menor número de operarios, ciclos de producción más rápidos, una reducción del stock de productos en curso y una mayor uniformidad dimensional.
¿En qué consiste el proceso de fabricación del sobremoldeado?
El sobremoldeado es un proceso de varias etapas que abarca desde el diseño hasta la expulsión.
1. Diseño
La fase de diseño del sobremoldeado es fundamental, ya que determina los requisitos funcionales, estéticos y de fabricación de los productos finales. En esta fase suelen tomarse decisiones cruciales para eliminar posibles defectos, como marcas de hundimiento, deformaciones y delaminación. En la sala de diseño, utilizamos diferentes programas informáticos, como el análisis de flujo de moldeo (Mold Flow Analysis), CAD y CAE, para optimizar los parámetros del proceso y predecir las características del producto final. El proceso de diseño abarca varios aspectos, como la compatibilidad de los materiales, el mecanismo de unión, el espesor de las paredes, la ubicación de la entrada de material, el ángulo de desmoldeo y la contracción.
Compatibilidad de materiales
La elección de los materiales de sobremoldeo adecuados para la unión con el sustrato es un aspecto fundamental del diseño. Los materiales de sobremoldeo pueden unirse al sustrato de diversas formas, como la adhesión química, el enclavamiento mecánico, la difusión molecular o la atracción por energía superficial. Una compatibilidad eficaz entre los materiales da lugar a una unión más resistente, evita el desprendimiento y garantiza que el sobremolde no se separe del sustrato. La siguiente tabla resume los diferentes materiales de sobremolde compatibles con los materiales del sustrato.
| Material del sustrato | Material de sobremoldeo | Aplicación típica |
|---|---|---|
| ABS | TPE | Mangos de herramientas |
| Policarbonato (PC) | TPU | Productos sanitarios |
| Nylon (PA6/PA66) | TPE | Conectores para el sector de la automoción |
| Polipropileno (PP) | TPE especial a base de PP | Recipientes para alimentos |
| Acero inoxidable | Silicona | Instrumental quirúrgico |
| Aluminio | TPU | Pinzas industriales |
Espesor de la pared
En el proceso de sobremoldeo, se diseña un espesor de pared uniforme para garantizar un flujo de material constante, estabilidad dimensional y un enfriamiento uniforme. Esto ayuda a minimizar los defectos. Además, gracias a un espesor de pared uniforme, se pueden evitar huecos, reducir el tiempo de ciclo y minimizar la deformación. Las paredes no deben ser excesivamente gruesas para evitar un enfriamiento lento. Por otro lado, unas paredes más finas pueden provocar un llenado incompleto o inyecciones insuficientes. La siguiente tabla resume el espesor de pared recomendado para diferentes materiales.
| Material | Espesor recomendado |
|---|---|
| ABS | 1,5–3,0 mm |
| Policarbonato | 1,2–3,5 mm |
| Nylon | 1,0–3,0 mm |
| Polipropileno | 1,0–2,5 mm |
| TPE | 1,0–2,5 mm |
Ubicación de la puerta
La entrada debe colocarse correctamente para garantizar un llenado equilibrado y una prevención eficaz de defectos. La colocación adecuada de la entrada minimiza las líneas de soldadura, reduce la tensión residual y disminuye la presión de inyección necesaria. Las ubicaciones más habituales de la entrada son la entrada en el borde, la entrada en abanico y la entrada submarina, tal y como se ilustra en las figuras siguientes.
Contracción
Todos los termoplásticos se contraen al enfriarse. Durante el diseño, los ingenieros compensan esta contracción sobredimensionando las cavidades del molde en función de la contracción requerida o prevista. Esta estimación se basa en la siguiente fórmula:
S = (Lm – Lp) * 100%/Lm
Dónde
S = contracción (%)
Lm = dimensión de la cavidad del molde
Lp = dimensión de la parte final
Sin embargo, el sobremoldeo provoca una contracción restringida, ya que el sustrato rígido limita físicamente la contracción natural del material secundario. A menudo, los ingenieros deben utilizar el análisis de flujo en molde junto con esta fórmula para dimensionar con precisión la cavidad y evitar la deformación.
2. Fabricación del sustrato
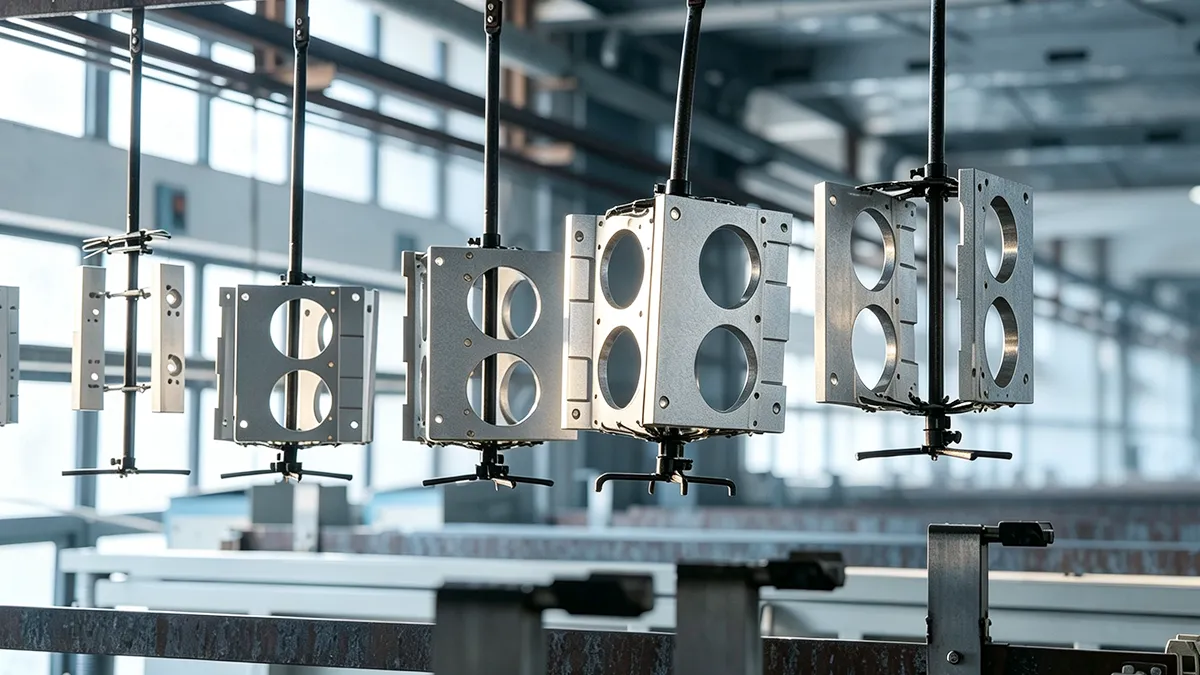
Tras las consideraciones de diseño, el equipo se pone manos a la obra con la fabricación del componente base sobre el que se sobremoldea el material secundario. Este sustrato constituye la estructura del producto y aporta las características estructurales, dimensionales y funcionales del producto final. Los materiales para la fabricación del sustrato se seleccionan en función de la aplicación. Esto implica que un sustrato puede estar fabricado con termoplásticos, metales o materiales compuestos. Para la fabricación de los sustratos se eligen diferentes métodos, como el mecanizado CNC, el moldeo por inyección, la fabricación aditiva, la fundición a presión y el estampado. El método seleccionado debe garantizar un sustrato que presente una resistencia mecánica suficiente, unas dimensiones precisas y una superficie adecuada para la adhesión.
Los sustratos plásticos se fabrican normalmente mediante moldeo por inyección, siguiendo los siguientes pasos:
- Gránulos de plástico
- Secado de materiales
- Fusión en barril
- Inyección en molde
- Embalaje y almacenamiento
- Refrigeración
- Expulsión
- Sustrato acabado
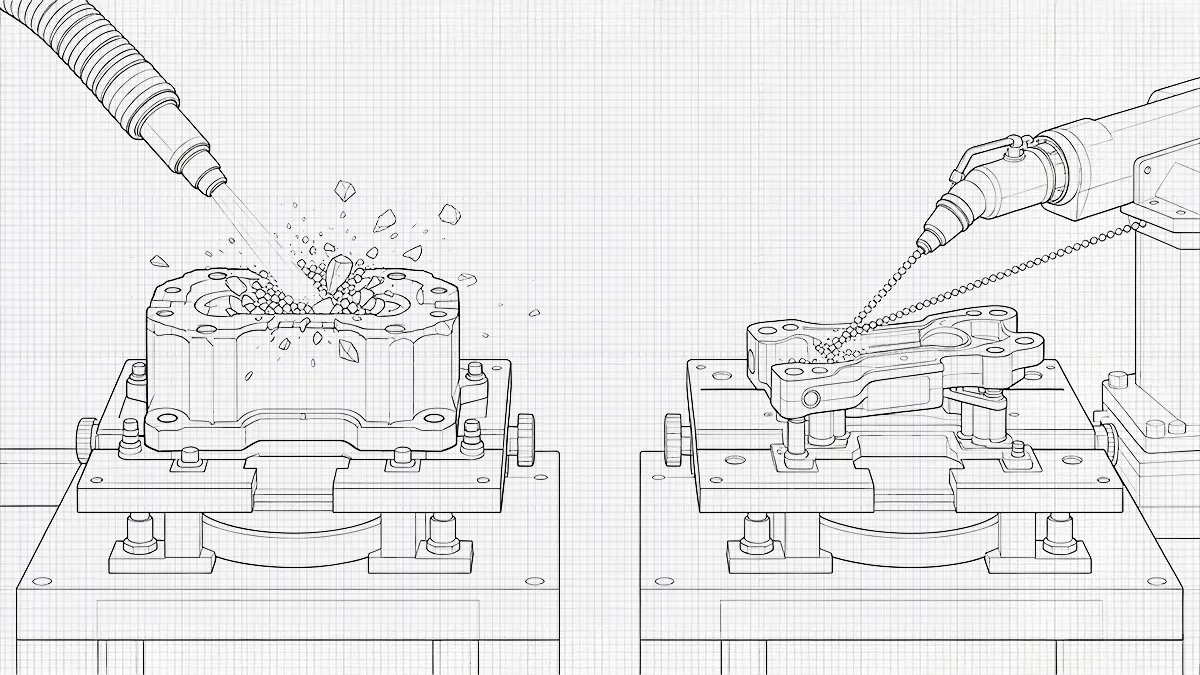
Los sustratos metálicos se eligen en aquellos casos en los que se requiere una alta conductividad térmica, resistencia mecánica y resistencia al desgaste. Estos sustratos se fabrican habitualmente mediante mecanizado CNC, forja, fundición a presión, estampado de metal o moldeo por inyección de metal. Sin embargo, tras su fabricación, los ingenieros someten estos sustratos a procesos secundarios como el acabado superficial, el desbarbado, la limpieza química o el chorro de arena.
3. Preparación de la superficie
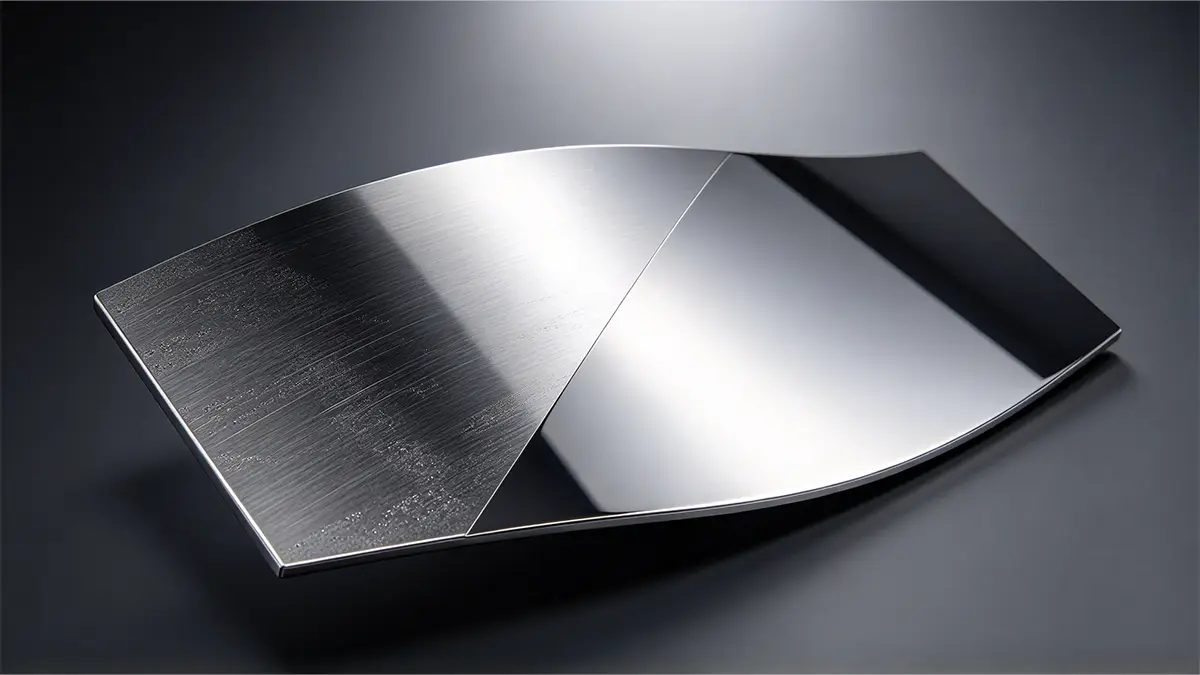
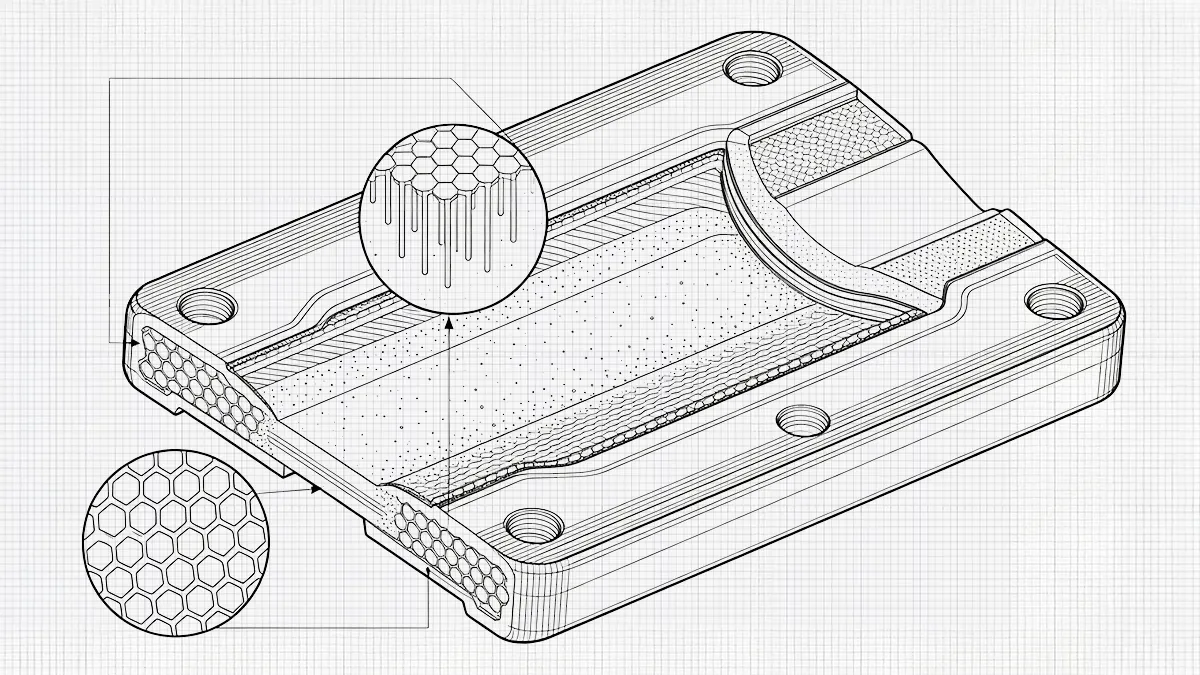
La adhesión entre el sustrato y el material de sobremoldeo depende del estado del sustrato. Por lo tanto, las superficies de ambos materiales deben prepararse adecuadamente para garantizar la eficacia del proceso de sobremoldeo. Una superficie que no está preparada presenta contaminantes, sufre oxidación, tiene baja energía superficial y puede resultar demasiado lisa, lo que reduce la adhesión. Esto provoca el desprendimiento del componente, la delaminación y el fallo prematuro del mismo.
Hay varias razones por las que preparamos las superficies antes de realizar el sobremoldeado. En primer lugar, eliminamos contaminantes como el polvo, los aceites, los óxidos y los agentes desmoldeantes. Estos contaminantes pueden afectar a la adhesión entre el sustrato y los materiales de sobremoldeado. En segundo lugar, la preparación aumenta la energía superficial de los materiales. Nos referimos a esta energía superficial como «humectabilidad superficial». En tercer lugar, la preparación de la superficie mejora la unión mecánica entre el sustrato y el material de sobremoldeo.
La preparación de superficies es un requisito imprescindible para aquellas aplicaciones en las que la integridad de la unión a largo plazo es fundamental. Entre estas aplicaciones se incluyen los componentes aeroespaciales, los sensores de automoción, los dispositivos electrónicos resistentes al agua y los conectores eléctricos. Existen diferentes métodos que se pueden aplicar para preparar las superficies. El método más utilizado es el tratamiento con plasma. En este proceso, se limpia la superficie y se aumenta su energía superficial mediante la generación de iones y electrones de alta energía a partir de una descarga de plasma.
Entre los demás métodos se incluyen el tratamiento por corona, el tratamiento con llama, el grabado químico y la texturización por láser.
4. Carga del inserto
El sustrato o inserto fabricado en esta fase se coloca con precisión en el molde de segunda inyección antes de inyectar los materiales de sobremoldeo. Es necesario insertar el sustrato con la máxima precisión para obtener la mejor calidad del producto final. Si se coloca el inserto de forma incorrecta, se puede provocar una desalineación del material de sobremoldeado, lo que da lugar a la formación de rebabas y a una mala adhesión. La mayor parte de los desechos que se producen durante el sobremoldeado se deben a un posicionamiento deficiente del inserto. Para evitar estos errores, la mayoría de los fabricantes prefieren utilizar sistemas de manipulación automatizados.
5. Inyección de segunda fase
Esta etapa define el proceso de sobremoldeo. Se inyecta un polímero fundido, como TPE, TPU u otros termoplásticos de ingeniería, en la cavidad del molde y se deja que fluya alrededor del sustrato colocado. Al entrar en contacto con el sustrato, los materiales se unen química o mecánicamente. Es necesario controlar con precisión los parámetros de procesamiento en esta etapa, ya que determinan la calidad general del producto resultante.
El proceso comienza introduciendo gránulos de polímero en un cilindro calentado. El cilindro cuenta con un tornillo sinfín giratorio que transporta los gránulos hacia delante. A medida que los gránulos avanzan, su temperatura de fusión aumenta gracias a las bandas calefactoras, mientras que la fricción entre el tornillo y el polímero contribuye a la fusión de este. Esto da lugar a un polímero fundido homogéneo. El polímero fundido se va acumulando en la parte delantera del tornillo hasta que se alcanza el volumen suficiente para la inyección.
A medida que el tornillo alternativo sigue avanzando, empuja el polímero fundido acumulado a través de la boquilla, el canal de inyección, el sistema de canales y la entrada, hasta introducirlo en la cavidad del molde. En la cavidad, el material fundido fluye alrededor del sustrato, lo que permite su unión y solidificación. Una vez que los materiales fundidos se solidifican alrededor del sustrato, se deja enfriar. A continuación, los pasadores eyectores expulsan el producto final. La siguiente tabla resume los parámetros de procesamiento.
| Parámetro | Rango típico | Función principal |
|---|---|---|
| Temperatura de fusión | 180–280 °C | Garantiza una fusión completa y un flujo adecuado |
| Temperatura del molde | 30–90 °C | Controla la velocidad de enfriamiento y el acabado superficial |
| Presión de inyección | 60–180 MPa | Introduce el polímero en la cavidad del molde |
| Presión de mantenimiento | 30–100 MPa | Compensa la contracción que se produce durante el enfriamiento |
| Velocidad de inyección | Medio a alto | Evita la solidificación prematura |
| Tiempo de enfriamiento | 10–60 s | Permite que se solidifique por completo antes de la expulsión |
Nota: La temperatura exacta de fusión depende de los tipos específicos de polímero que se vayan a unir. Es fundamental mantener la temperatura de fusión de la segunda inyección estrictamente dentro del intervalo de procesamiento térmico del material para lograr una unión química cohesiva sin fundir ni degradar el sustrato personalizado subyacente. [3].
Conclusión
El sobremoldeado ofrece soluciones versátiles a los retos de fabricación al combinar diferentes materiales para mejorar la funcionalidad, la durabilidad, la ergonomía y la estética del producto. Los fabricantes que deseen añadir un tacto suave a sus productos para mejorar el agarre o la “sensación al tacto” y proporcionar un aspecto elegante que resulte atractivo para los consumidores son los principales candidatos para el sobremoldeado. Si necesitas una pieza única y sólida que integre múltiples capas de materiales y colores, el sobremoldeado es tu solución ideal.
Referencia
[1] Bernard, B. P., Nelson, N., Estill, C. F. y Fine, L. (1998). «Análisis del NIOSH sobre el síndrome de vibración mano-brazo: la vigilancia es fundamental». Revista de Medicina Laboral y Ambiental, 40(9), 780-785. Stacks de los Centros para el Control y la Prevención de Enfermedades (CDC). Consultado en https://stacks.cdc.gov/view/cdc/196388
[2] Comisión Electrotécnica Internacional. (2013). IEC 60529:1989+AMD1:1999+AMD2:2013 CSV (versión consolidada): Grados de protección ofrecidos por los envolventes (código IP). Extraído de https://webstore.iec.ch/publication/2452
[3] Awaja, F., Gilbert, M., Kelly, G., Fox, B. y Pigram, P. J. (2009). Adhesión de polímeros. Avances en la ciencia de los polímeros, 34(9), 948-968. https://doi.org/10.1016/j.progpolymsci.2009.04.007




 ES
ES  EN
EN  FR
FR  DE
DE  IT
IT  PT
PT  NL
NL  PL
PL  AR
AR  JA
JA  KO
KO  ZH
ZH