Calculator housing, casing, or shell plays both aesthetic and functional roles. While the primary role of the shell is to protect the internal electronics, some calculator housing manufacturers incorporate design elements that allow the casing to hold accessories, such as a pencil, as seen in the FLIP calculator.
Calculator housing manufacturing is primarily done using durable plastics such as acrylonitrile butadiene styrene (ABS), high-impact polystyrene (HIPS), and polycarbonate (PC). Below are some of the roles of a calculator housing.
- Protection: It safeguards the delicate internal electronics, like the printed circuit board (PCB) and microchips, from physical damage caused by impact and from environmental elements like water and UV. Some models have sliding covers that provide additional protection for the screen.
- Organization: The housing is designed to have compartments for the screen, keypad, and battery. The rigid frame secures these components in place, preventing accidental damage from impact and short circuits.
- Usability: Provides a stable base for flexible switches, allowing comfortable, responsive repeated input.
- Durability: The manufacturing of calculator housing is done to withstand daily wear and tear and protect the fragile internal compartments from pressure and drops.
Client Requirements
A calculator manufacturer was launching a new product with a unique curved design and approached First Mold to assist with the shell production. This was a unique calculator with dual screens intended for business use. They wanted a reputable company that could design precision molds for the project, and First Mold was highly recommended.
First Mold’s Production Manager, Bowen Huang, was delighted to give the client a physical tour of the different sections of the factory. The manufacturer openly expressed their delight and proceeded with outlining their detailed requirements for the calculator housing manufacturing.
Owing to the slight curvature in the design, the client was overly concerned about balancing performance and durability while maintaining the weight of around 150 grams (0.33 pounds). The key requirements they outlined in the blueprint include:
- Overall product weight: 125g to 150g
- Wall thickness: 1.0mm to 1.5mm
- Surface treatment: silk screen printing
- Part tolerance: ±0.1mm
- Assembly tolerance: ±0.03mm
- Mass production yield rate: ≥98%
Challenges and Solution
The creation of molds for products with curved surfaces is more difficult compared to products with flat surfaces. It requires high-precision, specialized machining, and labor-intensive interventions from skilled engineers. To overcome this challenge, First Mold had to rely on high-end CAD software and 5-axis CNC machining to create a steel mold for the calculator housing manufacturing.
After production, the final mold surface required a considerably high degree of polishing to ensure the final product has a clean, smooth finish that is ready for silk screen printing.
The primary material for this project was ABS, which typically experiences a mold shrinkage rate of 0.4% to 0.7%, depending on the grade and processing condition. First Mold engineers had to account for this contraction during the calculator housing mold production to avoid defects like warping.
Calculator Housing Manufacturing for Snap-Fit Assembly
The client wanted the upper and lower shells to feature snap-fit assembly at the edges. In addition to snap-fit assembly, the manufacturer requested the inclusion of self-taping screws to provide secondary fastening for tight, durable sealing and protection of the internal components.
Snap-fits require precise molding tolerances. If the tolerances are too tight, the parts will be hard to assemble. On the other hand, if the tolerances are too loose, the connection will be weak, leading to gaps where moisture can pass through and harm the delicate internal electronic components.
A major challenge with snap-fit design is the concentration of stress on the snapping arm (cantilever beam), which can cause the snap to break on assembly. To avoid this outcome and ensure the long-term durability of the product, First Mold engineers added fillets (rounded corners) to the root of the cantilever for stress distribution, leading to increased strength.
Another approach of First Mold engineers to improve the snap-fit strength was tapering the cantilever beam to reduce material usage and lower peak stress. The team relied on advanced software to get the perfect fit for the calculator housing manufacturing, rather than relying on trial and error across multiple prototypes.
Designing Calculator Housing for Lightweight
Calculator housing contribute 70% to 90% of the total weight and volume. Although the client’s choice of material (ABS) is usually the primary choice for consumer electronics because of its relatively lightweight nature, it was necessary to rethink the design with lightweighting in mind. Cutting down material use when manufacturing calculator housing will contribute to a lower overall weight.
First Mold engineers decided to keep the wall thickness at 1.0 mm. To ensure the thin walls remain structurally functional, it was reinforced with ribs. For the best outcome, the orientation of the ribs was determined using simulation software. The ribs served more than just structural support, hence the need for better planning. Other roles played by the ribs include:
- Increased stiffness: The rib design ensured the calculator remained rigid and resisted bending. In other words, the calculator will not snap when flexed, which is great for durability.
- Component mounting: The ribs were designed with sections where the different internal components will sit, including the button pads, circuit boards, and batteries, keeping them securely in place.
- Defect prevention: Thin walls are prone to defects like warping, and sink marks, or visible depressions on the surface. The use of ribs allowed First Mold to create thinner, more uniform walls.
The combination of thin walls and smart rib design allowed First Mold’s team to deliver a calculator housing that was extremely lightweight without sacrificing structural integrity. The lightweight calculator housing design ensured that after assembly of all the components, the overall weight of the product remained below 150 grams.
Achieving a Mass Production Yield Rate ≥98%
Thoughtful gate location and venting strategy, particularly venting at the end of the flow path, were necessary to allow trapped air to escape, prevent incomplete filling, and prevent burn marks. First Mold engineers used conformal cooling channels to maintain uniform mold temperature, reducing warpage, shrinkage, and cycle time.
The team of First Mold engineers designed detailed process documentation, which included design, initial setup, production, maintenance, and repair guides. This document helps the calculator housing manufacturer to optimize their production process to achieve a mass production yield of ≥98%.
Why Are Curved Products Challenging to Make?
Products with curved geometries are usually more susceptible to deformation during cooling, especially if the wall thickness is not uniform. Therefore, it was important for First Mold to keep the wall thickness consistent along the curve. Inconsistency in thickness leads to differential cooling, which may cause thick areas to sink as thin areas cool too rapidly.
Curved parts also have the tendency to ‘stick’ to the mold cavity more tightly compared to parts with straight walls. This makes ejection difficult with the heightened risk of damage or scratches to curved parts.
The client’s calculator housing design had slightly thinner walls around the screens and keypad. To prevent potential defects from differential cooling, First Mold engineers optimized the mold’s cooling system using Mold Flow Analysis software to reduce internal stresses.
What the Client Gained With First Mold’s Solutions
The first and most important benefit the client gained from partnering with First Mold was a reduction in lead time. The client received the completed sets of production molds within 21 days, along with detailed documentation to guide process optimization.
Creating a steel mold is expensive. The cost increases with design complexity. A steel mold with curved surfaces will naturally increase the tooling cost because it requires specialized tooling and labor to achieve. However, First Mold delivered the client’s design within their budget by implementing design for manufacturability principles and relying on advanced technologies like 5-axis CNC machining and CAD software.
Beyond delivering finished molds for the identical replication of the calculator housing design in the client’s blueprint, First Mold engineers offered technical guidance on rib orientation and placement for the best structural outcome.
First Mold engineers offered mentorship to the client’s team on how to effectively use the machine. Even after delivery, the team continued to support the client with after-sales service to ensure the smooth operation of the mold for optimal calculator housing manufacturing.
The combination of optimized production process, the implementation of design for manufacturability, and provision of maintenance and repair support ensures that the client maintains optimal production of calculator housing with minimum downtime. This will pay for the upfront investment in steel tooling over time.
Creative Calculator Shell Design
We believe that some of you following our company are product designers. We’ve gathered some design cases of calculator housings to share with you.
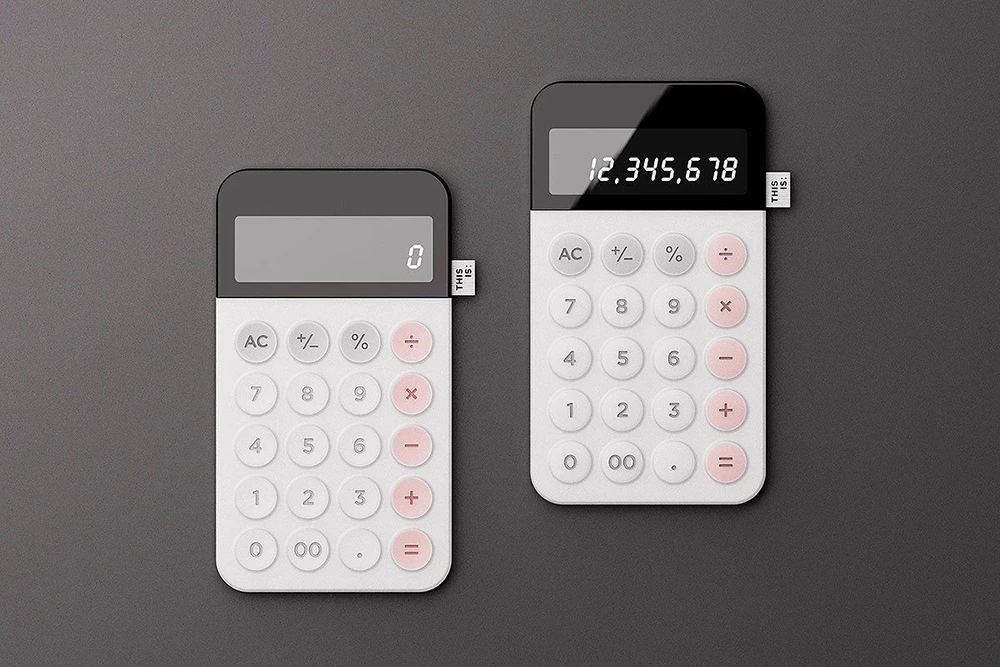
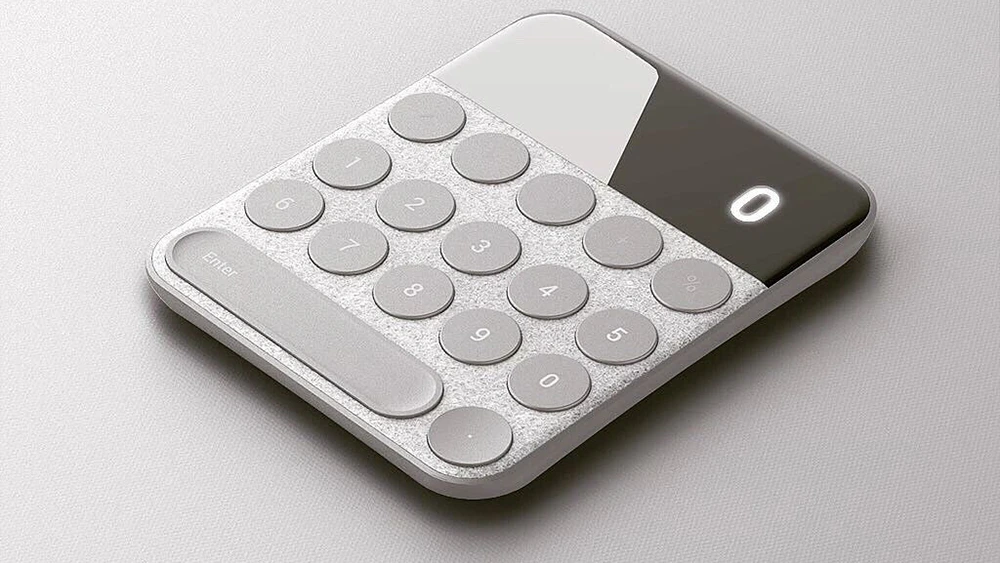
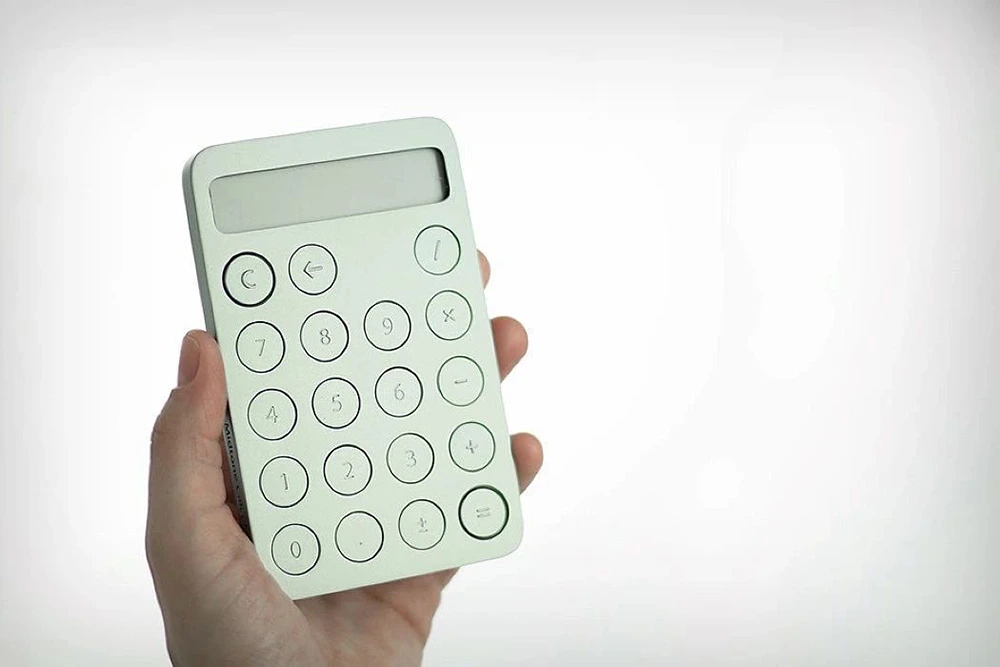
01. MINUS
MINUS is a simple conceptual calculator that rethinks the form of a calculator in a straightforward manner.
Its clean appearance and rounded number buttons give the calculator a completely new form.
Designer: Telekes · Design


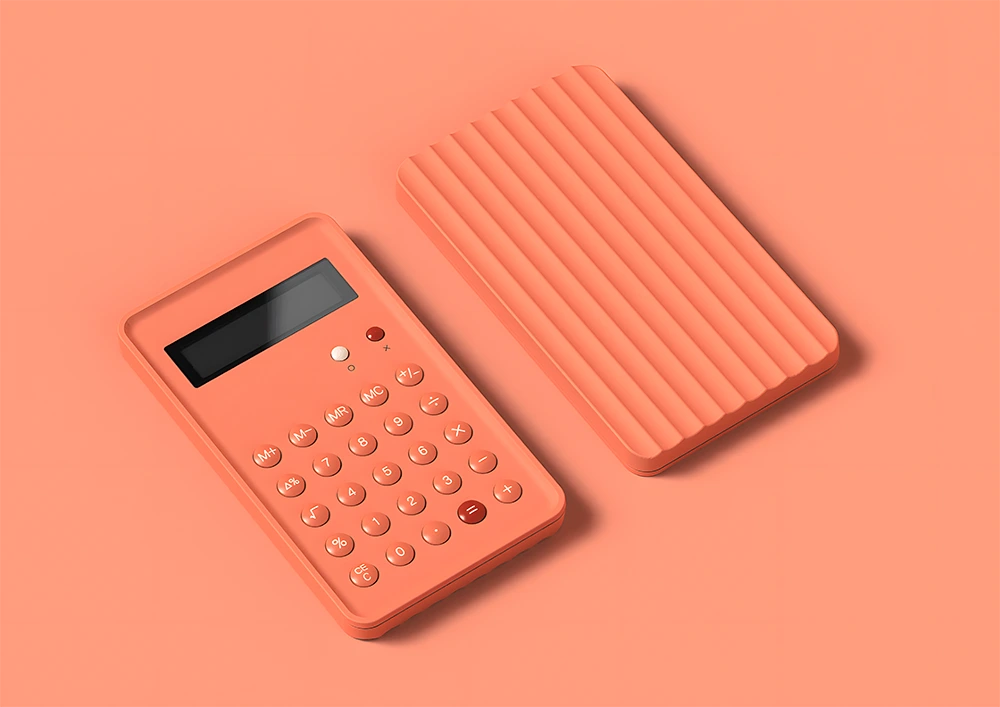
02. FLIP
FLIP is a calculator design concept that allows users to protect the device from dust or any other damage when not in use, while keeping the desk tidy with its unique form.
The disc-shaped design is easy to clean.
Designer: Jaewan · Park

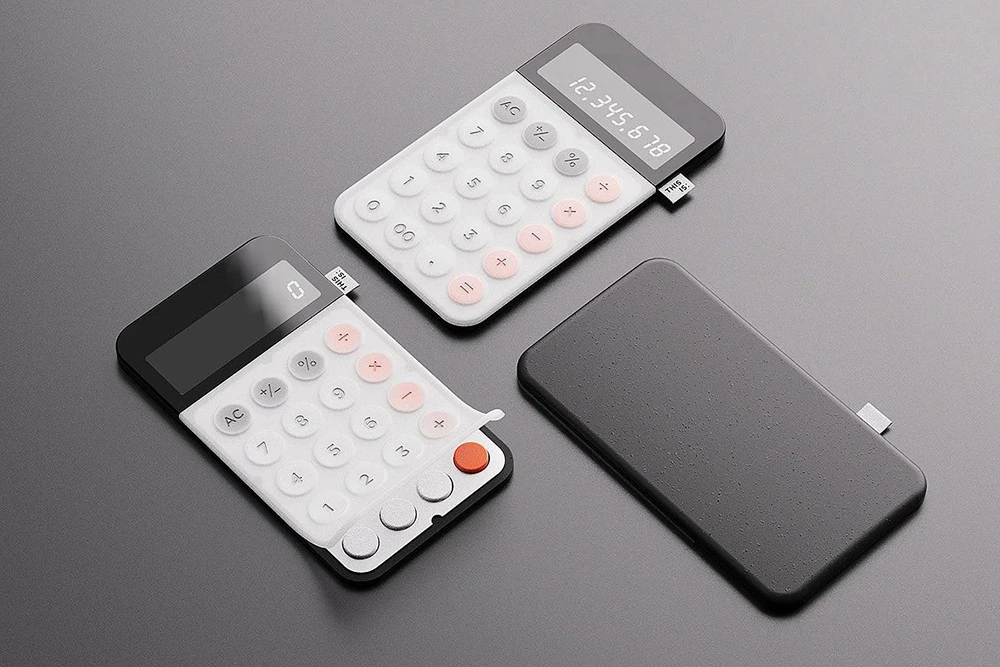
03. Neumorator
Designer: Jinwook Lee
This minimalist and stylish calculator has a non-slip black back cover for comfortable use. The semi-transparent shell reveals the color of the buttons beneath. The product has two secret details: the colorful buttons under the silicone cover, and the two types of buttons.
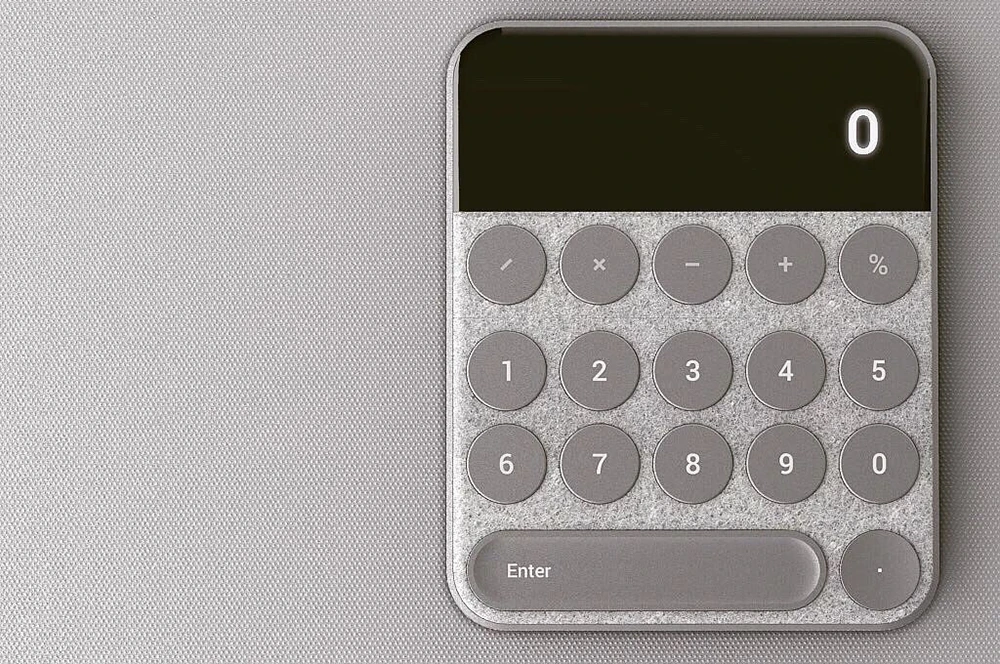
04. SpaceBar
The large space bar on the keyboard caught the designer’s attention and was applied to this calculator, resulting in a calculator with an oversized space bar.
This calculator uses three simple colors—black, white, and gray—giving it a stylish feel.
Designer: Elodie · DELASSUS
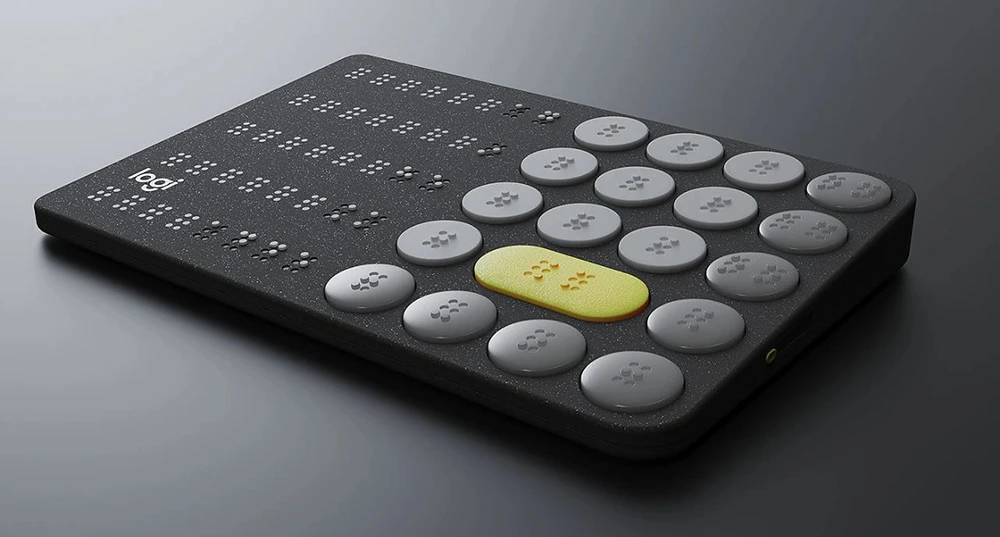
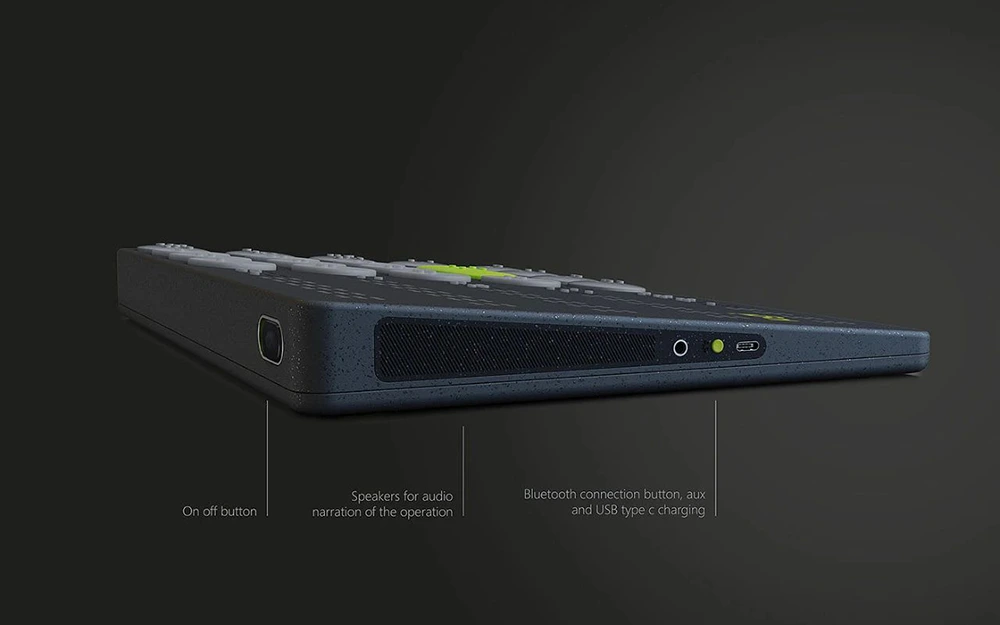
05. Logitech
This is a concept design for a braille calculator, specially designed for people with visual impairments.
Each set of buttons has its unique surface treatment, providing convenience for people with visual disabilities.
Designer: Merve Nur Sökmen
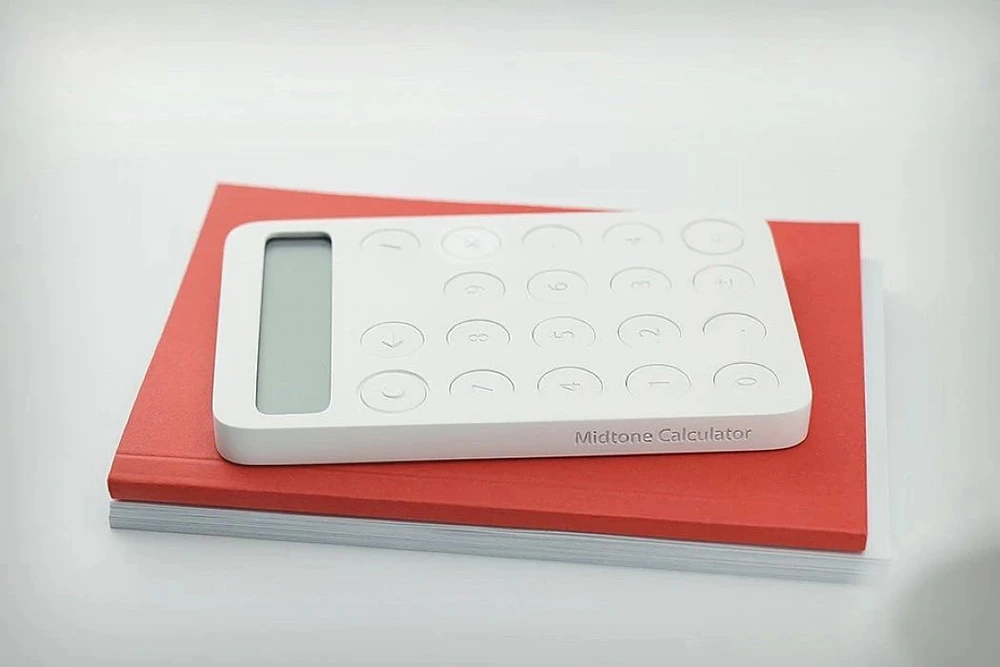
06. Midtone
The Midtone calculator features a simple block shape with round buttons and a single color scheme. The entire interface is clean and refined.
The background color of the LCD screen matches the color of the calculator, giving the product a rustic and unified look.
Designers: Erdem Selek & Hale Selek
FAQ
To create a lightweight calculator housing, several factors must be considered, including optimizing material selection, designing for manufacturability to minimize material usage, and implementing structural ribs to support the thin-walled shells to enhance strength and rigidity.
Snap-fits must have the right tolerance for proper sealing. To lower peak stress, it is important to taper the beam thickness from the root to the hook, achieving 50% less thickness at the end. This also lowers material usage and distributes stress evenly. Also, add a fillet at the base of the cantilever to reduce stress concentration.